Halloween MiniBook 2007
Tags: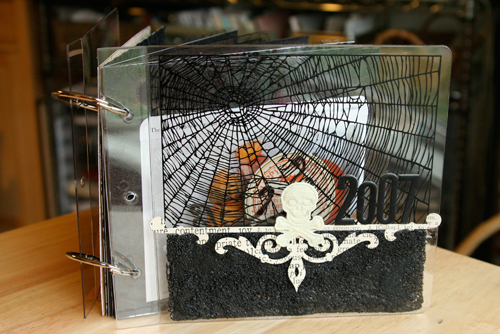
[ all product information listed below ]
This is a Halloween minibook for 2007 that I began last year. Some of you may remember the cover which was used as a demo on working with beads and glaze for Method Playground. You can read the step-by-step here.
As many of you know, I don't scrapbook in any specific order. I don't feel like I need to finish up Halloween before I can do Christmas, etc. I am more interested in being inspired by the story or the photos and feeling motivation to be creative. There's no guilt, just a nice list of projects I want to do when I have a chance (and when inspiration strikes).
If you are into minibooks or looking for more concepts and ideas to
inspire you definitely take some time to check out my latest book: Sharing Your Story.
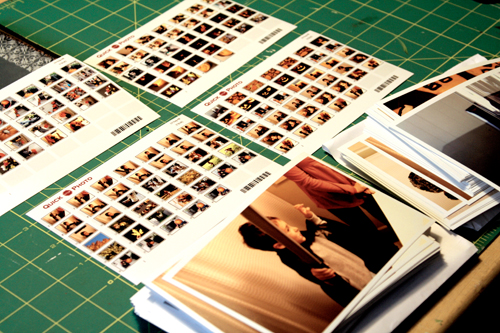
First step in the process for this minibook is to assess the photos. I had a ton from last year and I had no plans to include them all in this minibook. I went through all of them (all printed 4x6 with white border at scrapbookpictures.com) and figured out some general categories/stories I wanted to make sure I included.
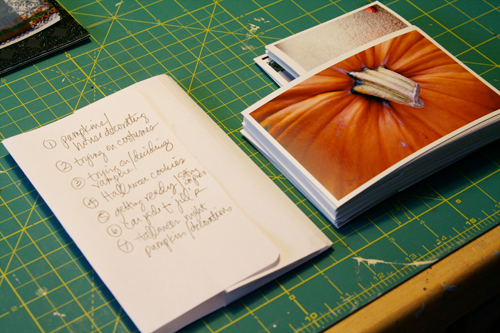
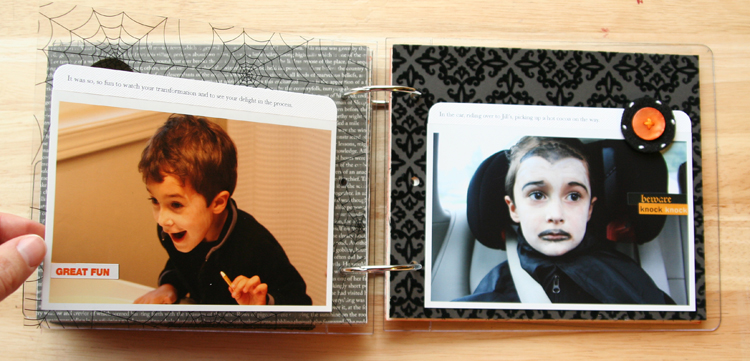
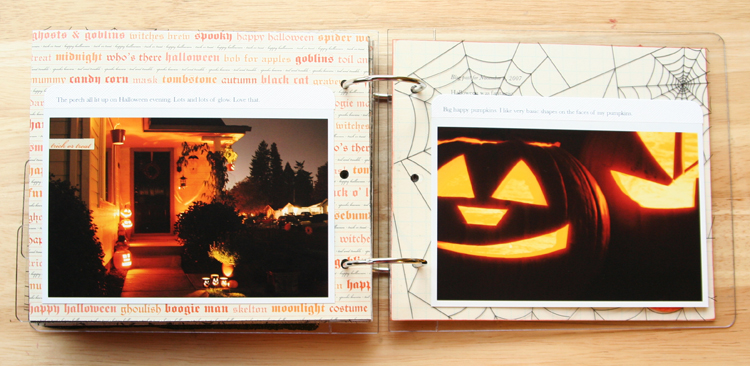
I separated the photos into the story categories and jotted down my list. Stories/topics included house decorating/pumpkins, trying on costumes, deciding on being a vampire, cookies, getting ready for the big night, car ride to Jill's, Halloween night + decorations.
From there I cut my patterned papers to size (the same size as the interior acrylic pages) and adhered them back to back because I knew I was going to need more pages than came with the acrylic album. I actually did not know exactly how many I was going to need yet so I cut a few more than I really needed.
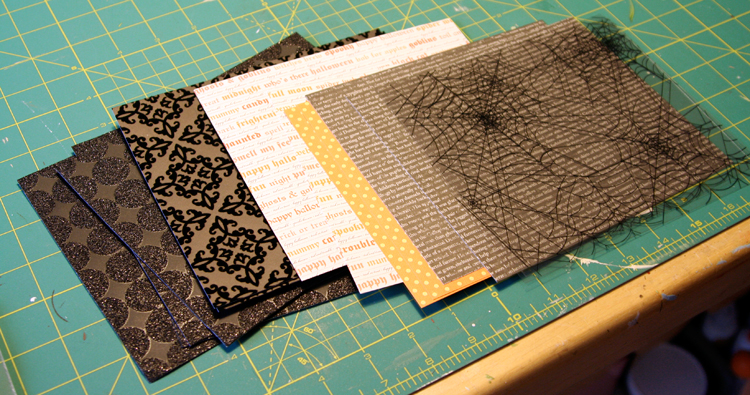
[ specific papers will be identified in photos below ]
Here's a look at my finished Halloween minibook with product information included:
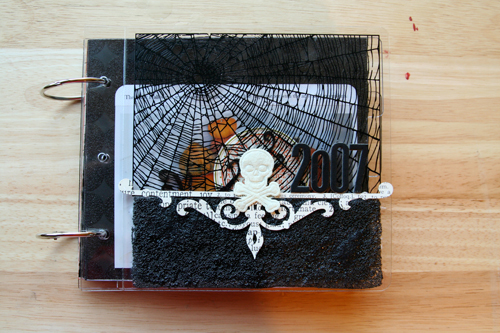
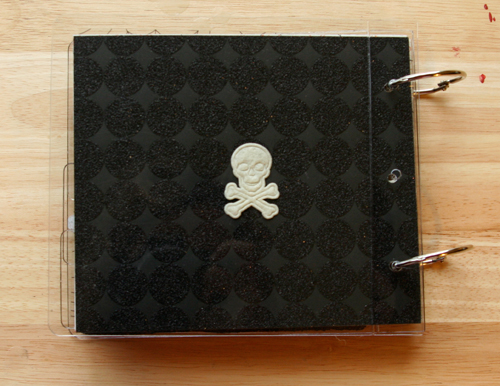
[ Clear Album: Picture It/Page Frame (listed as 6x6 but it is actually larger); Die Cut Patterned Paper: Narratives Cream Tab ABC Cardstock Stickers; Cobweb Rub On: Hambly Spooky Halloween; Felt Skeleton: Making Memories Spellbound Halloween Collection; Chipboard Letters: Heidi Swapp Center of Attention; Glass Beads: JudiKins: Glaze: Diamond Glaze ]
The Spooky Halloween Hambly cobweb rub ons came out last year and I stockpiled a few sheets because they were a cool set I could see myself using on this project and in the future. This is one of the things I have always thought is such a bummer in this industry: things come out and then they are simply gone. A bunch of the products I used in this album are from last year. Products that I picked up because I loved them but they are now not available anymore. Luckily, the Spooky Halloween Hambly cobweb rub ons are still available on their website.
Click on the photos below for a larger version.
[ Glitter Tree: Making Memories Spellbound Glitter Foam Stickers; Happy Halloween Stamp: Catslife Press ]
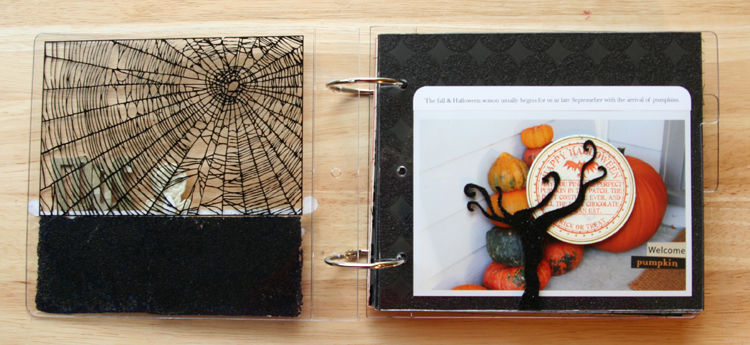
One of the things I wanted in this album was to maintain some of the transparent pages and not cover them with photos and a bunch of stuff.
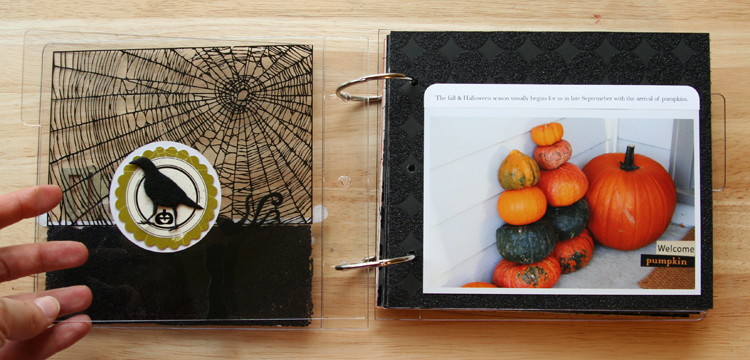
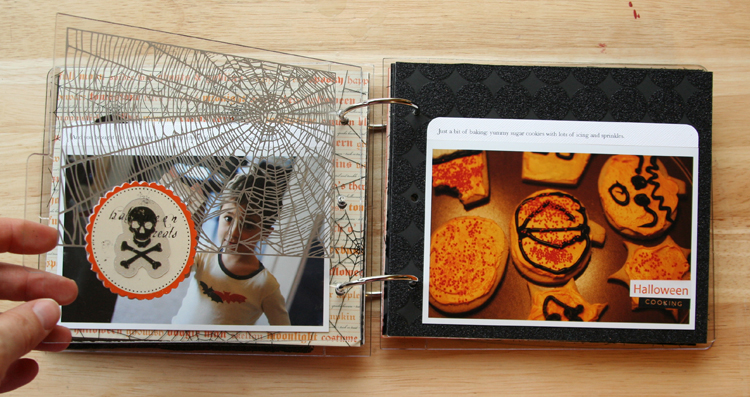
[ Felt Bird: Making Memories Spellbound Halloween Collection; Circle Accent: Making Memories Die Cut Journaling Stickers; Patterned Paper: Making Memories Black Glitter Dot Spellbound Paper; Word Stickers: Making Memories Halloween from 2007 ]
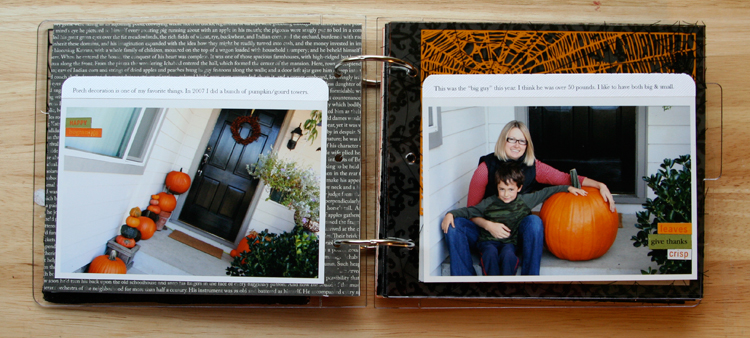
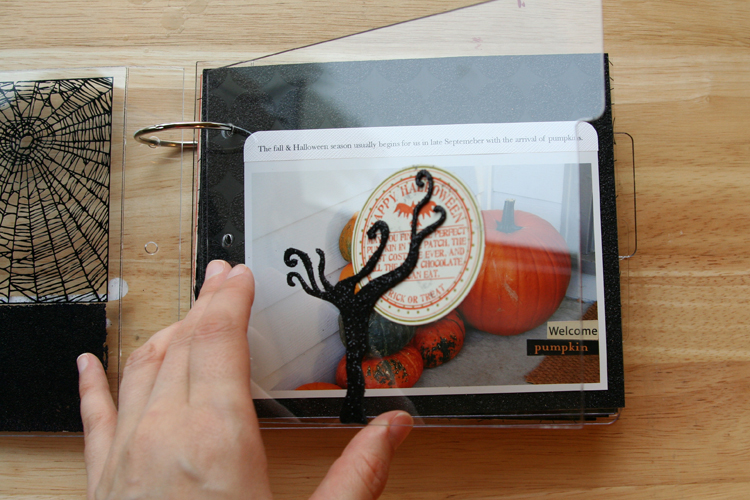
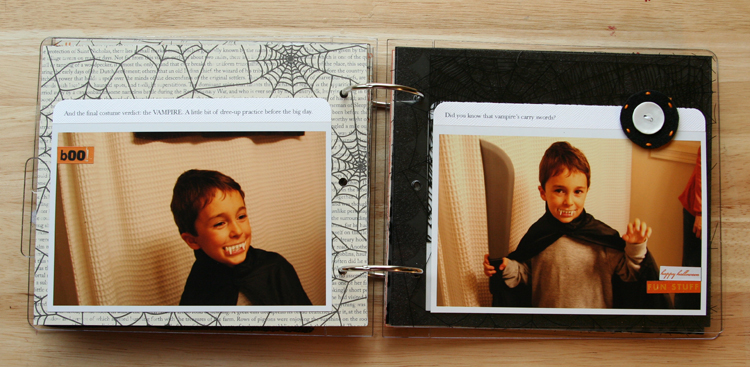
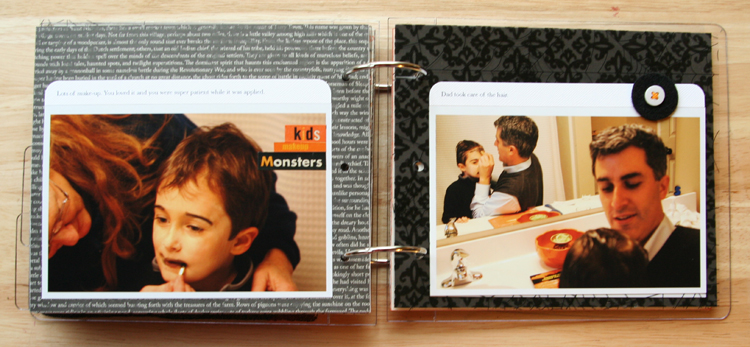
The general foundation for this album is really simple: white border photos with a strip of journaling along the top. Journaling was printed onto white cardstock and the top two corners rounded.
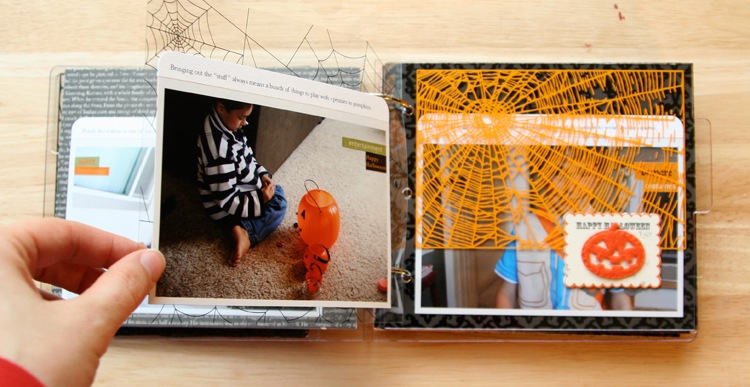
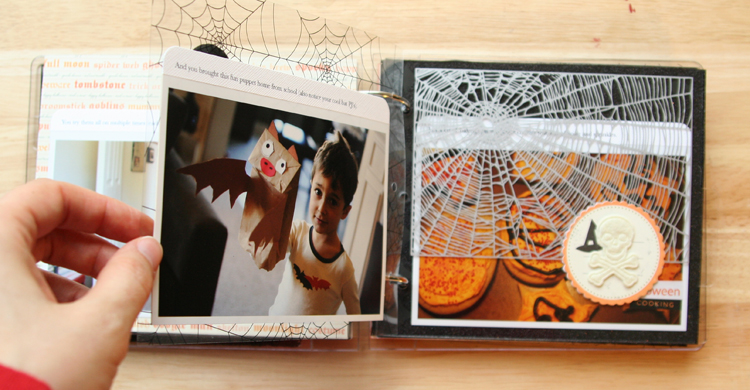
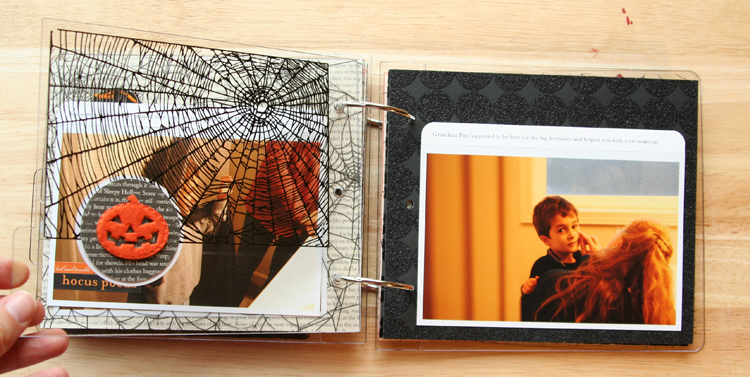
[ Patterned Transparency: Creative Imaginations Harvest Moon Spider Web; Felt Pumpkin: Making Memories Spellbound Halloween Collection; Rectangle Accent: Making Memories Die Cut Journaling Stickers; Spider Web Rub On: Hambly Spooky Halloween ]
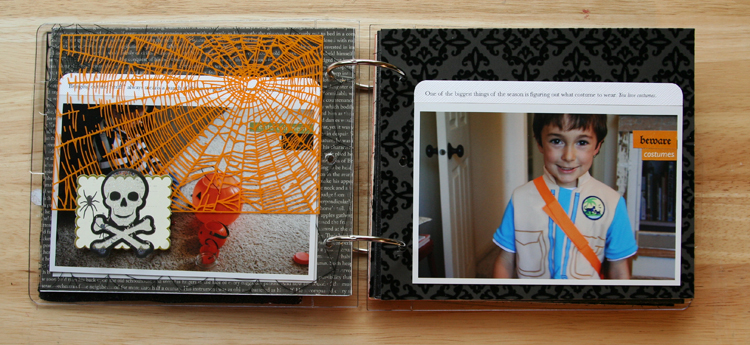
[ Transparent Skeleton: Making Memories Spellbound Glitter Clears; Patterned Paper: Doodlebug Crushed Velvet Cardstock ]
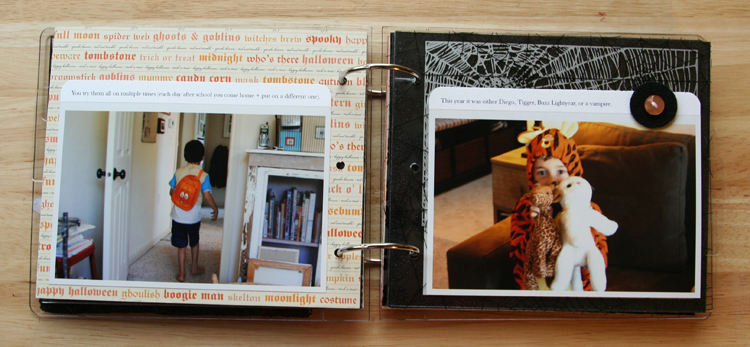
[ Patterned Paper: Making Memories Halloween collection 2007; Felt + Button Accent: Evalicous ]


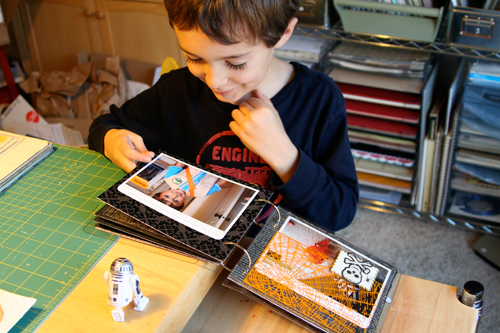
After it was all done there was one very happy camper around here...one who LOVES costumes and Halloween. He loves the photos and another thing I noticed was that he was really touching and feeling the textures of the paper and the felt accents. Cool.

HOLIDAY NOTE: For those of you starting to think about creating a December Daily album, I will be diving into mine and sharing my process next week.


Comments
Sign in or sign up to comment.
123 comments
This is the cutest book. I have never worked with the clear books. I would love to be brave and try it, but I don't feel like I'm creative enough. This book is so cool.
Replies
Sign in or sign up to reply.
What I love about your stuff so much is that it looks as cool today as it was two years ago when you made it. Not dated at all. Just classic and awesome. :)
Replies
Sign in or sign up to reply.
Can you please tell me where you got or how you made those index prints in the first frame. I need to do that so bad and cannot find anywhere to do it. LOVE the mini album too BTW
Thanks in advance.
Danielle
Replies
Sign in or sign up to reply.