Week In The Life : Bringing It All Together • The Completed Album
Tags: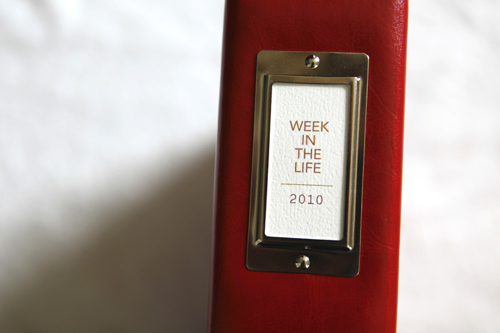
It's amazing the number of emotions I go through when working this project to completion.
Anticipation. Excitement. Frustration. Glee. Love. Pride. Distress. Impatience. Happiness.
It's done. Another week in another year of my life/our lives is done. I can close it up and put it away and take it out again down the road and marvel at how simple & easy things were, or how crazy & stressful & complex - all depending on what my life is like at that moment in time.
This is definitely a labor of love. It takes time to write things down as you go about a day. It takes time to take the photos. It takes time to sort and upload and wait for printing. It takes time to organize the words and add more if needed. It takes time to add the elements to the page protectors.
It is a commitment of time and energy.
It is worth every single minute.
Below I am going to take you through my entire album from beginning to end. Along the way I 'll tell you a bit about changes or adjustments I made. I have also included tutorials or links to additional information when it's applicable.
WEEK IN THE LIFE 2010
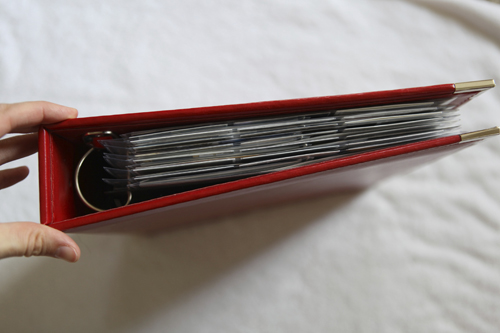
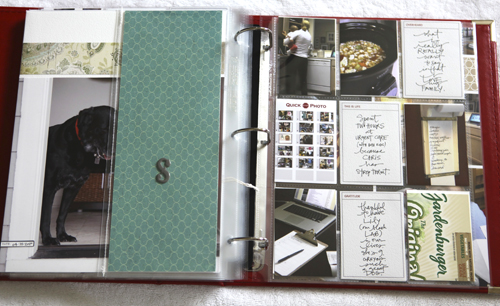
Here's a shot looking down at my 8.5x11 We Are Memory Keepers album. You might be able to fit two years in here - it really depends on how many bulky things you add or how many additional page protectors you add. As you will see below I added at least one more page protector per day for journaling.
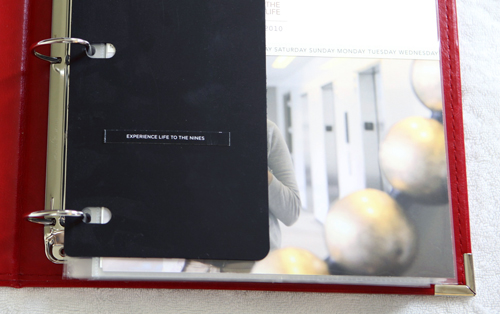
This was my first time using a We Are Memory Keepers album & page protectors. I loved it. The page protectors seem thicker and sturdier than my favorites from American Crafts.
Included with the We Are Memory Keepers album is a black plastic page which could definitely be removed. I ended up keeping it because I added this little black paper with white type that I collected during my week. It says, "experience life to the nines."
Also, somehow I missed that We Are Memory Keepers makes 8.5x11 divided page protectors. The slot sizes are 3.5 x 2.625. I would love to have all the page protectors be the same along the rings (yes, that's a little on the type-A side). Looks like they actually offer a bunch of different options for both 12x12 and 8.5x11 divided page protectors. Be still my divided page-protector loving heart.
COVER PAGE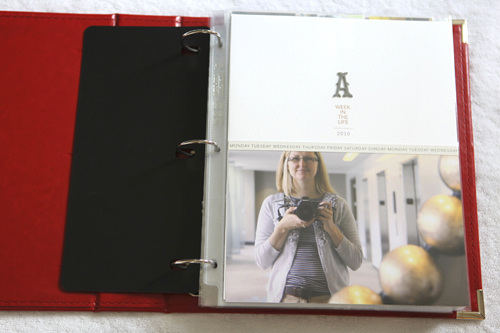
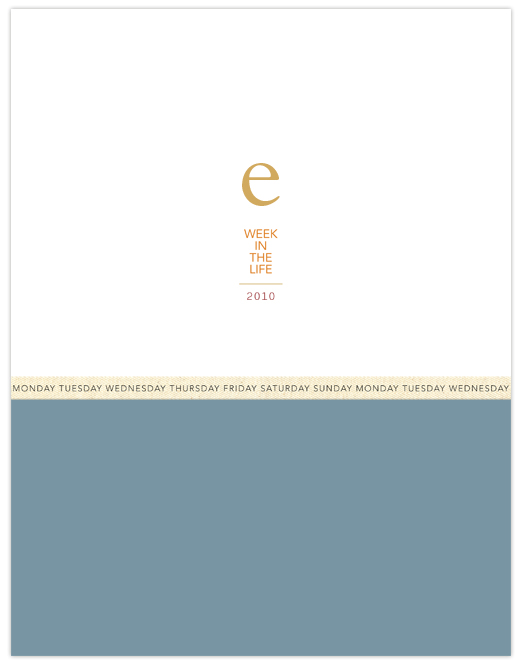 Included in the digital layered template packages is an intro page. The digital page includes the spot for the photo, the title, a spot for an initial, and the twill strip with the days of the week.
For my album, which is a combination of digital and paper, I printed out the intro page with just the title on cardstock. I used the School House chipboard alphabet from Cosmo Cricket for the initial ("A" is for my first name rather than "A Week In The Life"). I used these chipboard letter stickers in other locations throughout the album.
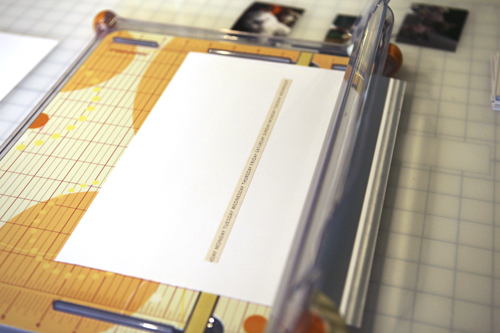
In Elements I re-sized the twill strip, printed it on photo paper (see the how-to process below), cropped it and added it on top of my photo. The photo size on the intro page is 8.5 x 6inches.

RESIZING & PRINTING A DIGITAL TWILL STRIP
Twill strips are one of my favorite digital products to use on paper pages. My packages of twill at Designer Digitals are sized 12 inches wide but can easily be sized down for use on a smaller project. Here's a look at that process for my intro page:
Open the PNG file. For my intro page I choose the "no bold" option for the Days of the Week because I didn't want any of the specific dates highlighted on the cover.
Image/Resize/Image Size and change to 9 inches wide. Make sure "constrain proportions" is selected or you will get a warped image. If you want to save paper you can print more than one strip at a time by creating a new canvas and adding multiple strips to that canvas.
Go to File/Page Set Up to adjust your page orientation to landscape (11x8.5).
Print on cardstock or photo paper, trim, adhrere.
MONDAY
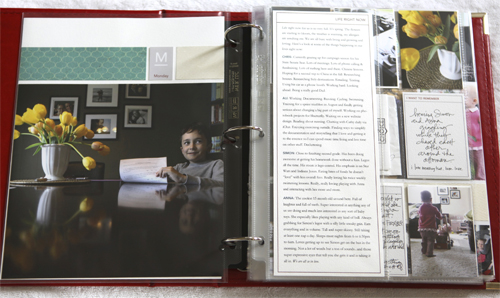
One of the interesting things I discovered this time around, with my slower pace, is that I thought of other things I wanted to include. Mostly I thought about more words to include about where we all are in life right now. I feel that by taking a bit more time than usual I was able to round out our story and include things I may have missed during the whirlwind week of documentation.
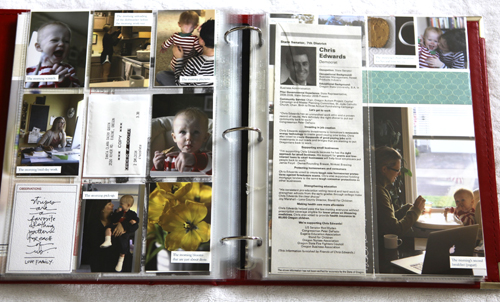
Because of that, I ended up creating some Long Journalers that allowed me to write more or to simply copy and paste the text I used to describe my photos/days here on my blog. On the backs of these journal blocks I did different things on different days including an enlarged photo, more journaling, pattern paper, etc.
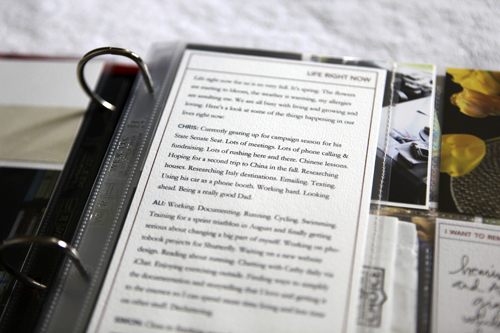
For each of these long journal blocks (the blocks fit on a 4.25 x 11 inch piece of paper) I stitched on page protectors to create custom sizes. For more on creating custom sized page protectors, including a short video of my stitching on a page protector, see this post. I really like having the different width included in this album.
This opening long journaler is titled "Life Right Now" and it documents in general what's happening for each of the people in my immediate family. I thought this was a nice way to begin the album - an overview of sorts.
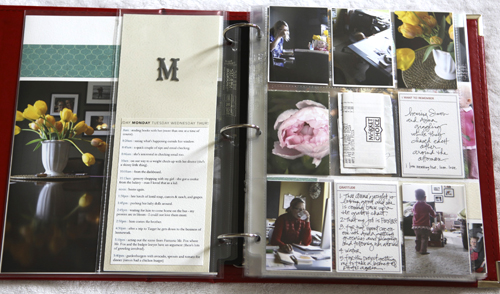
On the back of the long journaler I inputted the content I had documented including time of day.

When working on my long journaling blocks I added in either blue or red type as emphasis. It's a nice little something extra. 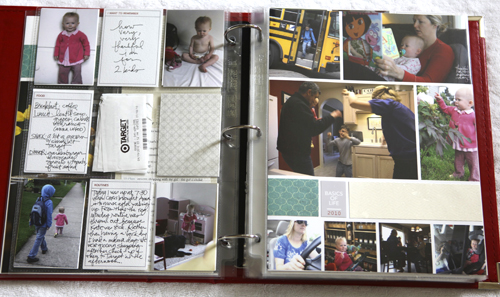
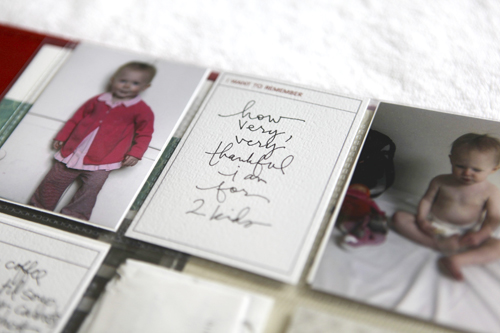
Some of my journaling cards, like the one above, are very simple sentiments. Simple is good.
TUESDAY 

I did end up using the 7gyspies date stamps for each day of the week on my large daily opener photo.

The red wonder woman paper includes notes from our babysitter about Anna's day.
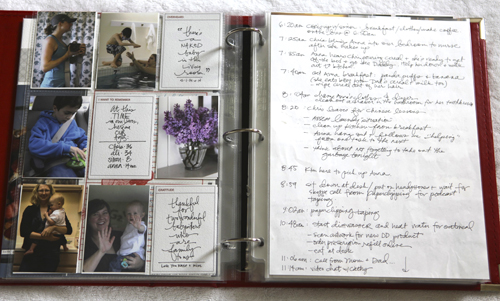
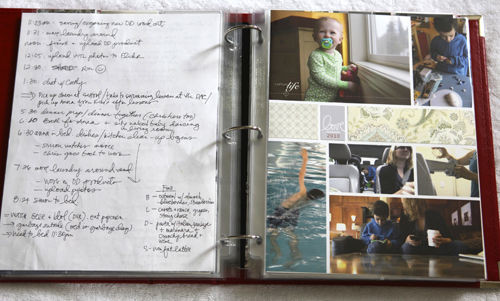
For Tuesday, because I had already hand-written a complete day, I just left my journaling as-is and slipped it inside a page protector.
WEDNESDAY
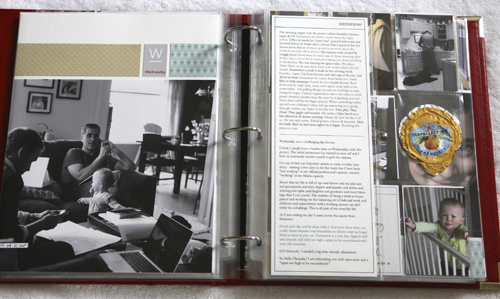

For Wednesday I turned my journaling from under each photo into a paragraph and went back and forth between brown and black type to show the change in thought from one to the next. The bottom portion is the commentary I included at the end of my post.
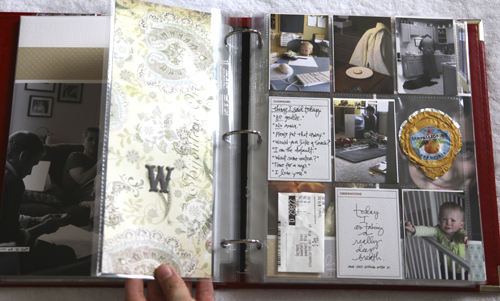
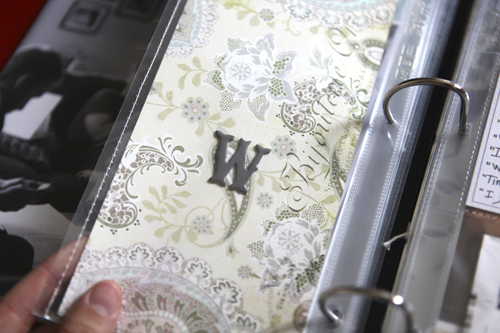
On the back of Wednesday's long journaling I chose one of the pattern papers and added a simple "W."
THURSDAY 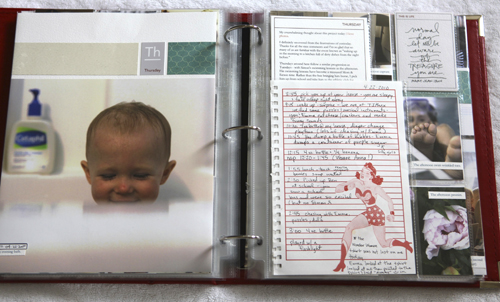
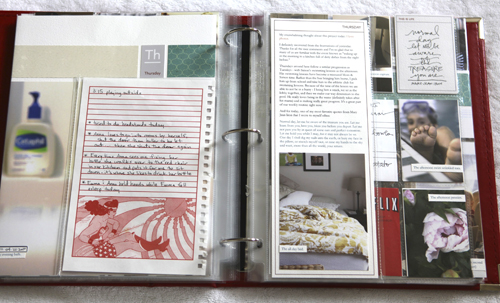
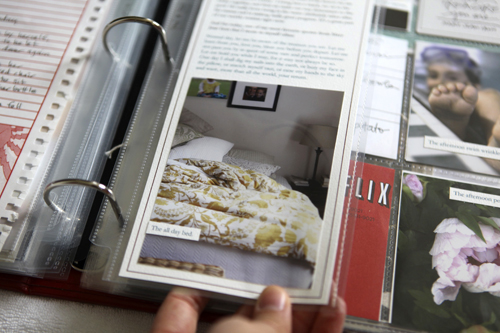
On Thursday I had less text to add to the long journal box so I adhered a photo to the cardstock.
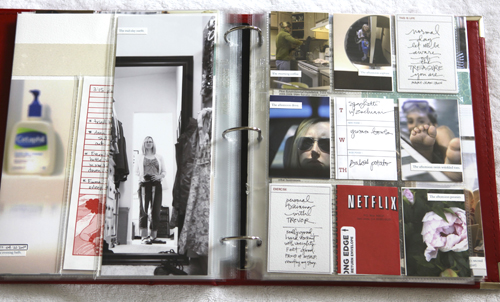
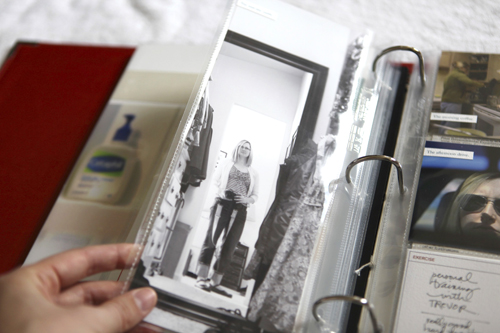
On the back I included an enlarged photo (4.25 x 11 inches). Love adding in this big photo and wish I would have done more of these.
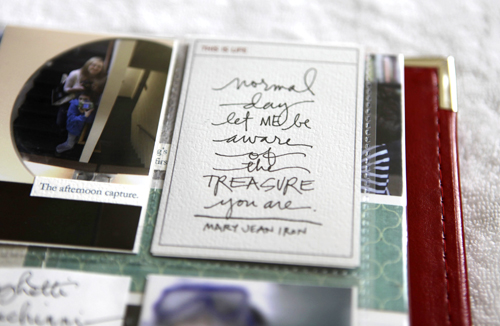
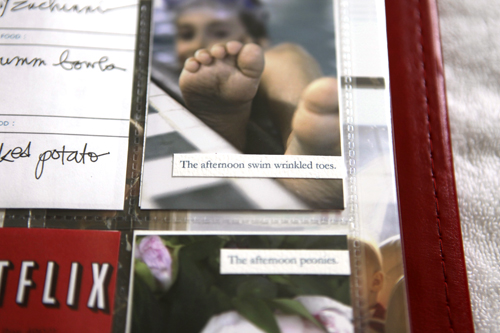
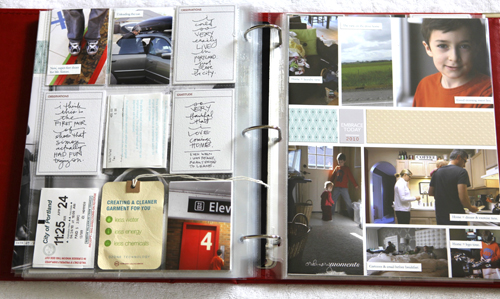
On a couple of the days I simply printed out the captions I added below my photos in my blog posts and adhered them to the photos.

FRIDAY

SATURDAY
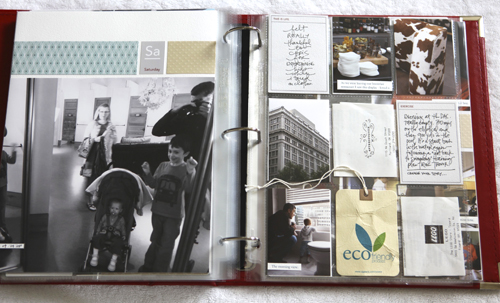
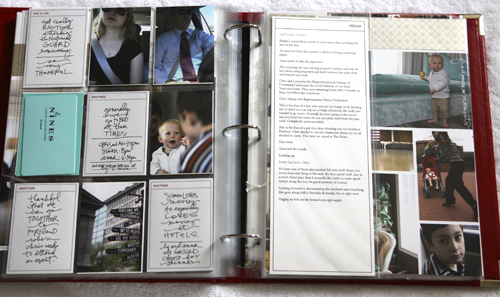
I had significantly less jouranling for Saturday than I did for other days (and less photos too). To fill in some of the slots I wrote simple things on the journaling cards. I liked including some journaling that was more reflective rather than in the moment - there is definitely room for both in this album.
SUNDAY
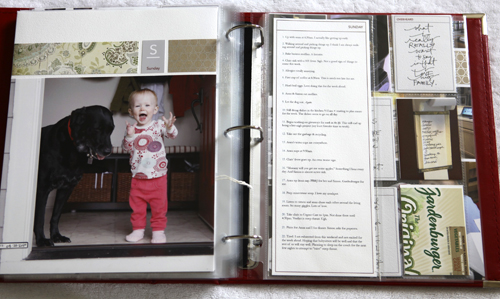
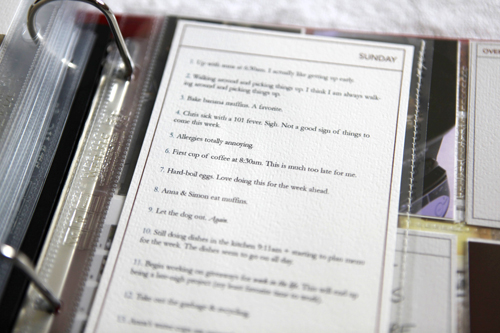
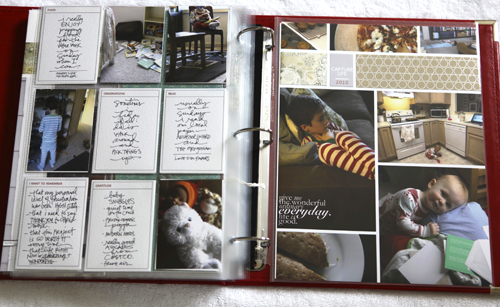
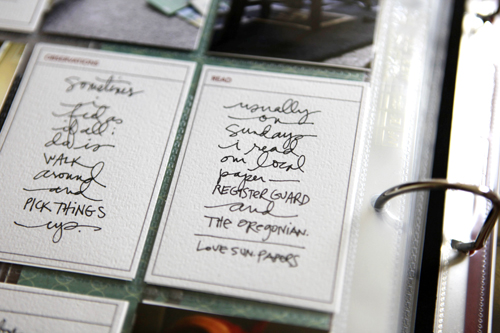
Simple sentiments to fill space and tell a bit more about my life.
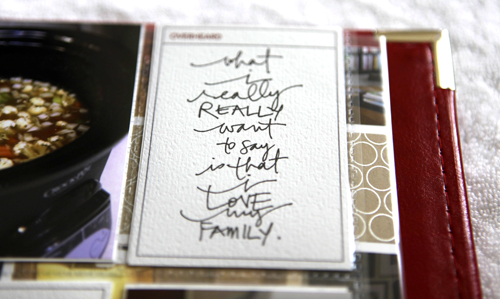
This. This is it.
CLOSING PAGE
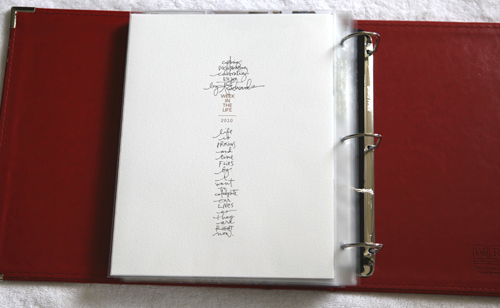
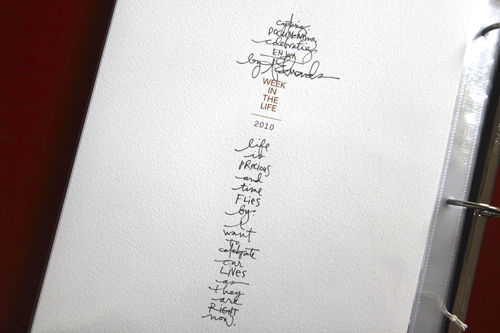
As many of you know it's not often that I create an "ending page" for my albums. I'm not sure what's up with that...I think so many times I am just DONE by that point and want to move on to the next thing. This time I decided to add one in - a very simple one.
I re-printed the intro page from the template package onto cardstock and simply hand-wrote a couple sentiments and signed my name.
YOU CAN DO THIS
If you are still sitting on the fence...one of those people that needs to see the end before beginning...it's time to get down from the fence and get moving. This is one of those projects that I promise you will never regret. You can do this.
As you can see, this album is not about embellishments and do-dads and pretty little things glued down. It's about the words and the photos. And it is oh so amazing to see your life in this way. You can do this.
If you are in the middle of working on your album...keep at it. It's a
process. Give yourself the gift of working on it a bit at a time...but
commit to finishing it. There's nothing like a completed album to boost
your confidence. You can do this.If you are just coming across this concept for the first time, honestly, you can do this.
Finally, I want to humbly and sincerely say thank you for embarking on this journey with me. I hope you have captured a glimpse of how wonderfully precious your life is - whatever stage you are in right now in April/May 2010.
Clickhere for a complete list of Week In The Life posts.


Comments
Sign in or sign up to comment.
197 comments
Beautiful, Ali, just beautiful. Thank you so much for taking time to not only let us take a glimps into your life but to encourage us to do more to document our life. I certainly do appreciate you. I was unable to participate in this year's week in the life, but thankfully there are more weeks this year! : ) I am planning and looking forward to doing my week in the life. Thank you again.
Keep Creating!
Replies
Sign in or sign up to reply.
Love, love, love your completed project!
Have you ever done something with a year's worth of pictures? My youngest turned one a month ago, and for her entire first year I took at least one picture of her a day (okay, sometimes 100 or more). Now, the challenge is to pick just one photo per day and bring them all together into something wonderful.
Replies
Sign in or sign up to reply.
Yes :).
It's totally easy to get overwhelmed with all of it. My sincere suggestion to you would be to make sure it is a reflection of you. I've gone through my own personal process of paring things down + putting projects together with less and less "pretty stuff." To go from lots of pretty things to this bare-bones documentation might be pretty drastic.
Nothing wrong at all with adding in the pretty things - just don't let that portion distract you from completing the album.
Also, you can always make additional pages if you want that are more playful and pretty and tell a completely different story than the ones you are telling in this album. Within every photo are so many different stories...
Take a deep breath, decide what's most important to you, and just get the darn thing completed before you start to forget things...before time moves on to the next thing...etc.
Replies
Sign in or sign up to reply.
Hi Tina - I haven't done an entire year. I have been playing along with Becky Higgins Project Life (you can read more about that here: http://www.beckyhiggins.com/projectlife/
If you are a digital scrapbooker (or willing to learn) there are quite a few templates out there you could use to bring all those photos together. Here's a couple:
http://www.designerdigitals.com/digital-scrapbooking/supplies/product_info.php/products_id/8971
http://www.designerdigitals.com/digital-scrapbooking/supplies/product_info.php/products_id/9156
I also have a calendar template that you can place small photos: http://www.designerdigitals.com/digital-scrapbooking/supplies/product_info.php/products_id/5931
Replies
Sign in or sign up to reply.
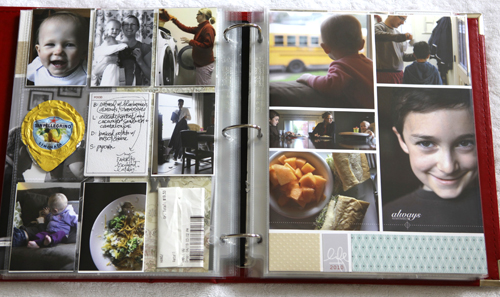
I like how you included product labels that is a great idea. Thanks for sharing!
Replies
Sign in or sign up to reply.
Even after seeing your WITL albums over several years, you still continue to amaze and inspire me. Thank you, Ali, for doing just that.
Replies
Sign in or sign up to reply.
wonderful :)
I am one of those that needs to see the end result, now onto putting my photos and words together!
Replies
Sign in or sign up to reply.
Ali,
Like I can sleep tonight after looking at this! What a treasure you have shared with us. I am very grateful for your never-ending inspriration for so many things and especially this WITL project!
Replies
Sign in or sign up to reply.
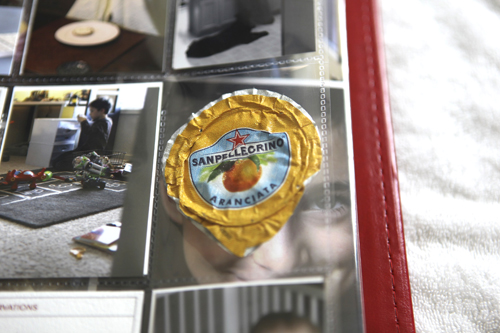
Ali, I knew I loved your work & that you were totally cool... but when I saw the foil top of the San Pelligrino Aranciata stuck in a baseball card holder, I coulda cried. Love Aranciata & love it in your book! :)
Replies
Sign in or sign up to reply.
ali - awesome, awesome, awesome! i am almost done with my template work and will be glad to be able to upload everything to scrapbookpictures, so I can put it all together :)
Replies
Sign in or sign up to reply.
Ali - this album is fantastic! I am super inspired and want to do it again. And again. And again. I had a great time playing along with you and am thrilled to have captured a week in my life. Thank you.
Replies
Sign in or sign up to reply.
Absolutely inspiring and beautiful. I will do this.
Replies
Sign in or sign up to reply.
Thank You!
Replies
Sign in or sign up to reply.
Hi Ali,
Just wonderful work again! People tell me that simple is boring, but I love how you have captured life. Cos that is what this is about. I have my photos (on the camera) and your templates (super cool video telling me about the alt key! Soooo easy). Just need to decide how to print. I will keep going!
thanks for the inspiration
Replies
Sign in or sign up to reply.
How wonderful. Thank you. You've given me the boost to comeplete this project.
"There's nothing like a completed album to boost your confidence." So true.
Replies
Sign in or sign up to reply.
I am so inspired by this! I want to try it, but I'll admit it seems a little daunting.
There's no time like the present, though...
Replies
Sign in or sign up to reply.
Simply beautiful. This is BY FAR one of my most favorite albums of yours. I love the graphic nature of this year's album with the focus on the words and photos. I SO wish I had your creativity so that I could come up with so many ways to keep it simple, yet interesting. I love all of the little details on each page. The long journaling spots that you added are perfect too.
Thanks for sharing your album with such detail. I'm sure this post took you quite a long time to assemble.
Replies
Sign in or sign up to reply.
I will be the first to argue that simple is absolutely NOT boring :).
Replies
Sign in or sign up to reply.
Thank you for mentoring us through this awesome journey.
Replies
Sign in or sign up to reply.
Your album is gorgeous Ali! This was my first year doing WITL and I am so glad I did. I am still working on mine and enjoying every second of it. It has really made me step back and look at those "ordinary" days and realize how blessed I am. Thanks for the inspiration!
Replies
Sign in or sign up to reply.