Project Life 2011 | Week Fifty-Two
Tags: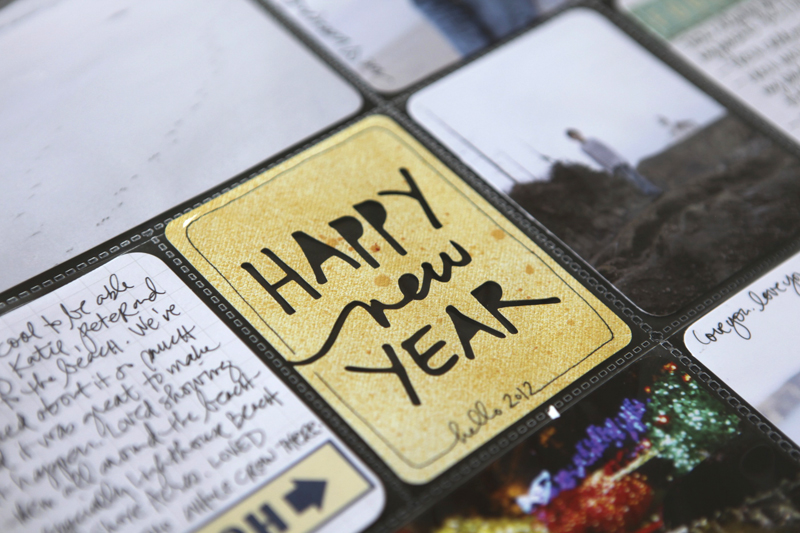
Welcome to Project Life 2011 | Week Fifty-Two.
52 weeks of photos and stories recorded.
I think the coolest part is that I'm totally jazzed up to keep going vs. feeling project fatigue. It's become so much a part of my lifestyle and routine and it makes me so happy.
I'm also so excited that so many of you are embarking on this project this year. You can totally do this. Make it work for you.
In case you missed it, I posted my 2012 Title Page and some general reflections and thoughts on my process the other day - you can check it out here.
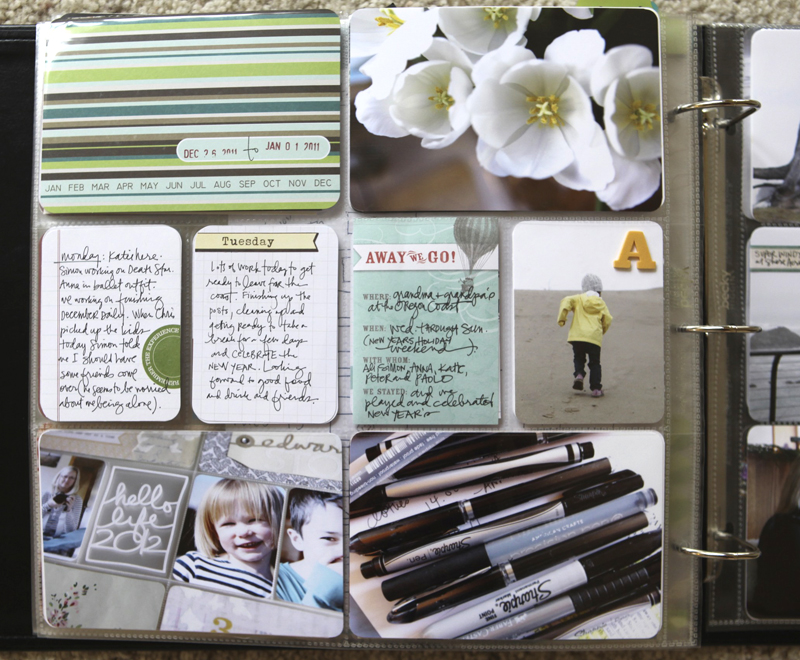
Here's a look at the final week of 2011:

We spent most of last week at my parents house on the coast. It was a great way to ring in the new year.
I like that those Smash pad papers fit right into the pockets.
One 6x12 divided insert this week:

I've loved having this size page protector in my stash of supplies this past year. It's perfect for week's when I have extra photos because I personally like having smaller sized inserts - either width or height - vs. including additional full pages.

Along the edge of the 6x12 insert I added an Avery Self-Adhesive Index Tab.
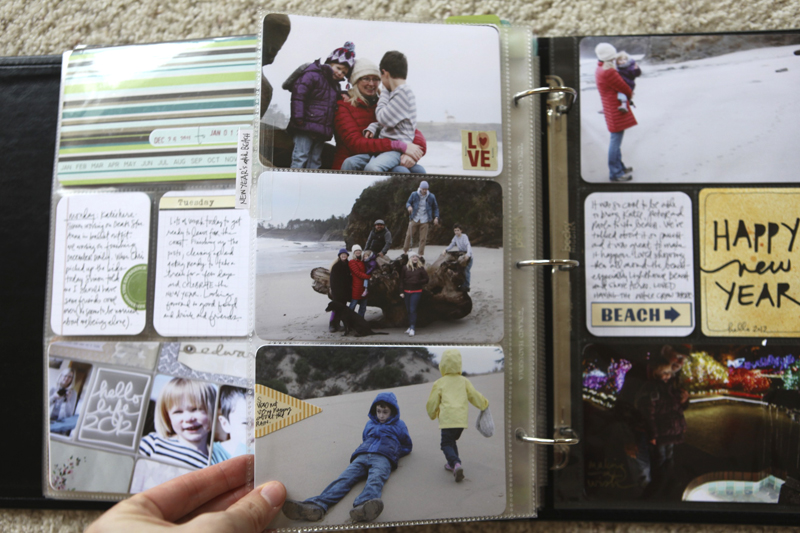
A few simple stickers added to some of the photos - this was pretty common for me throughout the year.
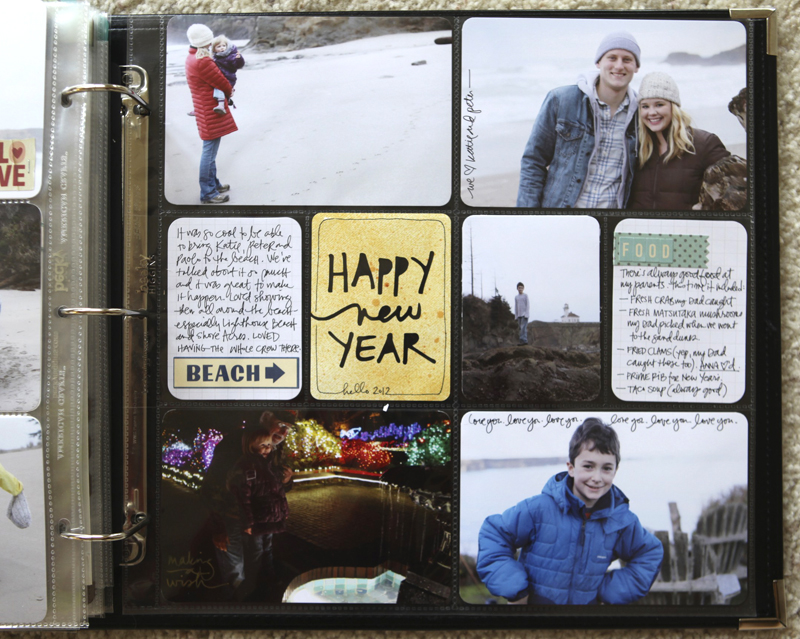
I made the Happy New Year card with the Silhouette using my Happy New Year digital package. That set is just words so here's a look at how I made it into a card (basically using the words as a "knock out" on the card):
Open Silhouette Studio.
File/Open and navigate to the spot on your computer where you downloaded and unzipped the Happy New Year set.
Click on the word art. Resize to about 2.9 inches wide.
Go to Object/Trace (this will bring up a menu along the right). Click on "Select Trace Area" and drag a box around the word art.
In the box titled " Apply Trace Method" click Trace.
Click on the original word art (black) and delete. You should see the red cut lines of the word art.
Click the red lined word art. Go to Object/Release Compound Path. Click on any tiny little areas you see that will cut areas out of the text (when I did I removed a bit of extra from inside the "n" and the "e").
Select all the pieces (I just click and drag to catch them all) and go to Object/Make Compound Path (this brings all the pieces back together again).
From the menu on the left, click on the rounded corner rectangle and draw a 2.9 inch x 3.9 inch (or so) box. If you are using new Project Life supplies most likely your cards will be 3x4 (the set from this past year were just a bit smaller).
Use the red-line rounded corner box to frame the word art.
Send to Silhouette to cut.
You can see a tutorial where I walk through the basics of tracing my text files here.
And that's it! My plan is to continue posting weekly throughout 2012.
I also wanted to mention that I enjoyed this post from Jenny Meyerson that included her reflections from Project Life in 2011. I especially liked this part:
"Since I started Project Life only 7 months ago, it has gone from being big to being enormously popular. Every scrapbook designer is jumping on the bandwagon and that is great. I love the inspiration. But I have now had a 3rd email sent to me within a week from people saying they are so overwhelmed that they are reconsidering Project Life. I understand and the amount of inspiration can be creatively stimulating or can strangle you with envy, if you allow it. Keep in mind your reason for wanting to do Project Life in the first place. If it is to tell your story in a simple way then Project Life is for you. If you like to add pretty stickers, stitch, play with polaroids, then Project Life is for you too. In other words, make it your own and don’t give a rats patootie what anyone else is doing. Enjoy their work and then get back to your own business at hand, which is to live life to the fullest and tell your story. Adopt my new mantra: I do not have to be perfect to have something to offer."
Yes.
SUPPLIES | WEEK 52
Click on the images to link to the products.
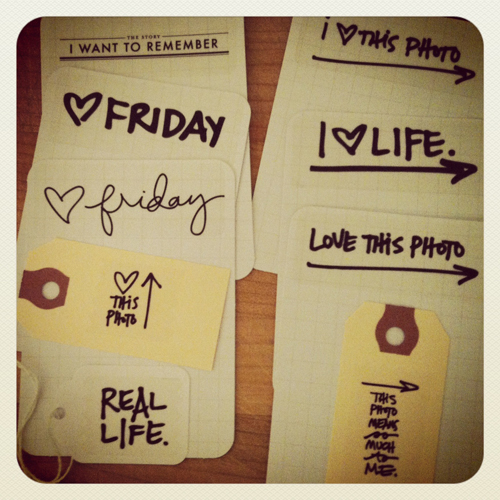
I also wanted to share this great image that Annie sent me of journal cards she's making for Project Life. She took a bunch of my digital brushes and printed them out onto clear Avery Mailing labels before adhering them onto the cards and tags. It's great timing as there's a brushes sale happening at Designer Digitals - 30% off brushes and stamps - ending at 6am EST on Saturday morning, January 7th.
The sets she used here include:
More information about working with digital elements can be found on my Getting Started With Digital Scrapbooking page.


Comments
Sign in or sign up to comment.
64 comments
Hey Ali! I was wondering if the large pockets are 4x6? And what are the smaller card slots sizes?Thanks!!!!
Replies
Yes, 4x6. The smaller pockets are 3x4 (or just a bit smaller).
Sign in or sign up to reply.
Hi Ali! Wondering where you get your jounaling stickers that you put on your pictures that you hand write in? Love those! Thanks
Replies
Hi Tammy - they come from a variety of sources. I try to link them when possible - some are from October Afternoon, Studio Calico, 7gypsies, etc. I usually order from twopeasinabucket.com or scrapbook.com. If you look back at previous weeks there are some journal/label stickers included in the supply lists.
Sign in or sign up to reply.
I am so excited. The simple format of “project Life” will help me get caught up on all the years I haven’t scrapbooked. And there are many. One big question for starters. Will the plastic insert sheets fit in any standard size binder? Or do I need to specifically use the project life binders. Thanks so much for helping me get started. Ali,you are such a creative inspiration. Thanks for everything you do.
Replies
Hi Eydie - I'm using 12x12 We R Memory Keeper albums that are not specific to Project Life.
Sign in or sign up to reply.
I came, I read this article, I codunereq.
Replies
Sign in or sign up to reply.