Project Life 2013 | Intro Page
Tags: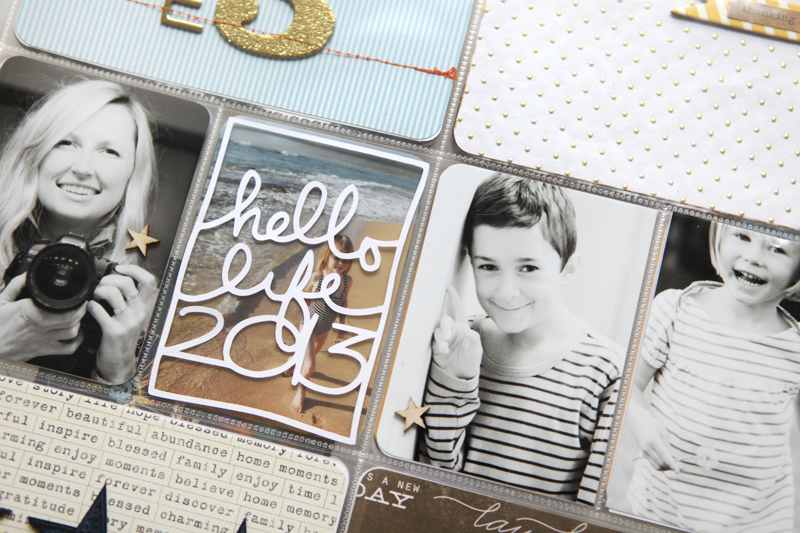
Hello Project Life 2013. So excited to be embarking on this project again.
I'm a couple weeks behind so if you haven't started yet and you're still thinking about it there's definitely time. In reality you can begin anytime, but I get the desire to start at the beginning of the year. I'll be sharing the spreads for my first couple of weeks throughout this week.
I love putting together the intro page.
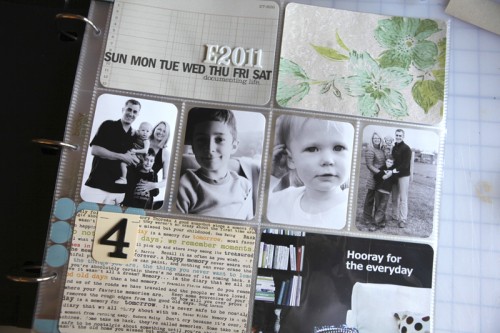
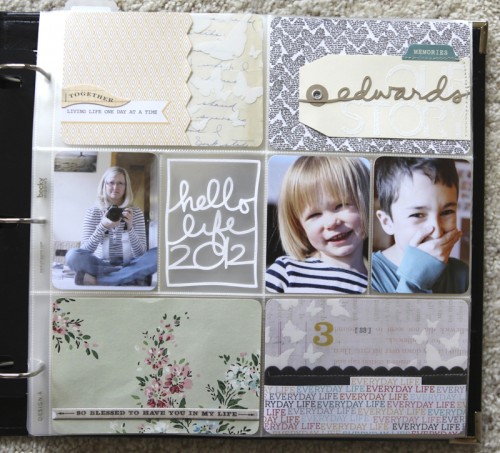
Here's a look at my last three years (click on the photo to go to the actual post for supplies and my thoughts on the process at each of the different points in time):
And here's my intro page for 2013:

This year I'm using the Seafoam kit as the base of my project. As I've done in past years, I combine a lot of different elements - some from the kit, some that are my own digital/printable designs available from Designer Digitals, some from the Studio Calico Project Life kit, and other goodies from my stash.
I use Design A page protectors as the base spread for each week.
For my 2013 intro page I included three photo: one of me, one of Simon, and one of Anna. I added one wood veneer star to each photo.
For printing at home I use the Epson PictureMate Show for the vast majority of my Project Life photos and Epson Ultra Premium Photo Paper Glossy. Highly recommended.
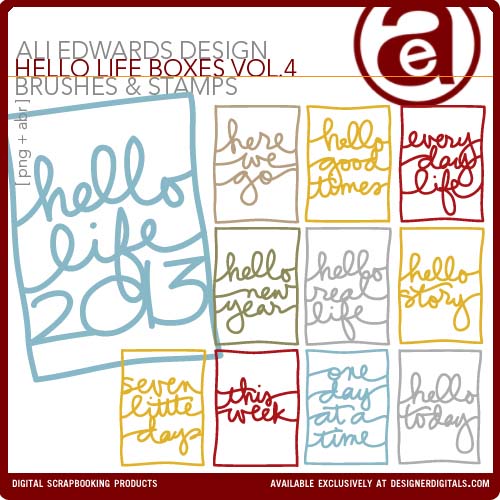
The "Hello Life 2013" design is available here and was cut with the Silhouette. Learn how to trace my digital PNG files in the Silhouette Studio software here.
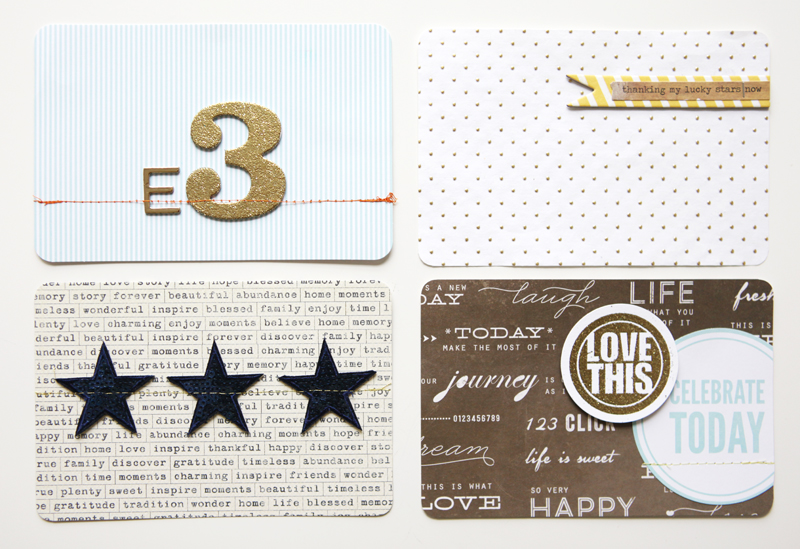
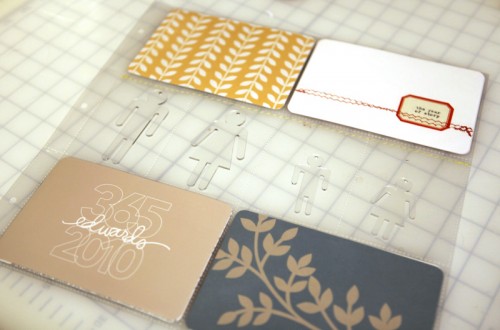
In addition to the photos I create four, 4x6 cards.
Here's a closer look at the design formula for each card:
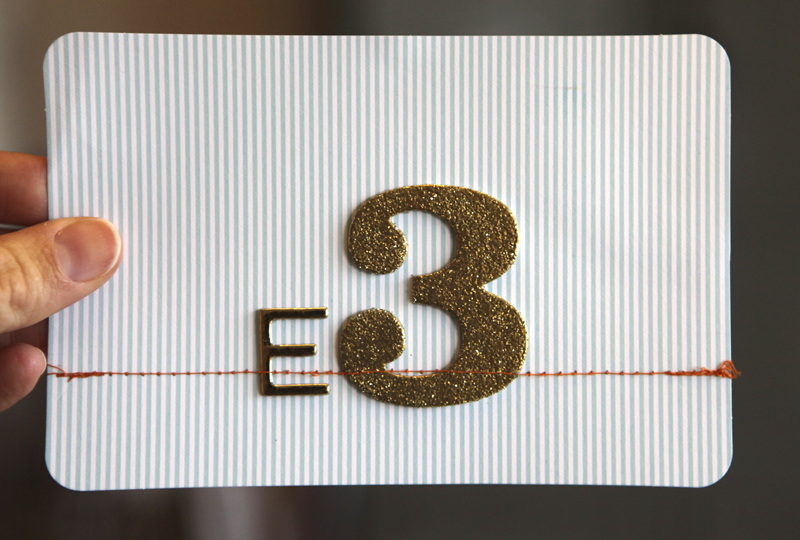
Seafoam Kit 4x6 Card + gold American Crafts Hardcover Chipboard alphabet + October Afternoon Make It Merry chipboard #3 + gold Zing glitter embossing + Orange Stitching.
I use a Brother XL2600 sewing machine. Love it.
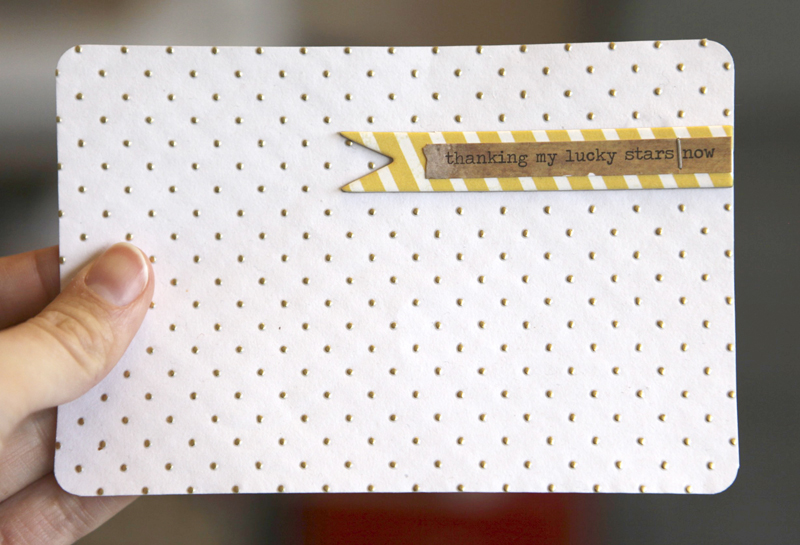
Gold Dot Paper (from JoAnn's) + My Mind's Eye Be Amazing Chipboard Banner + Heidi Swapp Sentiment Sticker + Tiny Attacher Staple
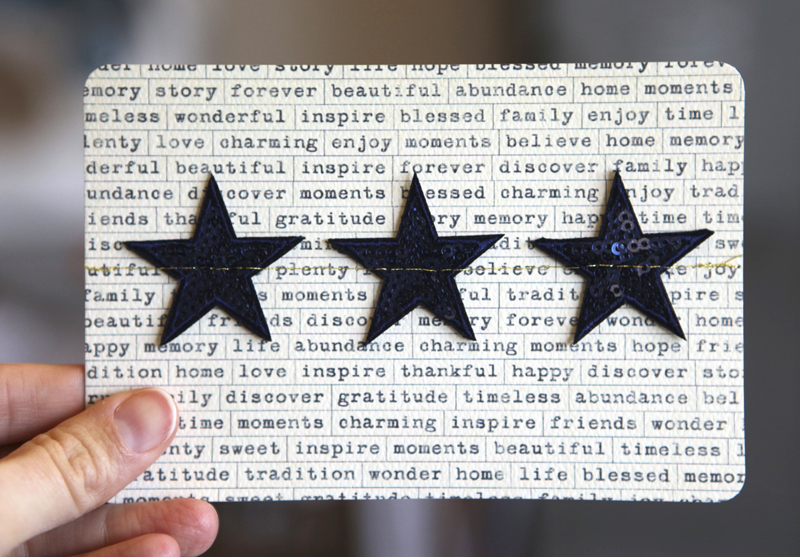
Heidi Swapp Disco Stars + Teresa Collins Word Labels Pattern Paper + Gold Stitching
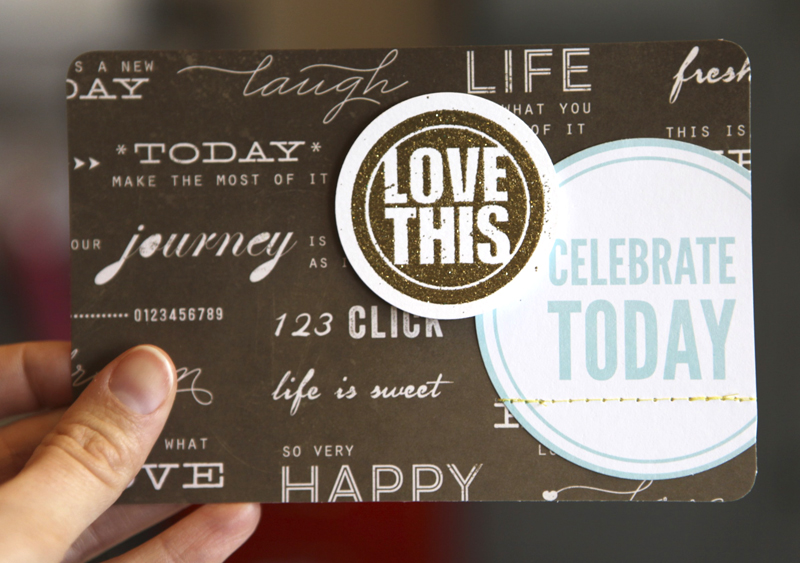
KI Memories Blackboard 12X12 Flashback Paper (available in the Studio Calico Penn Station Kit) + Celebrate Circle from Seafoam Kit (punched out from a journal card with a Marvy 3-inch Circle Punch) + gold glitter embossing Zing + Technique Tuesday Good Day stamp (punched with a 2-inch punch)
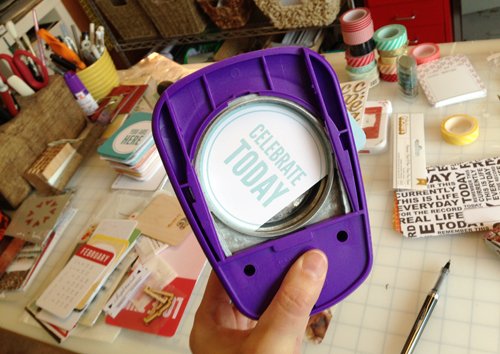
Using the 3-inch Circle Punch to cut the circle from the Seafoam 3x4 Card.
Bring on 2013!
SUPPLIES | 2013 | INTRO PAGE
Click on the images to link to the products.


Comments
Sign in or sign up to comment.
63 comments
Hello Ali, I was wondering when you do your Hello Life Boxes are you using card stock or vinyl? Do you glue them on your photos? I saw on your December Daily tutorial for your words that you do do that. . .
Replies
I use cardstock. In this album I often use them on their own, slipped into the pockets so that you see-through to the other side.
Sign in or sign up to reply.
Ali,
Regarding printing your own photos, I am wondering at their longevity. I would love to print at home, and used to, but after a few years, the quality of the photos drastically went down, they seemed to age or fade or get darker. I'm not sure if it was an ink quality issue or printer quality issue, but I'm just wondering what your thoughts on that are. It seems like I'd be able to keep up much better if I wasn't constantly uploading photos to get printed and waiting to have them mailed back.
Thanks!
Replies
Sign in or sign up to reply.
Love to see all your intro-pages together! So beautiful.
Replies
Sign in or sign up to reply.
Hi Ali,
Considering purchasing a new photo printer. Have you ever made a video or tutorial on your photo printing process? I often add your digital art to my photos prior to printing and I assume that would be the same except I would print to the Picturemate instead of my regular printer. The Picturemate looks like it might fit the bill.
Replies
Hi - yes, same exact process. I just choose the Picturemate to print those 4x6 photos vs. using my larger printer - same steps.
Sign in or sign up to reply.
Another printer question: you previously used an epson stylus R2000. I am now noticing you are using and recommending the picture mate. I have the R2000 and have decided to start printing my PL photos at home...just curious why you switched. Also, any tips on color management or profiles with this printer...so far my photos seem a little dark. Always inspired by your work. Thanks!
Replies
Hi Tiffany - I still use both pretty consistently. For Project Life 4x6 prints I've been using the PictureMate pretty exclusively because it's just simple and easy. For all my enlargements or different sized prints I use the R2000. I wish I had more tips on color management - I really just adjust via trial and error. I know that I often need to over-compensate a bit on the screen (usually lighter) to get the color I want in the print.
Sign in or sign up to reply.
Hi Ali - I just started Project Life in 2013, and just recently found your website while I was looking for ideas. Of course, I had heard and seen your name and ideas before, but I never had folowed your blog. What struck me as I was looking at this post was the 3 for you and your kids. There is now 3 in my family too- my kids and I - as I am going thru a divorce. In fact, it was very important to me to start PL this year because I am ready to focus on the good things that I still have in my life, and my memories with my kids are the most important! I just wanted to thank you for sharing yourself on this blog, and let you know that it made me feel more of a kinship with you, and gave me inspiration and hope. Thank you!
Replies
Sign in or sign up to reply.
[…] Project Life 2013 […]
Replies
Sign in or sign up to reply.