Day In The Life | 4x4 Mini Book
Tags: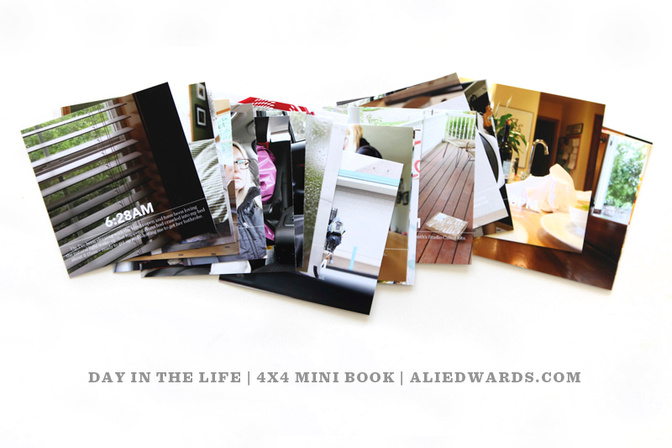
Today I'm sharing what I ended up doing with my words & photos from my Day In The Lifedocumentation back on May 8th. You can check out my post that just includes the words and photos here.
Last year I did a Day In The Life each month from January through June. I incorporated my words and photos into Project Life® using a 6 inch x 12 inch layered template. You can read more about how I did that here:
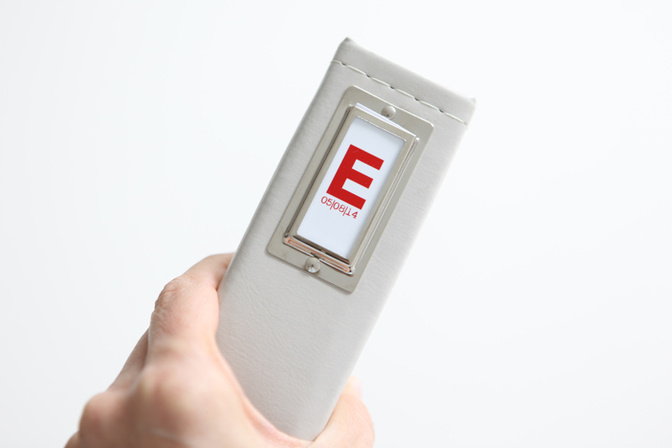
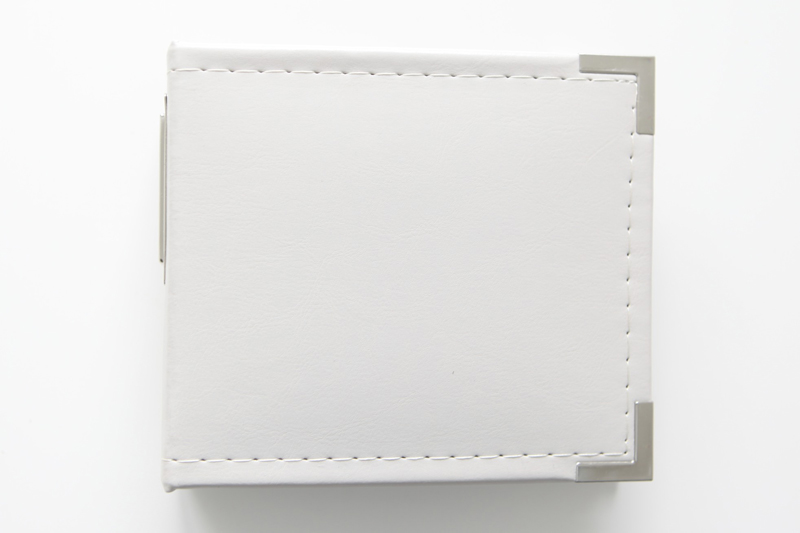
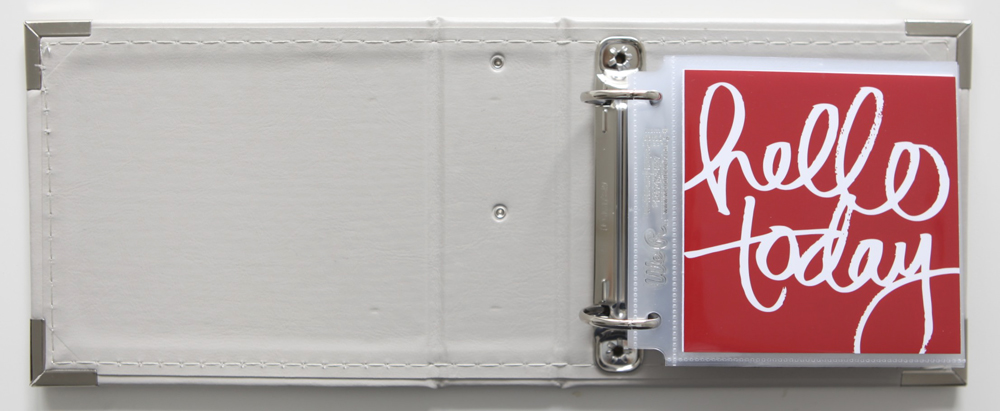
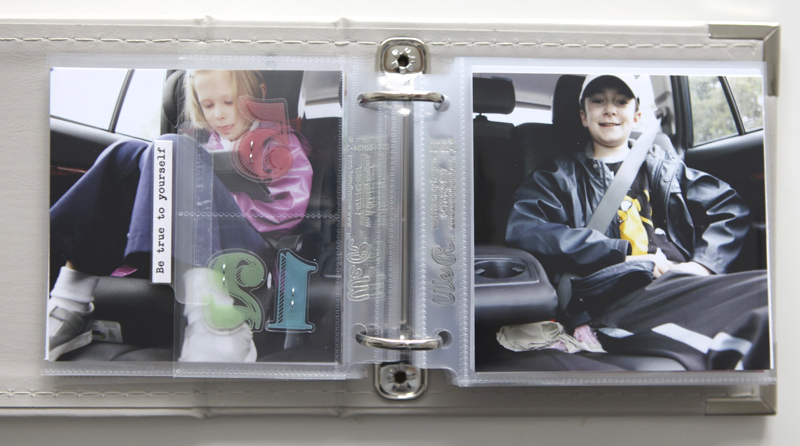
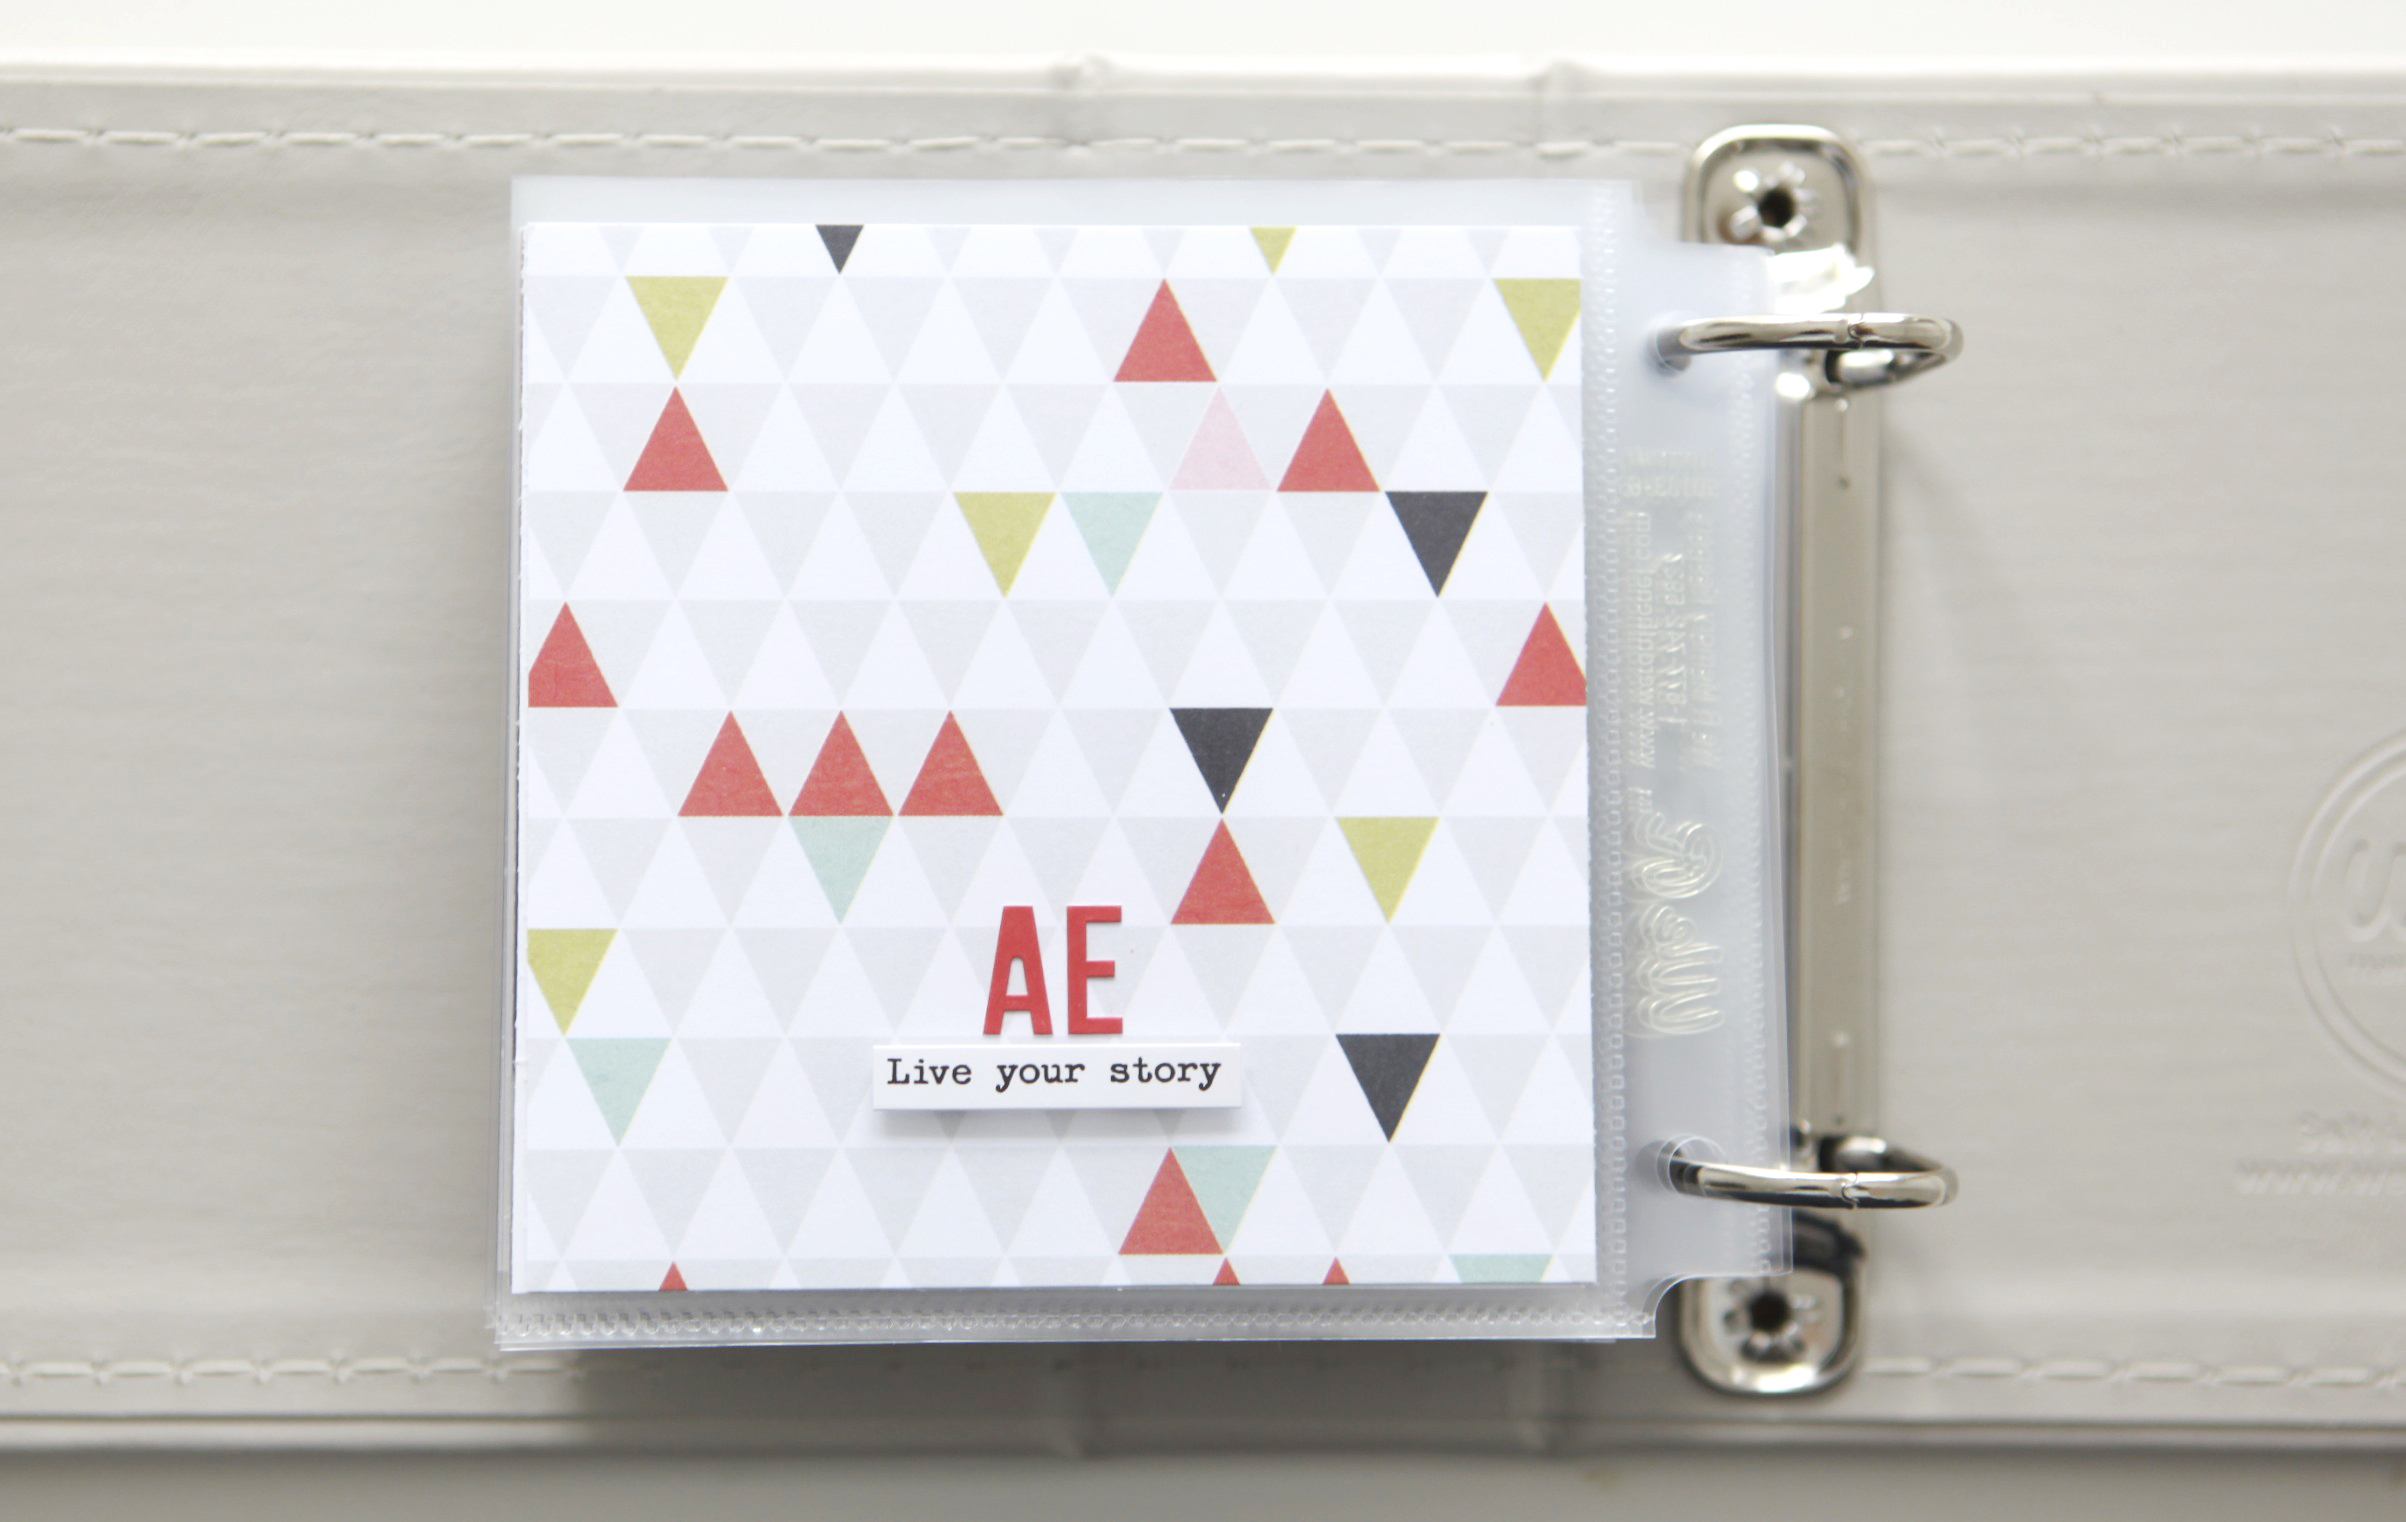
This time I decided to go with a 4 inch x 4 inch mini-album from We R Memory Keepers and ended up using 30, 4x4 photos.
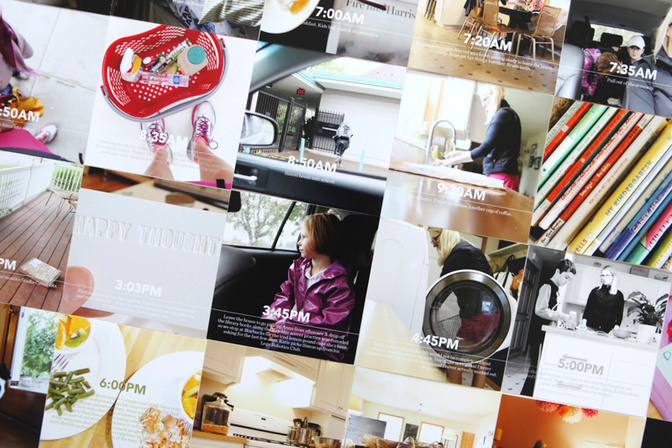
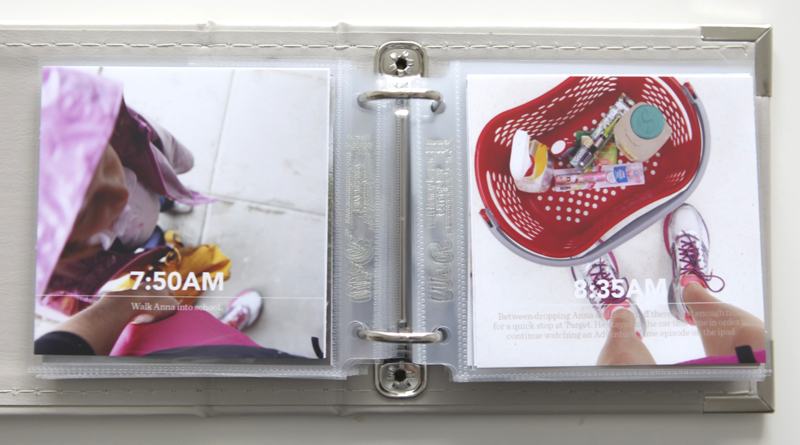
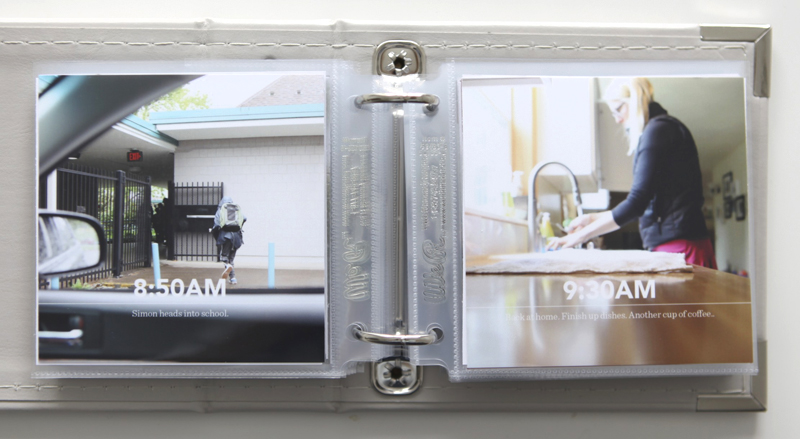
All photos were printed here at home on the Epson Picturemate Show printer. I printed these on 4 inch x 6 inch paper and trimmed off the excess. I know I mention that printer all the time - it's because I use it all the time and it's awesome. I would totally buy another one if this one breaks. Love being able to print when and what I want.
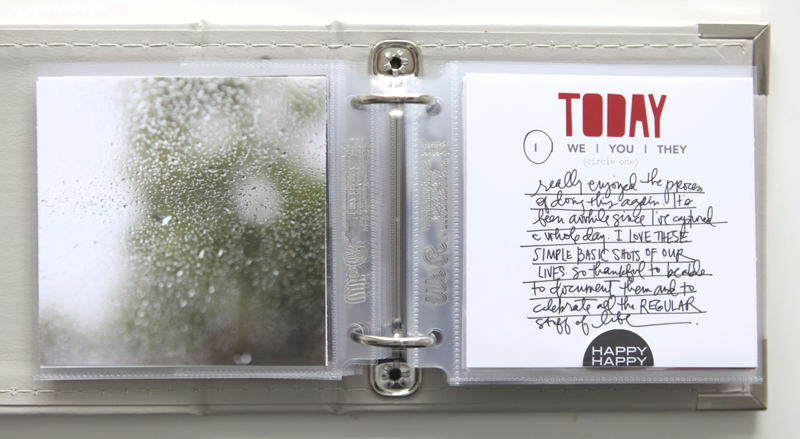
In addition to my 4 inch x 4 inch photos I also used this 4 inch x 4 inch set of printables. I ended up printing these on the Epson Picturemate Show printer too. Sometimes I print printables on Epson Matte Presentation Paper and other times on photo paper. Depends on the size and on the color.
If you don't want to work in the 4 inch x 4 inch size here's a 3 inch x 4 inch Day In The Life Cards version as well for those of you that might a different size or color family.
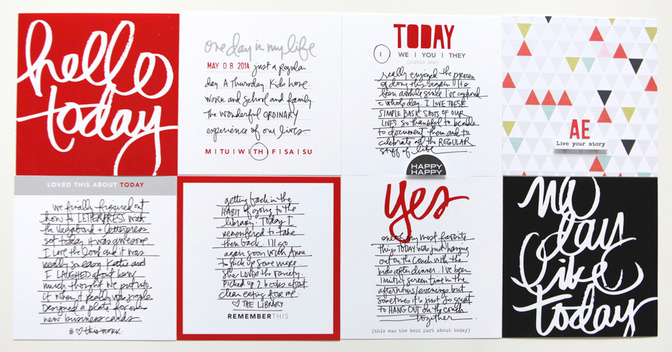
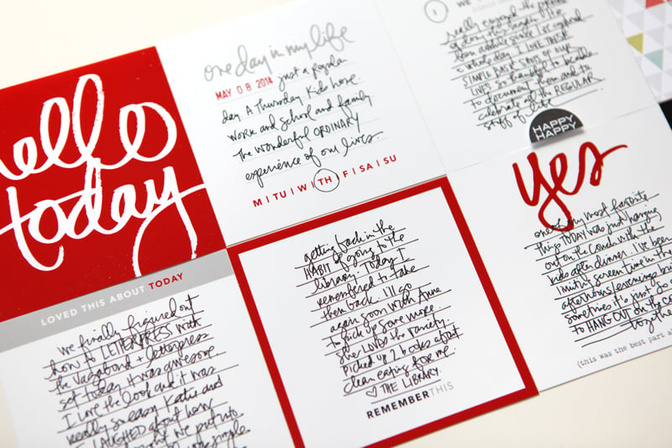
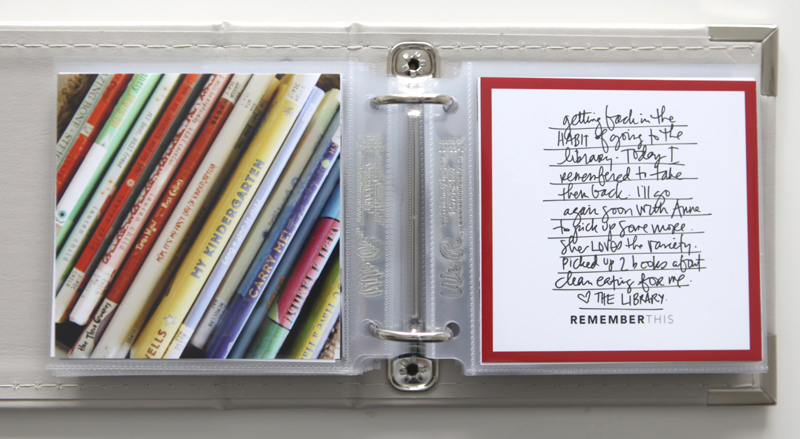
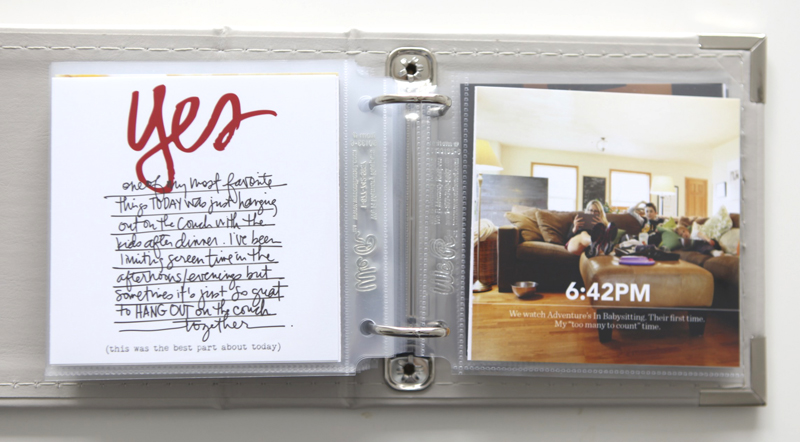
I loved how these cards turned out. I used a Precision Pen in .03 to write on the photo paper.
On these cards I ended up adding some additional text that wasn't included in my original post - they ended up being more perspective-style journaling vs. the facts of what was happening that day.
I also ended up cutting up a 12 inch x 12 inch piece of pattern paper from Teresa Collins for the last page of the album - that's the diamond paper called Something Wonderful Geometric.
ANOTHER IDEA
If you'd like to incorporate 4 inch x 4 inch images and printables in Project Life® you could use these 12 inch x 12 inch page protectors from We R Memory Keepers.
Here's a look at my completed book:
THOUGHTS ON THE PROCESS
I loved playing with this size. 4 inch x 4 inch was enough of a departure from what I usually work with that I felt renewed energy working in this size.
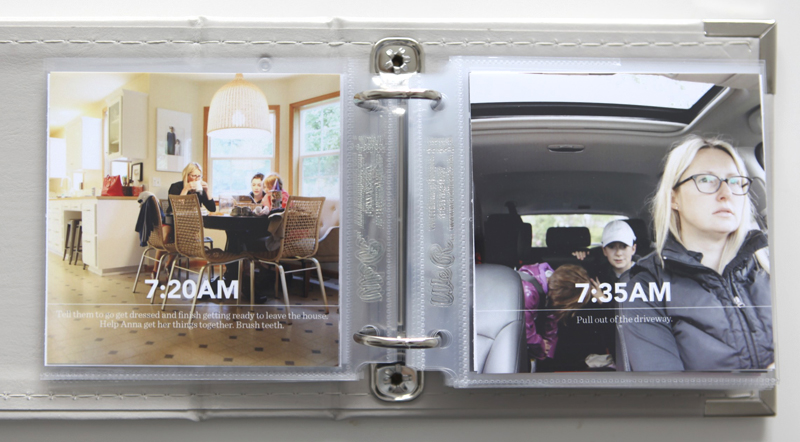
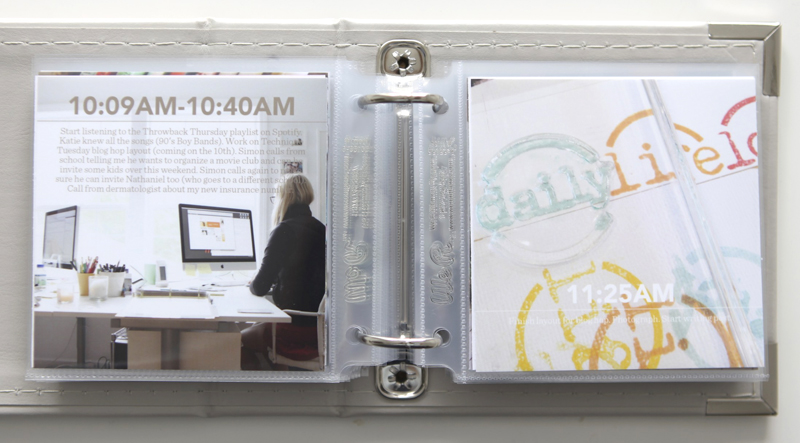
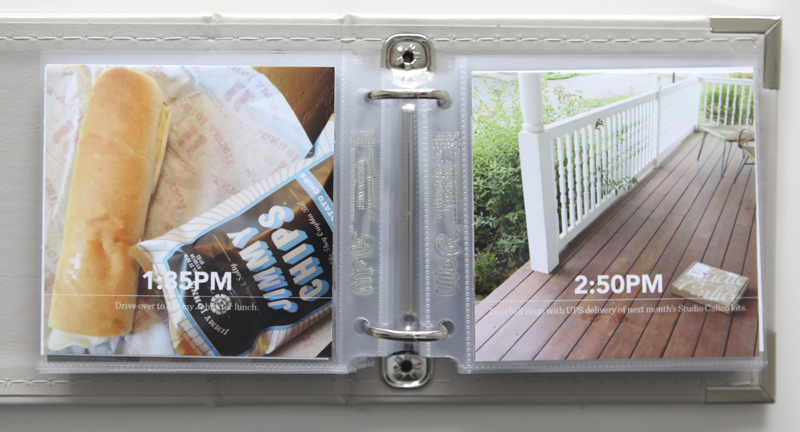
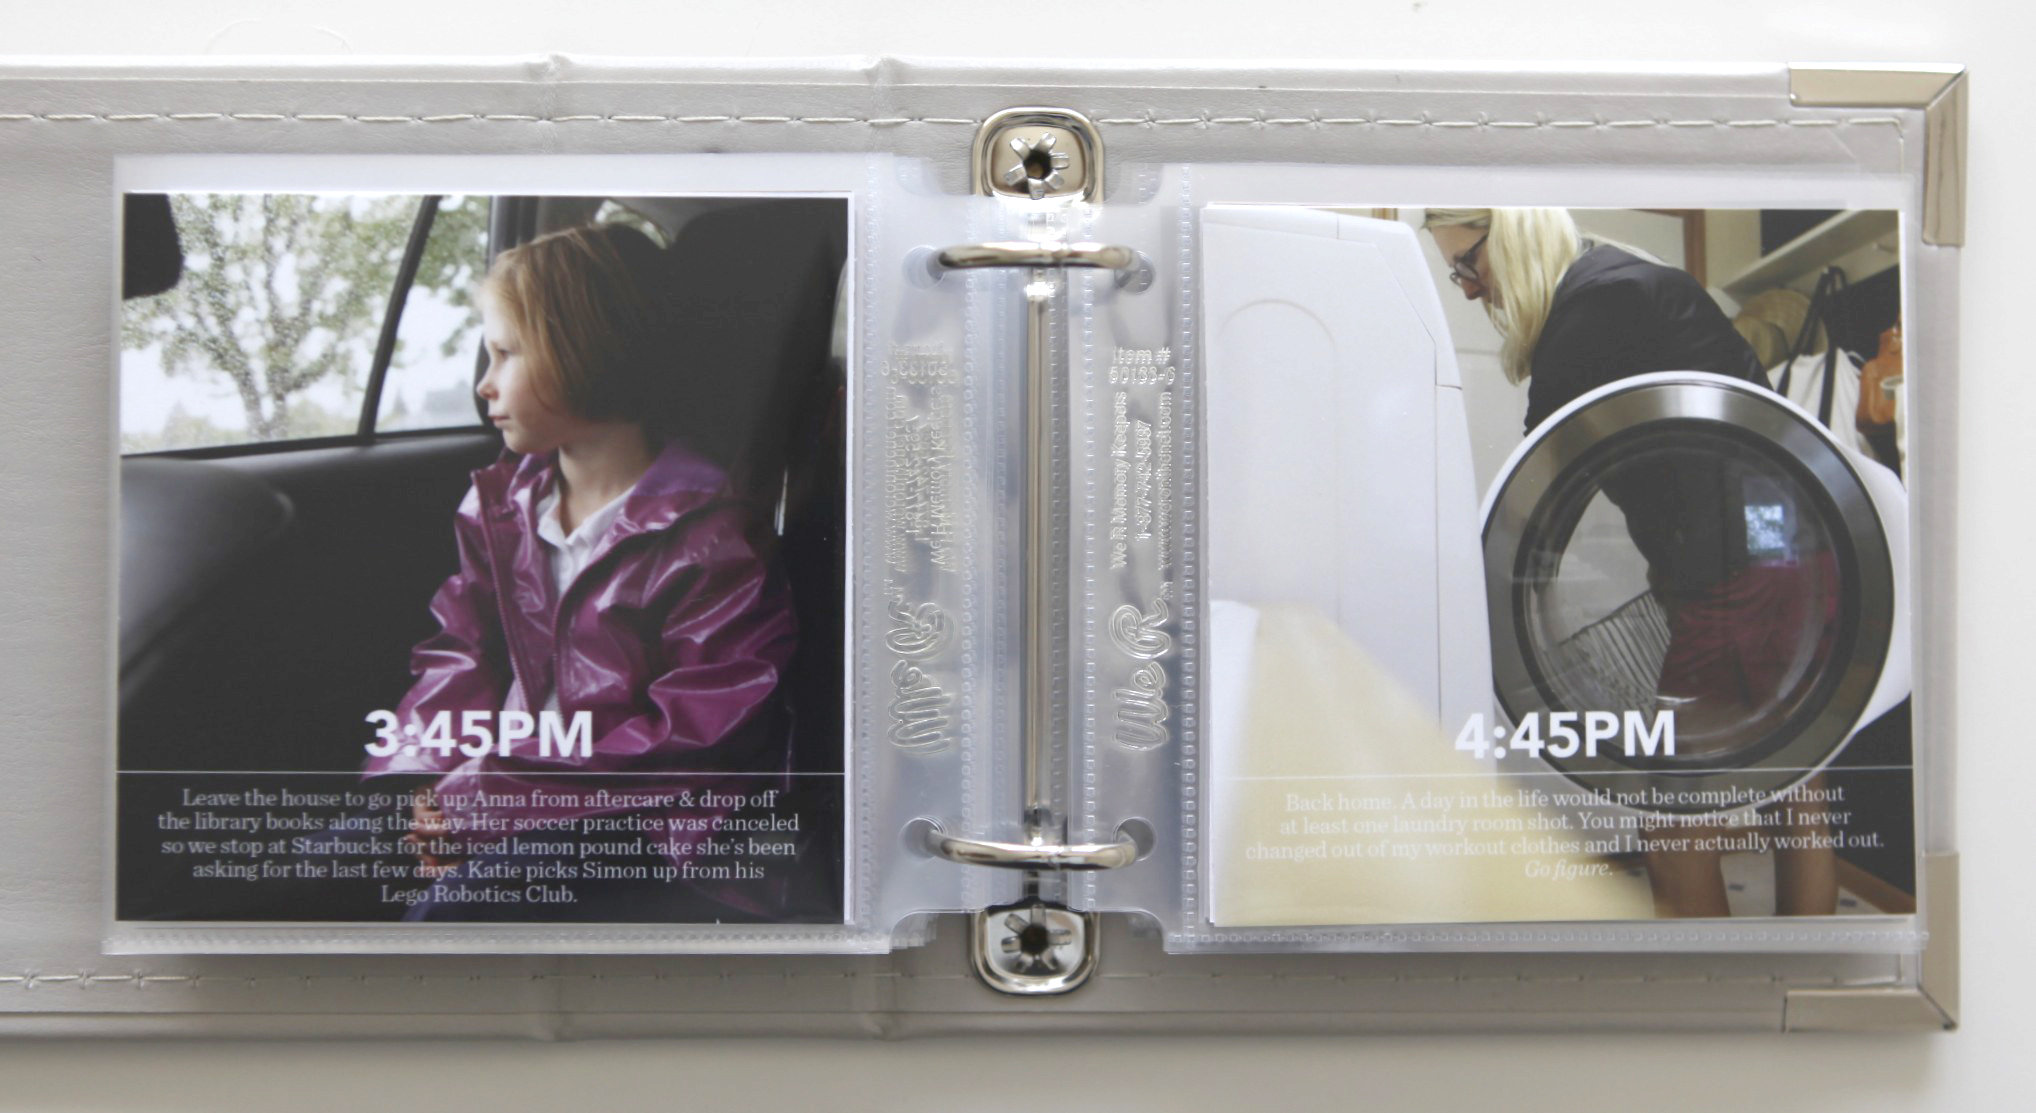
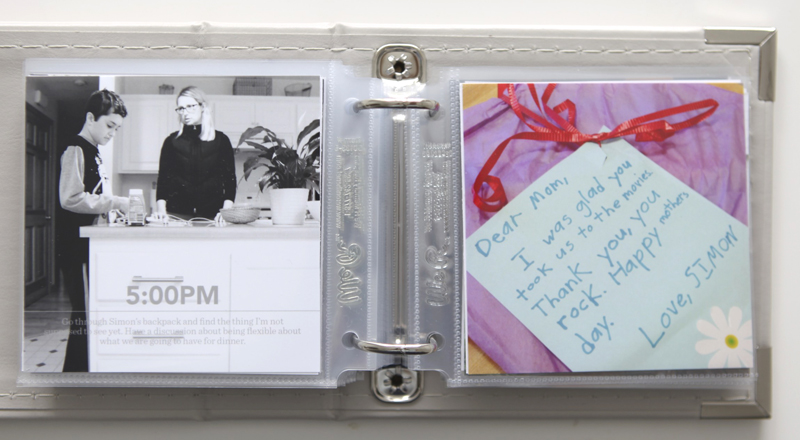
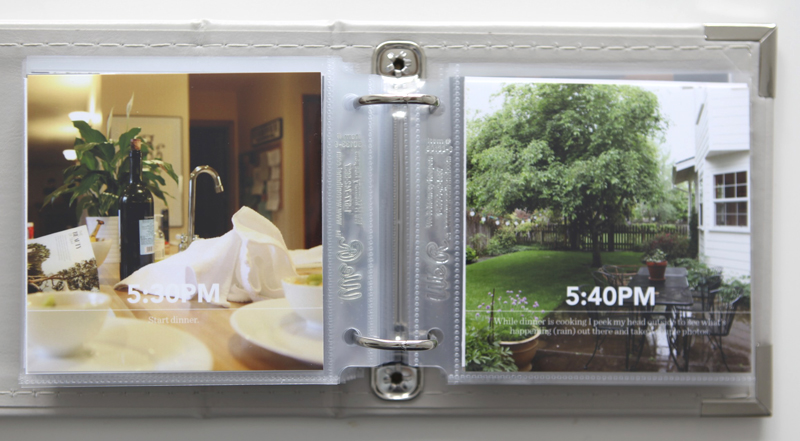
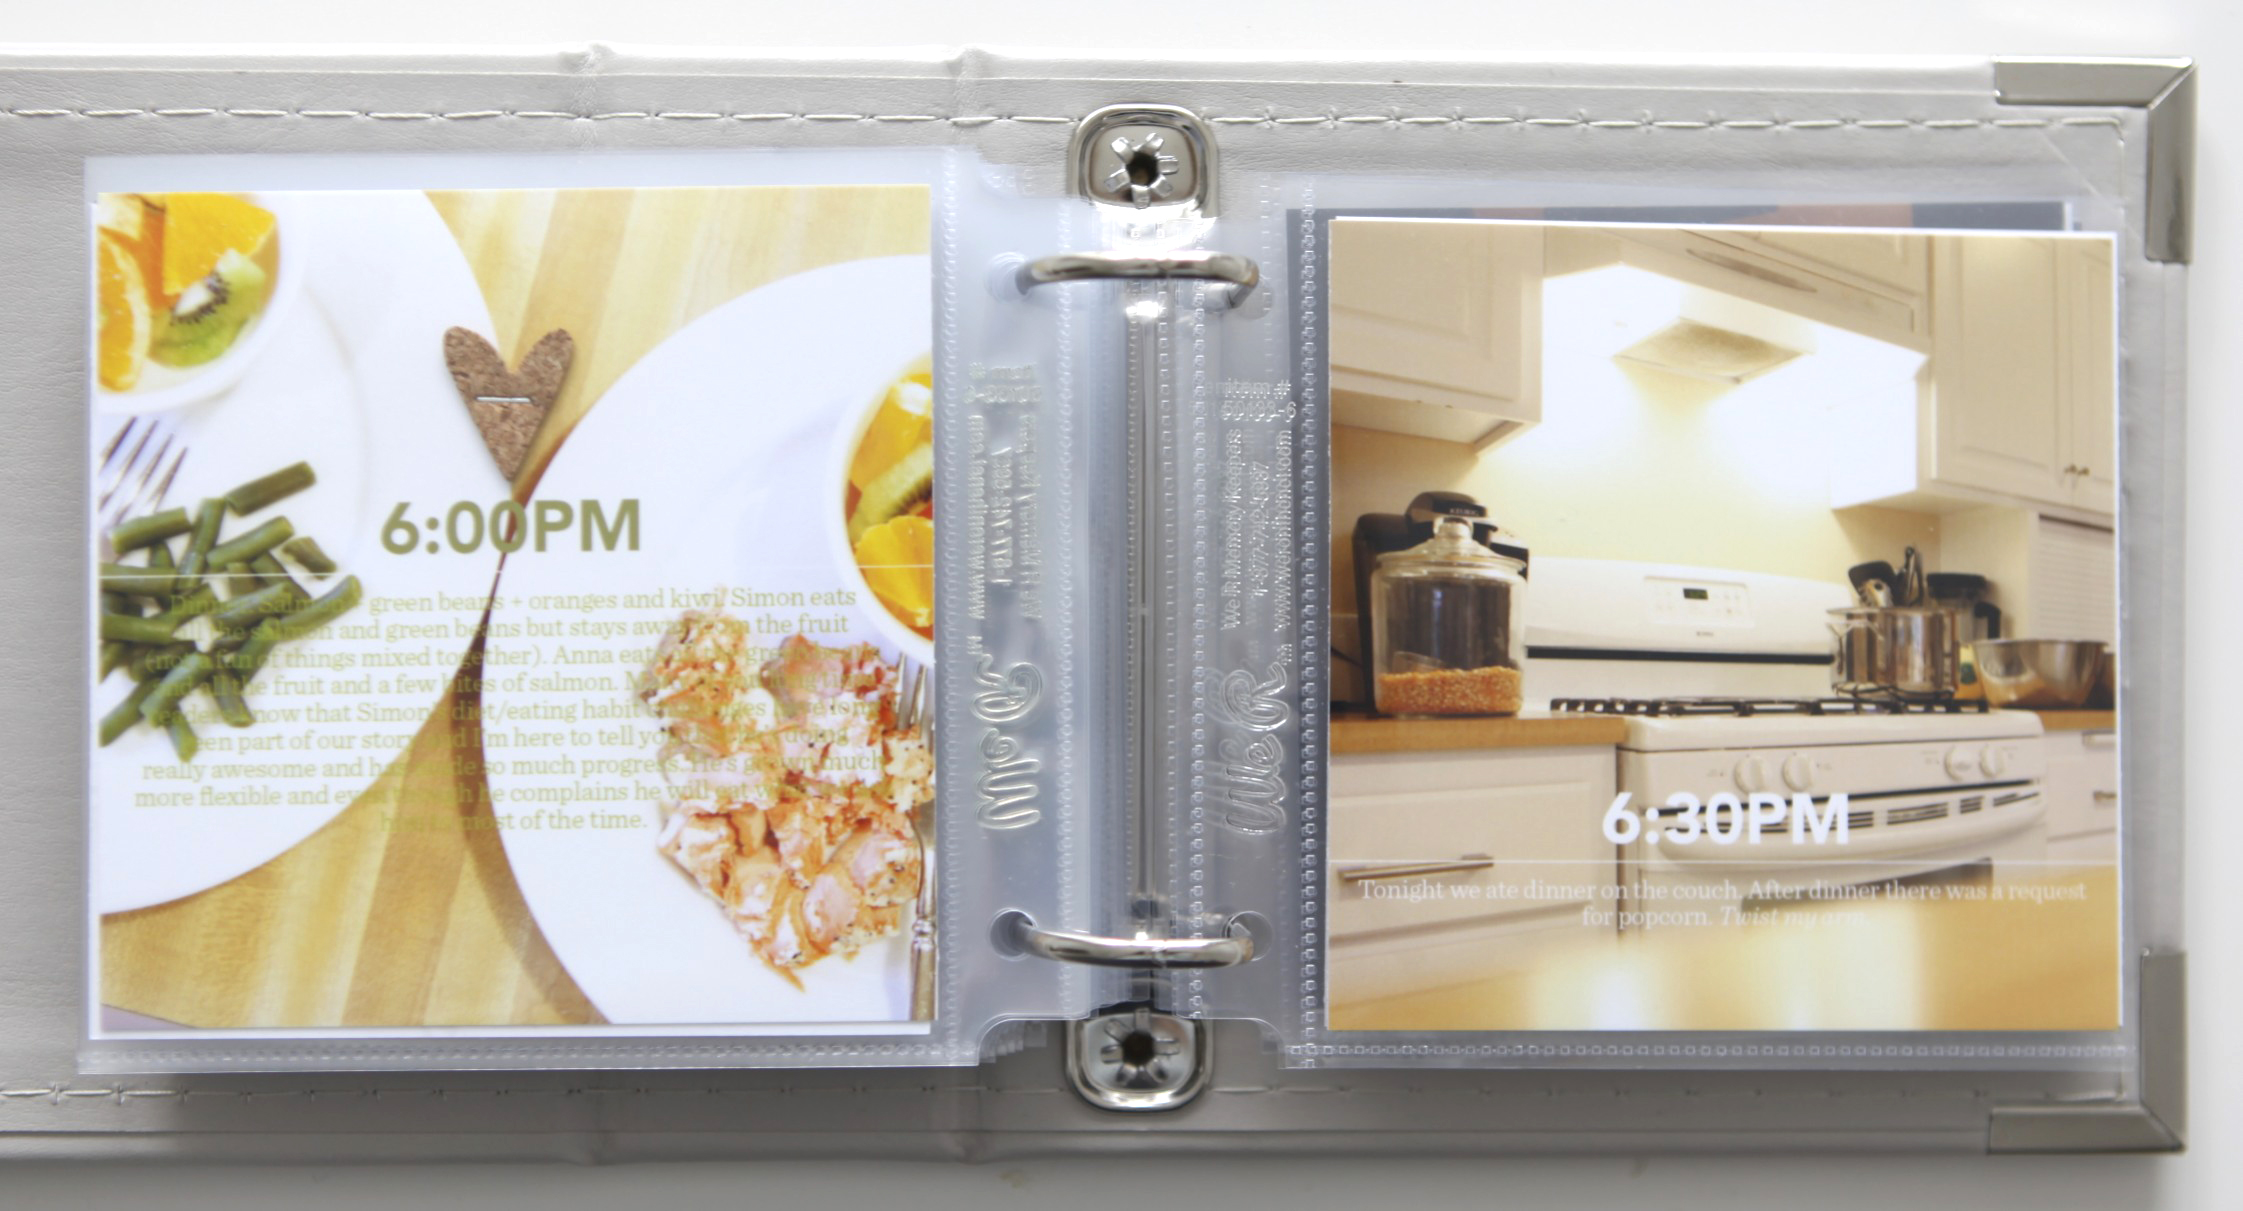
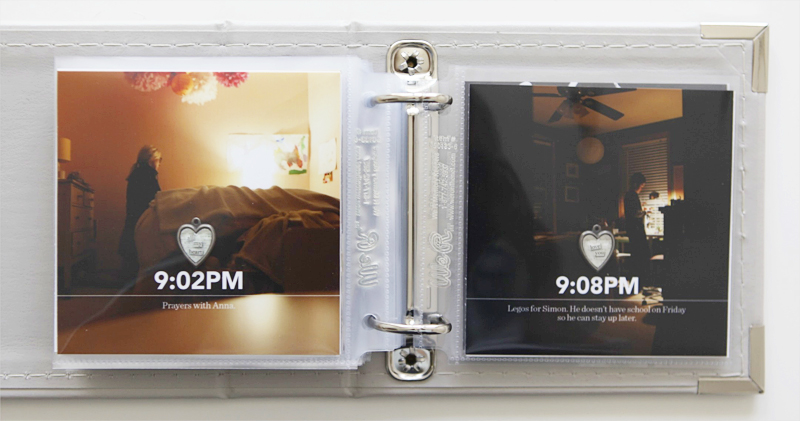
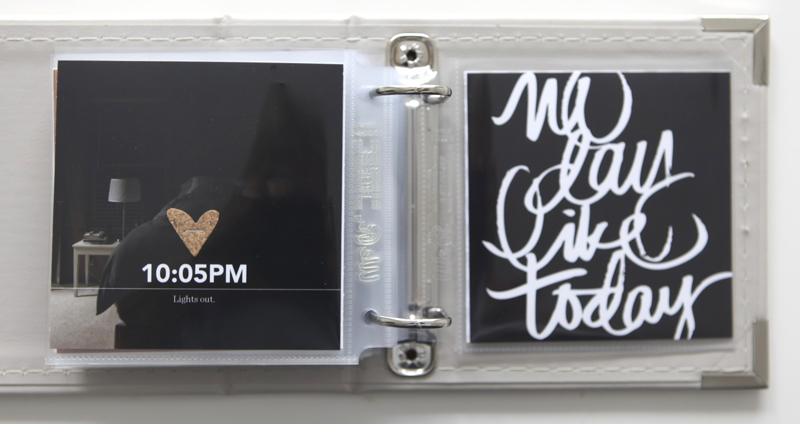
I loved putting the times on the photos. As you will see below I ended up putting the time, a line, and some text (pulled directly from my blog post) on each photo (with the exception of a couple that I left blank that were companions to another photo from the same time).
I added just a few embellishments here and there. I thought about adding more but I ended up even taking a few things off (and reprinting the photos).
Wood veneer circle is from Elle's Studio Happy Day. White transparent polka dots is from this set at Studio Calico.
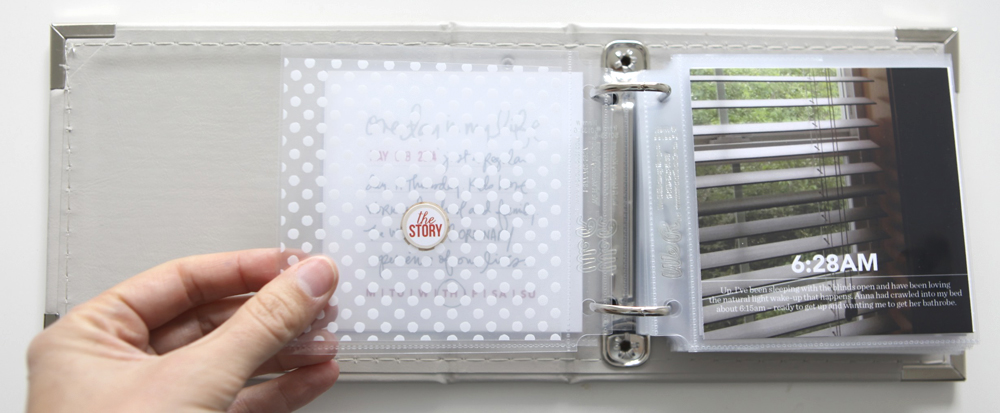
Small "the story" circle sticker is from Teresa Collins Something Wonderful Sticker Sheet. I cut it to make it a circle because it had an extra little tab on it.
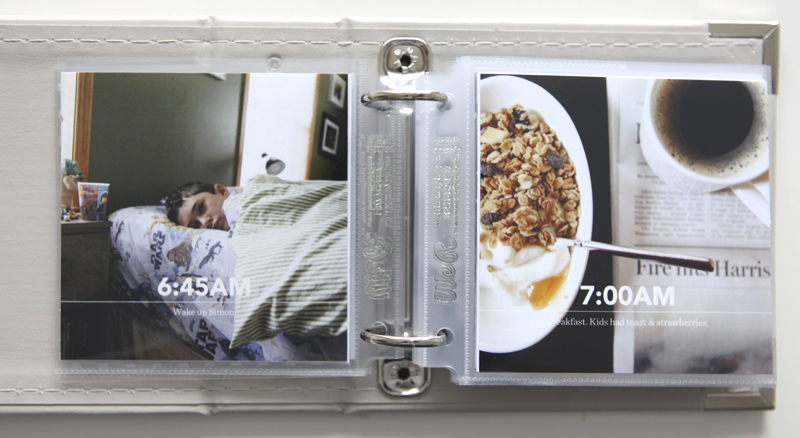
As I mentioned above I opened, edited (using RadLab) and added text to each of my photos in Photoshop. I basically kept one file open and dragged and dropped my photos on top and then changed the time and words - each time doing a Save As at the end.
Most of times and words stayed in the same position but some changed due to more words or too much white along the bottom of the photo.

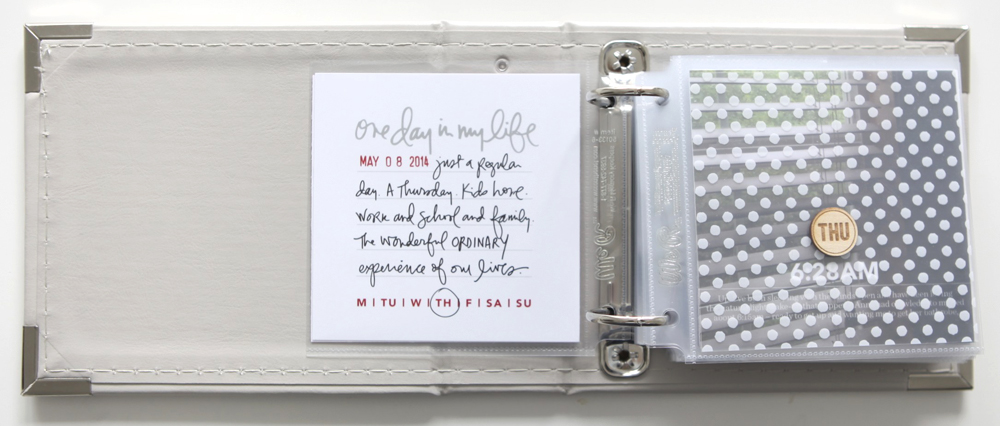
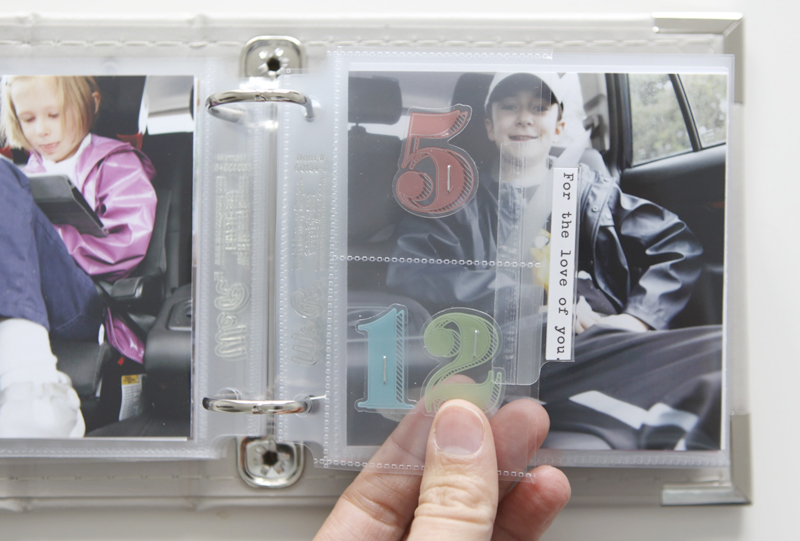
Sometimes when I put together projects like this I like to specify the kids ages. This means no math for me later on (win) when I look back through the album to try and figure out how old they were at a particular point in time.
This little insert is one of the 4 inch x 4 inch divided page protectors that I cut in half and slipped a "5" and a "12" in from this set of Heidi Swapp ephemera. Those are kept in place with small staples from the Tiny Attacher.
And, as some of you know, I love adding 2 inch index tabs to my inserts. Inside I slipped a couple stickers (stuck back to back) from Cosmo Cricket.
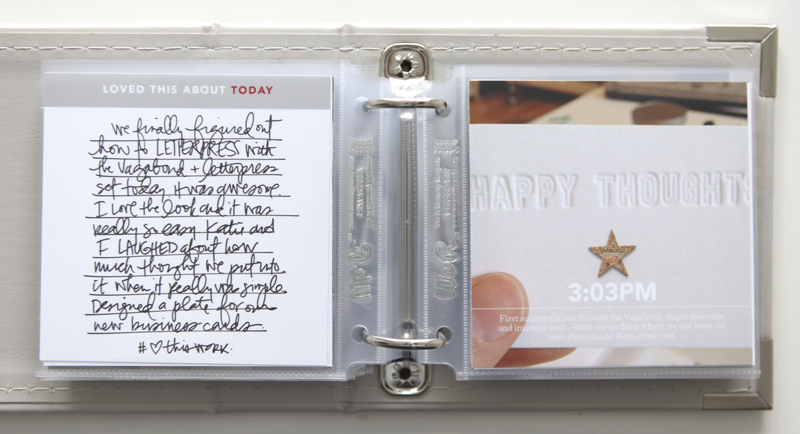
A stapled cork star adds a little interest to this one.
Cork heart added to this photo. Again, it was random.
For these two images I did want to add in something a little different. I chose these metal heart charms from Tim Holtz.
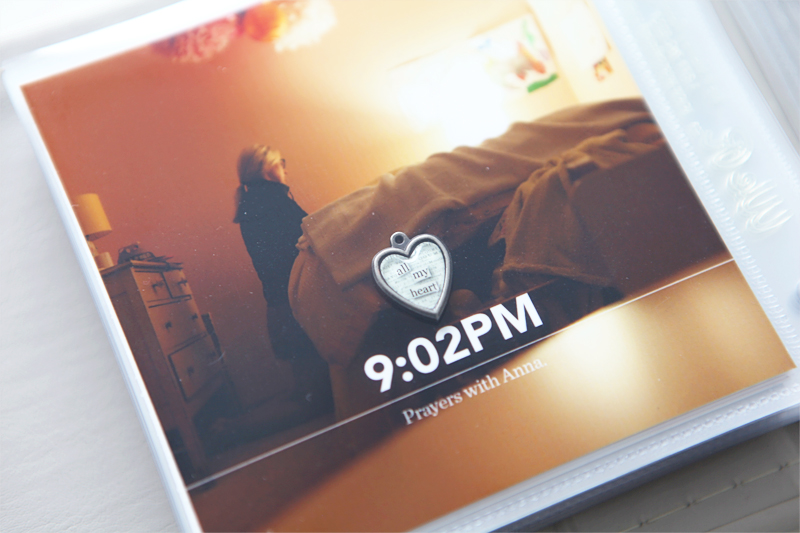
Each of the pieces are separate in the package (the charm, the designed paper and then a plastic epoxy that fits on top). I adhered them with a mini-glue dot.
A little cork heart to finish off the day.
SUPPLIES
Click on the images to jump to the products.
SHARE YOUR STORY | LINK TO YOUR DAY IN THE LIFE
Did you participate in Day In The Life this go-around? I'd love to see your blog post and/or how you made something with your content. Please link directly to your post vs. your general blog link.


Comments
Sign in or sign up to comment.
58 comments
Ali, your photography is mesmerising. Your ability to capture everyday subjects and moments through the lens with such beauty never ceases to amaze me.
Replies
Thank you!
Sign in or sign up to reply.
I love this idea! This time was my first "day in the life" and I sort of got distracted by not so daily events that happened, but I most certainly would like to document a day like this. Especially during summer it would be such a nice addition to other memory keeping. Thank you Ali!!!!
Replies
Sign in or sign up to reply.
Your designs are so timeless and I really appreciate you sharing your talents. You've been inspiring me for many years now and the awesome thing is, that I feel like what I was inspired by 5 years ago is still applicable today. You are freakin' awesome. :)
Replies
Thanks Jen!
Sign in or sign up to reply.
I second what Jen said. Through the whole book I've just been thinking, Ali, I love you. :) You make life look so beautiful but it's clear that you are choosing to see that beauty & that by choosing to see it, you do see it. Looking through the album pages (and so many posts) reminds/convinces me that the life-beyond-life of right now is accessible to me every day as well...
Scrapbooking, photographing, writing, laying out--so time consuming that I constantly second-guessing whether it is a good use of my time and energy, but here it's so clear that the whole point is to do it in the service of living well. Love it. Thank you.
Replies
Sign in or sign up to reply.
What a spectacular album! I love the idea of doing this. I'll have to pick a weekend sometime soon, perhaps when my kids are with their dad to capture a day in my life (without kids). LOL
Replies
Sign in or sign up to reply.
[…] Ali’s 2014 4×4 Day in the Life album […]
Replies
Sign in or sign up to reply.
How do you get so many great shots with kids? I guess I'm asking what timer do you use with your iPhone? This is great!
Replies
Sign in or sign up to reply.
Love your project and the color scheme and book size that you went with. I finally tried doing this myself ad hope I continue to do it each month! Thank you for the inspiration!
Replies
Sign in or sign up to reply.
So lovely!
Replies
Sign in or sign up to reply.
Love this! Great, as always - question: what font did you use for the times on the photos? For the text? Absolutely lovely!
Replies
Sign in or sign up to reply.
[…] few months ago I picked up the most adorable gray 4 x 4 album from We R Memory Keepers. I had seen a cool project my good friend Ali Edwards had done, and I thought, “I want to make something, too, but for […]
Replies
Sign in or sign up to reply.
ali - what font did you use for the time stamp and journalling please? many thanks
Replies to scrappysuenz
I emailed and the response was Helvetica Neue for the time and Sentinel for the text! Have a great day:)
Thanks! I was looking for that info too!!
Sign in or sign up to reply.