Project Life® 2019 | September
Tags: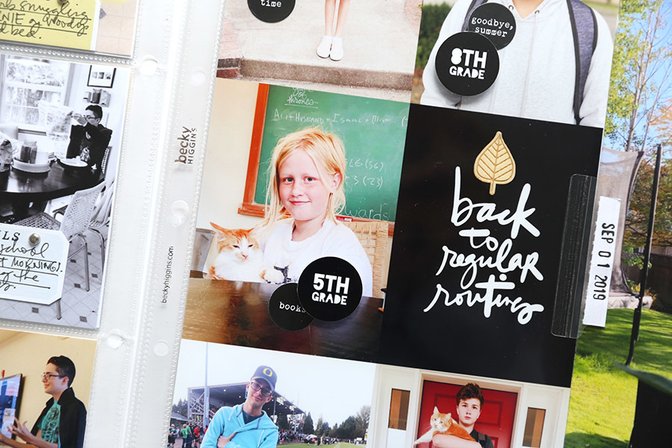
I've got a busy month coming up working on December Daily® projects (foundation pages + Product Play 3 content) + Wellness Story participation so I took some time today to get our September story told in my Project Life® album.
In looking back at my September photos what I saw was simply and obviously a return to our regular routines. I decided to focus on that as I selected, printed and told the story of our month.
Here's a look at how I brought it all together:
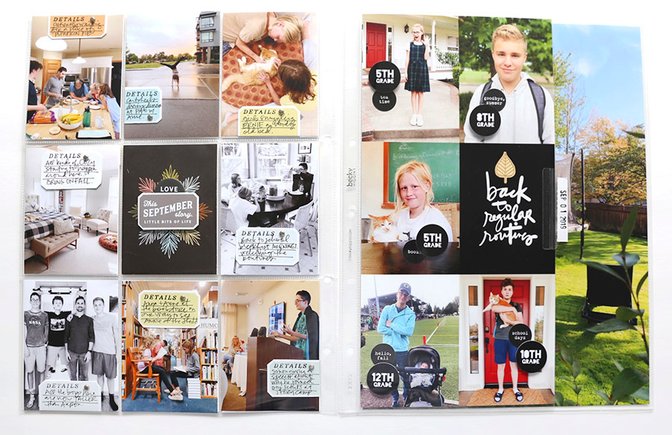
For September I decided to include one 6x12 full page insert and then one full page 9x12 photo at the end.
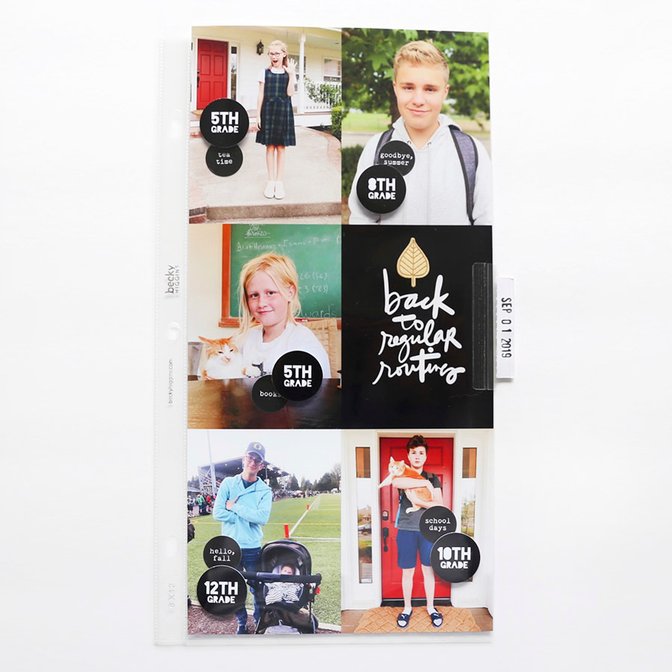
When selecting photos - I feel like I took less in September - I picked ones specifically that showed more rather than less of us generally (meaning groups of people). I wanted to show how "everyday" life for us is back to the way it is for the majority of the year. Along with those photos I also wanted to include photos of each of the kids individually and mark what grade they were starting.
After printing my 3x4 photos for the first part of the story I grabbed one of the 4x6 cards from the September Stories By The Month™ Kit and decided to cut it up and use the shapes on top of my photos.
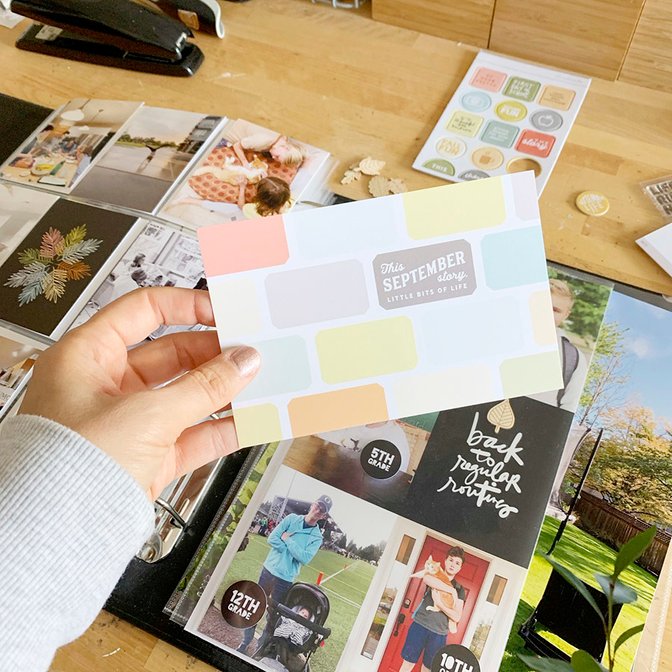
After cutting out those shapes I added the one with the text on it to the top of one of the 3x4 cards using foam dots. Above that I added one of the half-circle chipboard pieces.
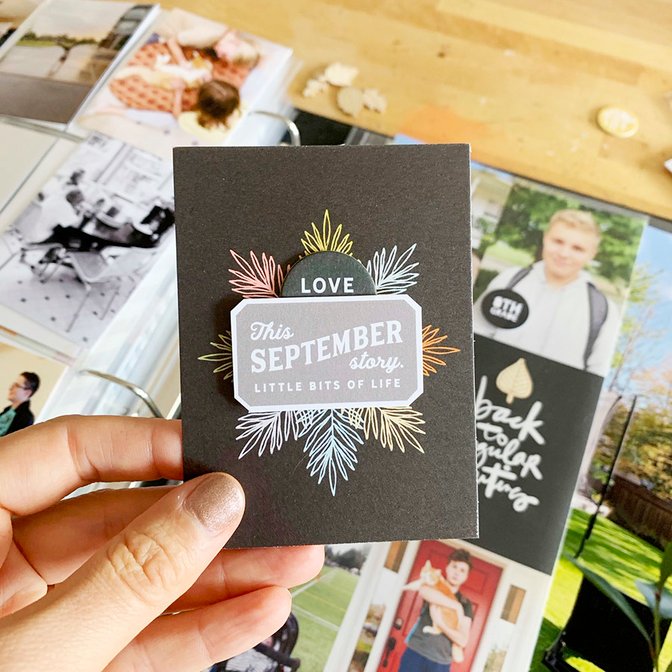
Next I took those pieces I cut from the 4x6 card and arranged them on top of my 3x4 photos.
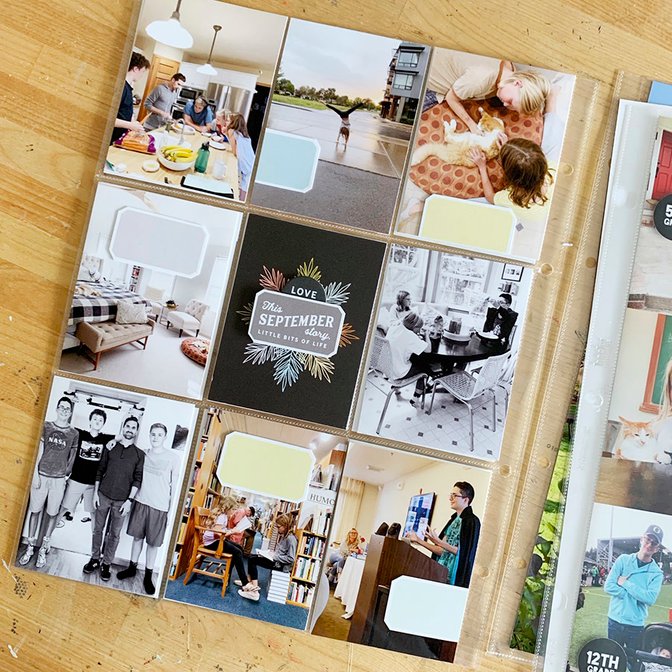
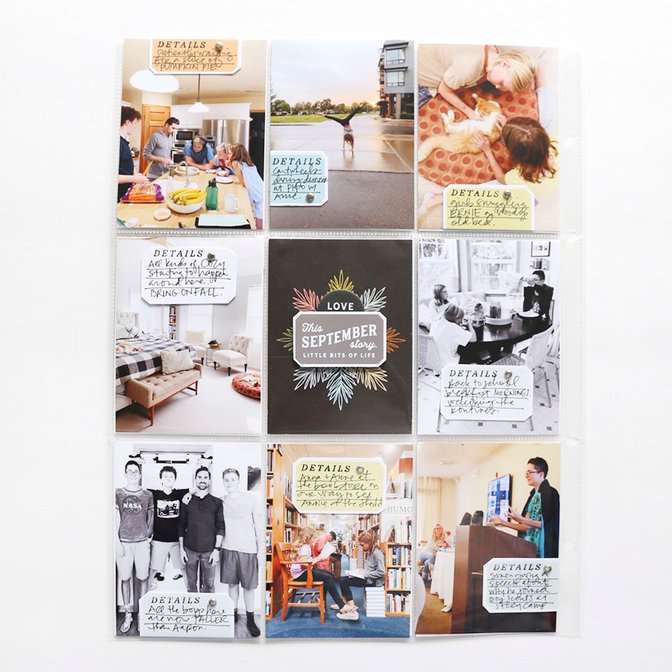
After adhering those down I used the "September details" stamp from the kit and added that to the top of each of the shapes cut from the 4x6 card. I also used added a silver mini brad to each of the journaling shapes.
For my 6x12 insert I printed one photo of each kid and then created the grade circles in Photoshop. This photo collage was put together in Photoshop and then printed out all at once to fit into the full page 6x12 page protector. I printed and punched out the circles using a 1 inch circle punch and adhered them with foam dots.
I saved my "back to regular routines" custom word art (png + jpg) and have it for you to download here.
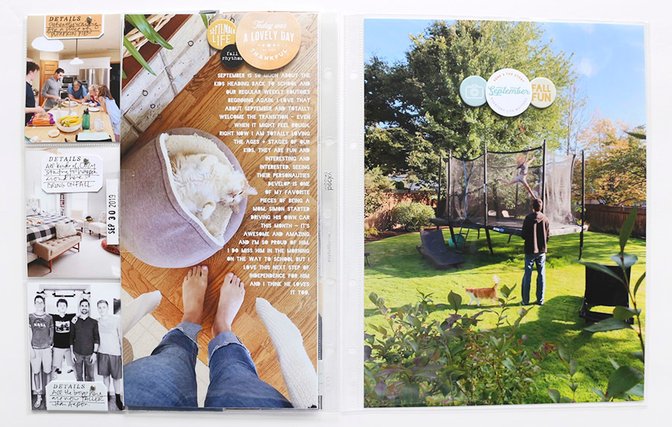
The second part of my story this month includes two enlarged photos. One showing Ernie snuggling in his fuzzy bed with text printed on top and the other a photo of Simon taking photos of Anna out on the trampoline. On top of each I punched 3x4 cards to create circles and paired them with chipboard and sticker circles.
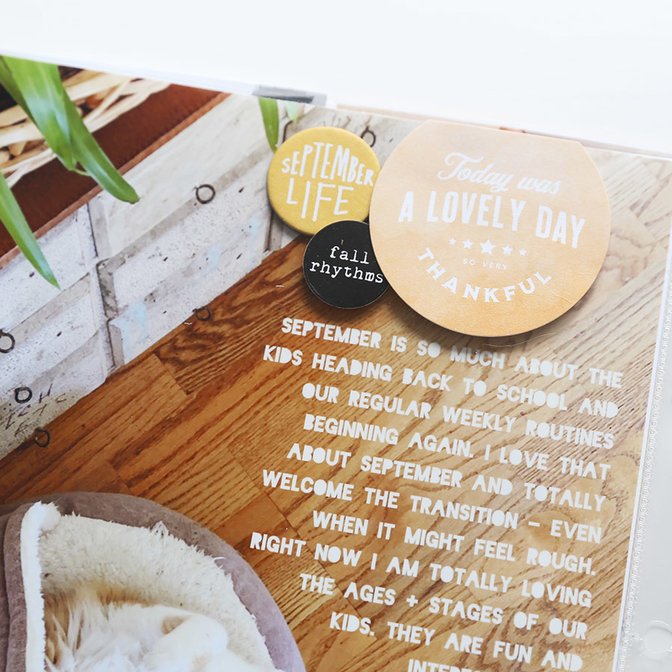
The font I used here is called Blackout. I used a 2 inch circle punch to cut the "today was a lovely day" from the 3x4 card.
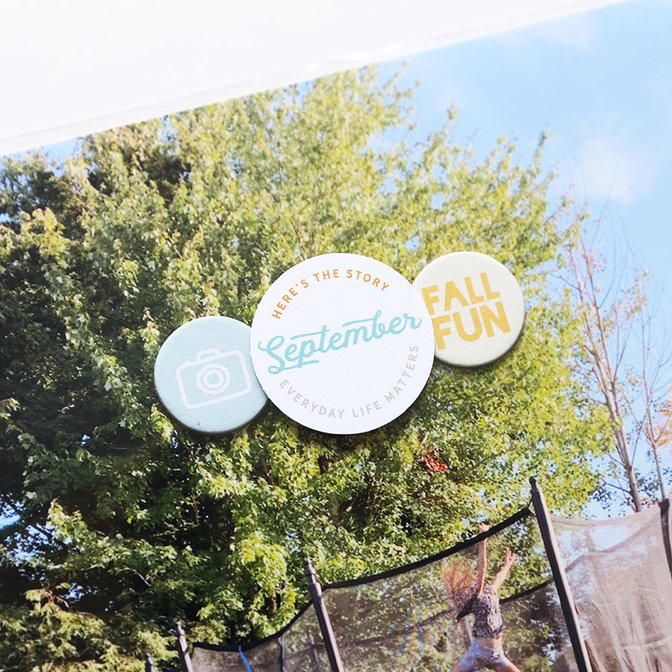
I used a 1.5 inch circle punch to punch this circle design from another of the 3x4 cards and paired it with two of the chipboard circles.
Generally I include a process video but that didn't work out as planned this month. I hope to have one with my post for you again next month.
SUPPLIES
9x12 Album (we hope to have more of these in-stock mid-late October)
September 2019 Stories By The Month™ Kit (digital version available here) : details on subscribing here
Epson PictureMate PM400 Printer (for 3x4 photos)
Epson XP15000 (for enlargements)


Comments
Sign in or sign up to comment.
11 comments
Inspiring as always! Thank you for the freebie word art. Love this new "handwriting" font!
Replies to cruisin_ali
Sign in or sign up to reply.
I always am thrilled how you creatively use the products beyond the obvious! Your inspiration is always something I look forward to regularly!
Replies to dpowersfabian
Sign in or sign up to reply.
Aaaah this makes me want to dig out the rest of my September kit and use it all up! Thanks for the download, too.
Replies to smultringunn
Sign in or sign up to reply.
Super love this month's spread! Especially the cutting out boxes to add words. I am seriously enjoying your monthly PL. They're among my favorite posts.
Replies to jamie59
Sign in or sign up to reply.
Thanks for the JPG download, there the only ones I can download.
Replies to simple
Sign in or sign up to reply.
Love this ! Helps me to look at my supplies in a different way.
Replies to Shensler
Sign in or sign up to reply.
So much inspirationa, as always! Thanks for the awesome freebie too!
Replies to dpayne
Sign in or sign up to reply.
I always take less pictures in september - I think it is because you take so many in the summer. Same goes for Jnuary, after the December Daily project. I guess that is just the way it flows for me. Love this - I also cut out the grey square from teh large card, but did not think to use the rest as journalling spots as well!
Replies to cindykoning
Sign in or sign up to reply.
Wait...what?? Simon's a SENIOR???? OMGosh, where has the time gone???
Replies to nerdgrl
Sign in or sign up to reply.
Awesome! Thanks for the download!! Is blackout a font we can download? Many thanks! :)
Replies to awalsh
Sign in or sign up to reply.
Thanks for sharing your photos and September scrapping. I love your videos but appreciate that you said no, in order to take care of yourself. Have an awesome month!
Replies to Mum2Levi
Sign in or sign up to reply.