Working With December Daily® Digitals | Special Guest Shannan Manton
Tags: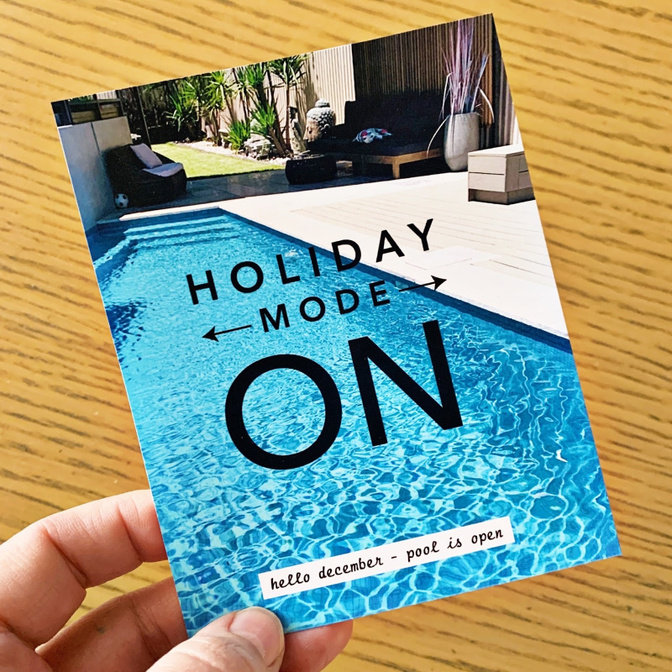
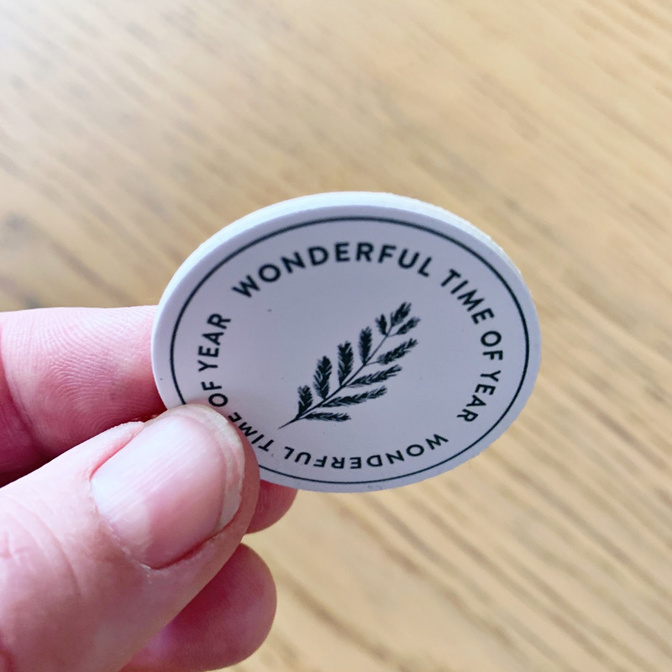
Hello! Today I wanted to talk about working with the December Daily digitals in Ali’s shop and printing them for my hybrid album.
For me, digital scrapbooking products give me the best of both worlds. You can do things with digitals that you can’t do with real-life paper products or stamps - recolor, resize and reuse as many times as you like. But you can also mimic things you would do with real-life products like cutting cards and stamps apart.
I have always printed at home, even when I was a paper scrapbooker (I’m mostly digital now). I work very much in-the-moment and love the flexibility of choosing sizes as I design my page. I could not scrapbook without my home printer. Having said that, printers would have to be one of the most frustrating pieces of tech - temperamental and never easy to set up out of the box. When it comes to fantasies of throwing something out of the window in a rage, it’s always the printer.
I always try and choose a printer that is marketed for photography printing. I’m currently using the Epson XP 8500 Expression Photo - it’s about three years old. Prior to that, I had great luck with a series of Canon Pixma’s. It is often recommended that, like ink, you stick with the brand of paper made for your printer. But here in Australia, I don’t always have access to all brands and I have had great prints from a range of papers.
For my December Daily foundation pages this year, I’ve been using a mix of matte photo paper (just a store brand), glossy or luster photo paper and some vellum and transparencies (just to push my printer to its absolute limit). Because my printer is an inkjet, I have to make sure that these products are inkjet specific - not laser. For example, the transparency pages for inkjet printers have a coating on them to accept the ink and are not clear like regular transparencies.
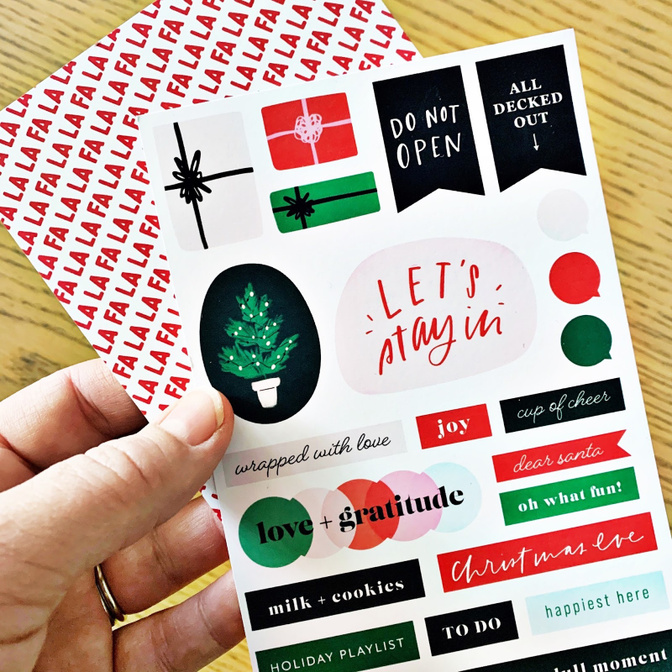
I like to have both 4x6 and Letter/A4 sizes of paper stocked - the larger size is great if you want to work in batches by putting a bunch of cards or digital items on one big sheet and 4x6 is good if you just want to print one photo or card as you go. My preference for digital items like chipboard shapes, stickers and journal cards is to use matte photo paper. It gives the best approximation of the real thing. Glossy paper will give you slightly brighter colors but the shine can be a bit distracting.
I’m using matte for full page photos in this book because I don’t like thumbing through glossy photos and leaving lots of fingerprints. I usually use premium luster or smooth pearl photo paper when I’m printing my digital layouts or photos (Epson and Ilford Galerie brands are my favorite). I also have some Epson Presentation Paper which is a thin photo-quality paper that I use when I want a very thin print and don’t want to add too much bulk - like in a travelers’ notebook.
I always print at best quality and make sure I’m choosing the correct paper type - matte, semi gloss, plain paper or glossy photo paper. Some printers and programs have more options than others. For vellum, I am just choosing plain paper and medium quality because I find high quality is putting too much ink on the page and causing it to blur.
My printer has an A4/Letter tray, a 4x6 tray and a rear feed option. It seems to have trouble picking up too thick or too thin paper from the 4x6 tray (it’s the Goldilocks of printers) so I’ve found manually feeding those papers into the rear slot works well.
If you want your printed digital element to have some dimension, you can glue it onto some chipboard or add foam dots. I don’t love hand trimming with scissors so I usually try and choose items that I have punches for, like circles or squares. I just size the digital item to fit my punch and I can get a perfect circle and use the punch again on some chipboard for the base. Foam dots work too.
Making hybrid elements is also a great way to re-use old chipboard shapes that you have in your stash - just size the digital item to match then glue it over the top. Recycling!
I’ve got a video today - sharing some digital scrapbooking basics, some fun things to do with the digitals and how I set up for printing. Thanks!

Find more from Shannan here:


Comments
Sign in or sign up to comment.
22 comments
i haven't watched yet - but that little tip about the chipboard is genius. Never would have ever thought of that. :-) Thanks!
Replies to carri
Thank you!
Sign in or sign up to reply.
This is awesome!
Replies to Leah_Sells
Thanks Leah!
Sign in or sign up to reply.
I never realized that transparencies for inkjet printers had a coating so they're not 100% clear. I will have to watch for this. Maybe have Staples print some on their color laser printers and see the difference.
Replies to ss20ts
There may be other options but the pack I have has a rough side.
Sign in or sign up to reply.
Thanks so much Shannan….I do have a question…when I edit an element or journal card does that change the original card/element forever or do I need to save with a new name to preserve original?
Replies to sharylgolson
It will change the original if you hit save at all. I try to never mess with my originals so always best to Save As if you are worried.
Sign in or sign up to reply.
Another awesome post full of great ideas. Thanks so much Shannon 👏👏👏
Replies to aussiehostie
Thanks so much!!
Sign in or sign up to reply.
Excellent. I learned so much!!!!!! Thank you so much.
Replies to pedroza
Thank you!!
Sign in or sign up to reply.
Shannon, so enjoyed this video. Quick and easy tips that I can put to use right away. Look forward to more videos from you!
Replies to CraftyCat
Thank you!!
Sign in or sign up to reply.
Great lesson!! Thank you so much!
Replies to GrandmaNikon
Sign in or sign up to reply.
Thank you - that was super helpful!
Replies to justtraceau
Sign in or sign up to reply.
Thank you so much Shannan.
Love love love to see your Amazing tips & tricks (+ your accent is a delight to listen to <3 )
I need advice please:
I am using Photoshop CC 2015 normally. But my Macbook Air crashed because of the HUGE amount of photo's on it. :(...
I have a trial version of Photoshop 2022 and Lightroom.
Now I need to make a decision if I purchase it or not.
I see you use Photoshop Elements.
I am working on a windows 10 PC right now and I do need storage space for my photo's and my own work + Photoshop or Illustrator to work on my own drawings.
What would you suggest? For someone who has a limited amount to spend.
Maybe it can help others with the same questions.
Thank you kindly,
Emine Pala
Netherlands
Replies to Eminepala1
Sorry my reply started just below...but on Photoshop we buy the version from Costco...sure it is somewhere else too. It does almost as much for me as the expensive version. My daughter starts her Photoshop classes this evening so she is hoping to learn some new techniques for making the changes in photos look more professional. It is from our local community classes.
Sign in or sign up to reply.
Just a thought...I back up all photos to the cloud. I have about 35,000 photos (admittedly some that need gone through to get rid of the ones I don't need) that I occasionally back up to an external and then a second external. But I also put my photos in the cloud. It is not expensive to add extra storage...and all my photos are in my phone even when I take them with one of the two "million dollar cameras" as we call my Nikons. I simply back them up to my phone and then they go into the cloud. It is safest to have 2-3 ways to back up your photos. I love my HP laptops of which I have 5... I keep them updated when they are new enough to do so. After that the older ones are still useful for the teens homework, surfing the web for shopping, etc. And they are still able to hold photos that someone in our family of five might be working on. I always buy my computers at Costco or Sam's Club because they give 30 days to decide if you like it or not. And they up the warranty to two years. I hope this is helpful to you Emine Pala.
Replies to djruffing
Sign in or sign up to reply.
Just a thought...I back up all photos to the cloud. I have about 35,000 photos (admittedly some that need gone through to get rid of the ones I don't need) that I occasionally back up to an external and then a second external. But I also put my photos in the cloud. It is not expensive to add extra storage...and all my photos are in my phone even when I take them with one of the two "million dollar cameras" as we call my Nikons. I simply back them up to my phone and then they go into the cloud. It is safest to have 2-3 ways to back up your photos. I love my HP laptops of which I have 5... I keep them updated when they are new enough to do so. After that the older ones are still useful for the teens homework, surfing the web for shopping, etc. And they are still able to hold photos that someone in our family of five might be working on. I always buy my computers at Costco or Sam's Club because they give 30 days to decide if you like it or not. And they up the warranty to two years. I hope this is helpful to you Emine Pala. And yes we use Photoshop Elements.
Replies to djruffing
Thank you so much dear.
Your answers really helped me so much.
Sign in or sign up to reply.
Thank you very much, I really loved all of your ideas
Replies to Conchi_Lo
Sign in or sign up to reply.