Week In The Life™ 2023 | Special Guest Jill Drangsholt
Tags: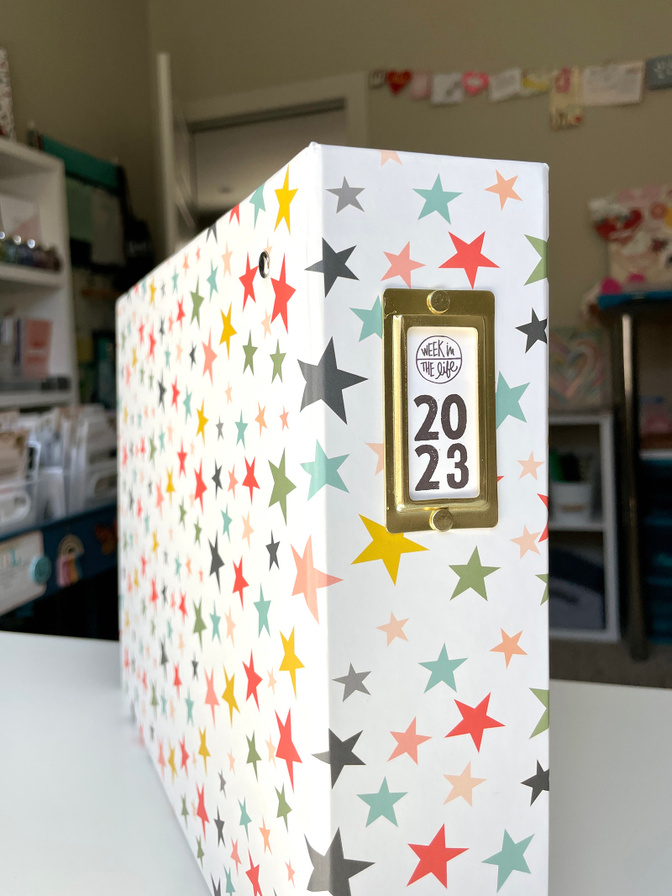
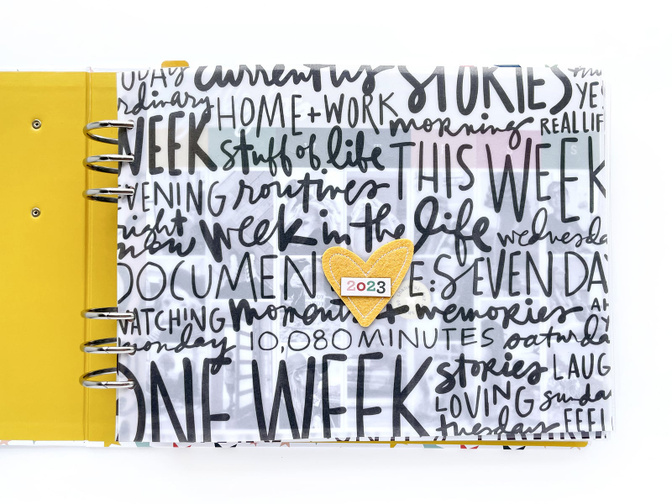
Hello friends! I documented my Week in the Life project with the rest of the community from April 24th - 30th 2023. And although it was a rough start to the week with a very sick dog and I almost quit before I even started, I'm so glad I persevered. I have shared this before, but I always wake up on the first day of Week in the Life with a sense of overwhelm and wanting to delay the project for another week. However, I find that if I just start taking the photos, I get into the groove of it and I don't look back!
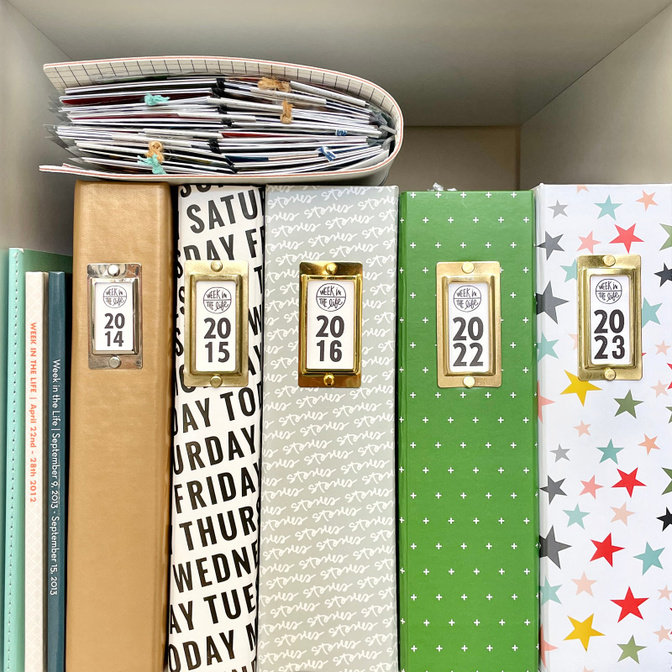
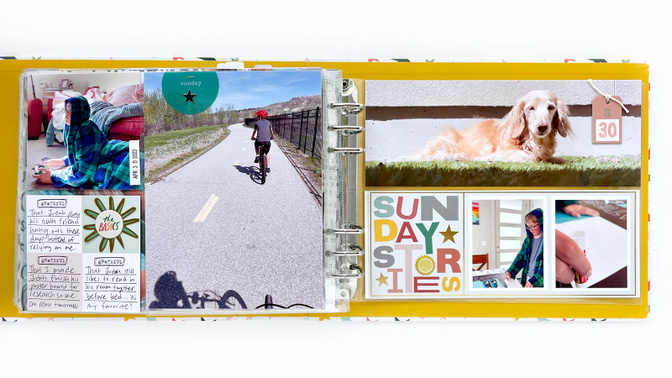
This was my 12th year doing Week in the Life and my first time trying out the 10x8 album size. Over the years, I have documented Week in the Life in bound photo books, in my Project Life albums, in a traveler's notebook folio, and in 6x8 albums. I believe in mixing it up and doing what works best for you in the season you are in. Those years of Project Life versions? Often they only included 3 photos per day, and still they tell a beautiful story. Here you can see all of my albums on a shelf together minus the 4 years that are in my Project Life albums.
The philosophy I've adopted for this project has morphed into a goal of 3 photos per day as my minimum number of photos per day. One morning, afternoon, and evening story. And some years that's all I took. This year my photo average was around 10 - 20 per day. I don't like to leave any photo behind and include almost all of them in my album, so this was a perfect number for me!
For those of you still working on your album, I wanted to share a few tips and product ideas sprinkled throughout a sample of photos from my album. If you'd like to see how the entire album came together, you can see a quick album walk through on my Instagram Profile or my YouTube channel.
I didn't get the transparency dividers but decided last minute that I really wanted to have something like that. So I bought the digital version and printed them on vellum. In the end, I loved how they matched the vellum page that came in this year's kit.
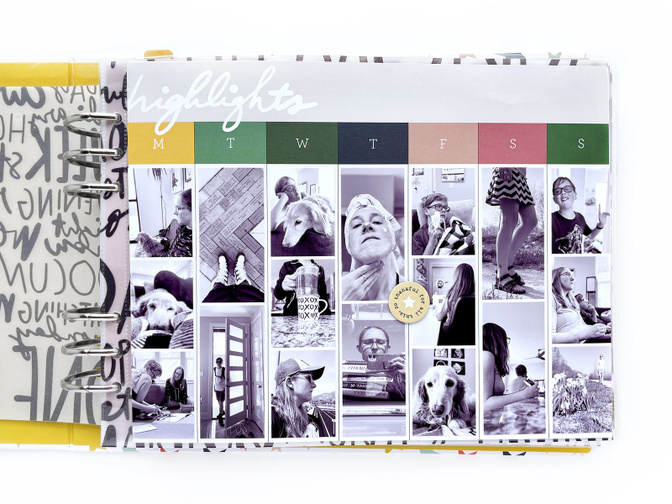
I started my album with the highlights page filled with black & white versions of photos from the week. I love this quick visual look at what the week looked like! I used the digital version of this paper that came with the kit to help me with the sizing and layout of the photos.
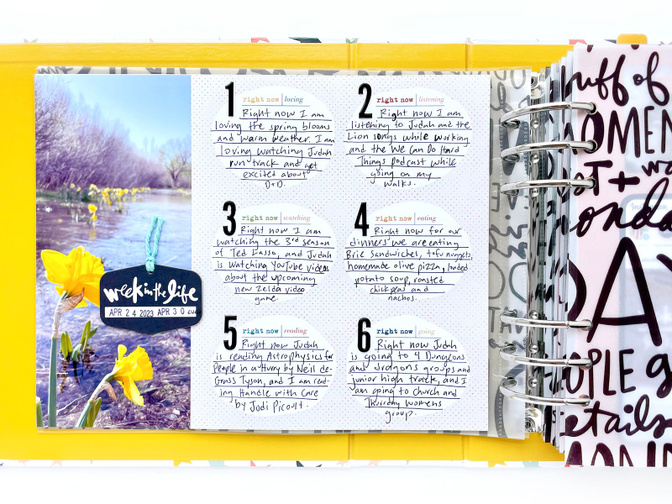
On the back of my highlights page, I created a "right now" page using a paper from the Right Now story kit. I had already journaled some of these "ing" words in the album, so I treated this page as an overarching documentation of what right now looked like for the entire week.
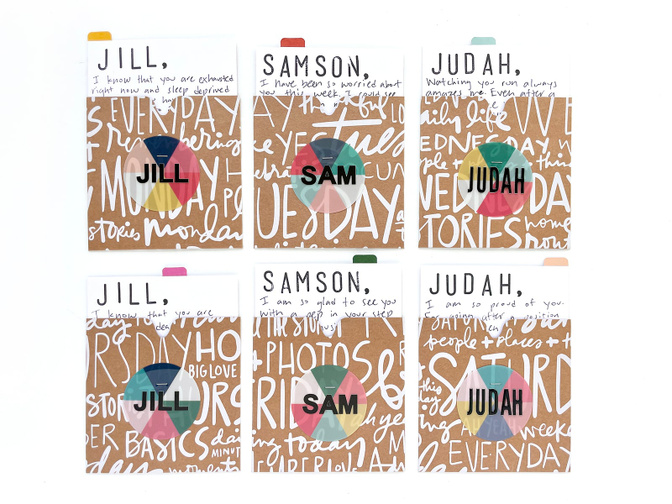
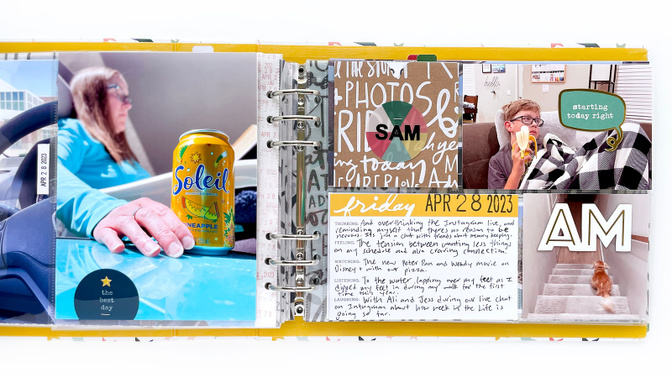
Inside of the craft 4x4 pockets I wrote notes to myself, my son, and my dog and labeled them with our names on the colorful pie chart circles. Each of the notes were like pep talks to each one of us about things that were happening in our week or that I was feeling at the time, and I started each of them with our names stamped with the Wooden Block Alphas.
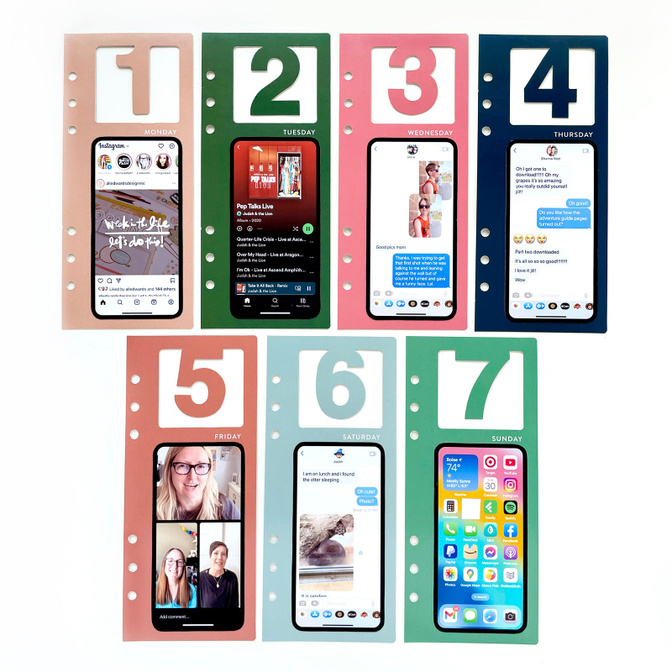
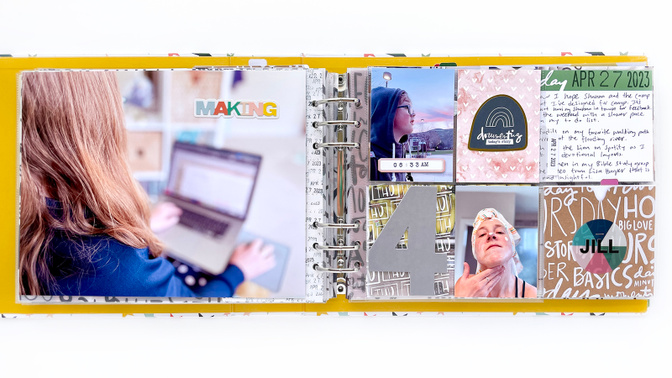
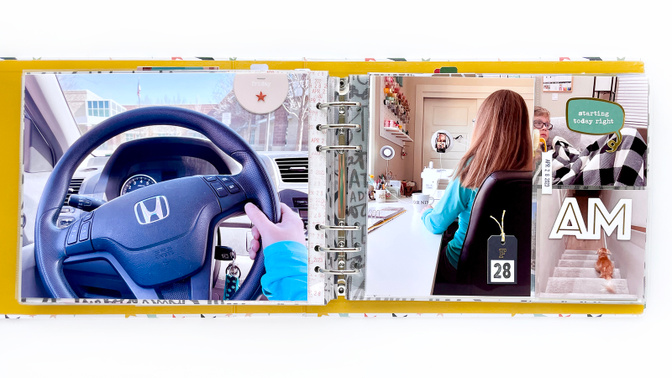
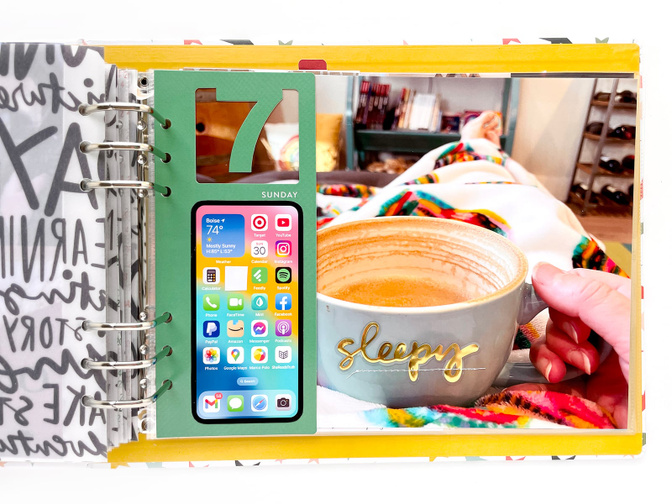
I put screen shots from throughout the week on the number 3x8 inserts. This was not a choice I made before the week, but once Sunday came I realized that I already had enough screen shots for most of the days and just needed a couple of fillers to have one for each day. I especially love the text messages.
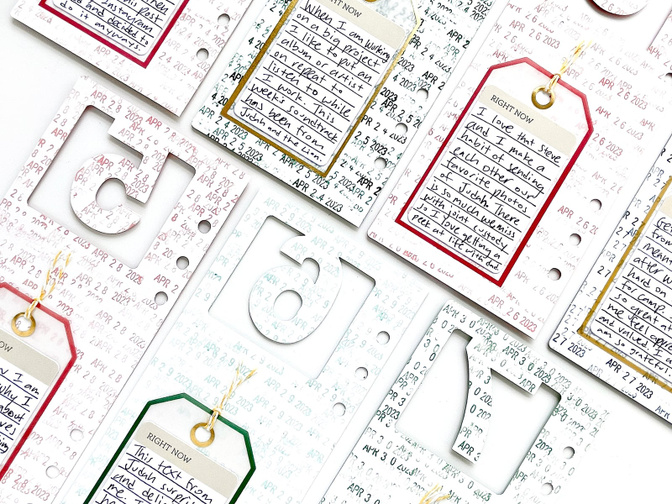
On the backs of the inserts I repeatedly stamped the dates in coordinating colors and added the vellum tags from the main kit with "right now" story cards from the Now Story Kit layered on top to tell a bit more of the story behind the screen shots.
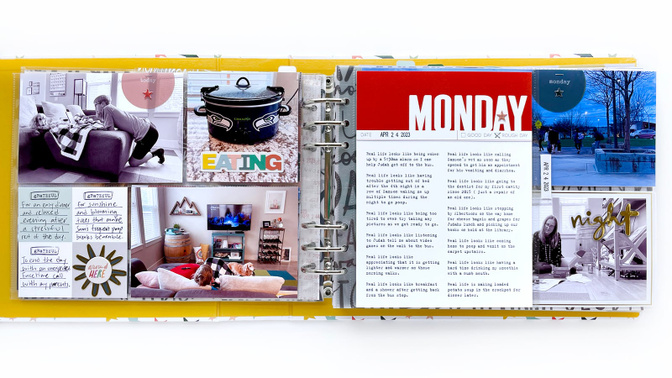
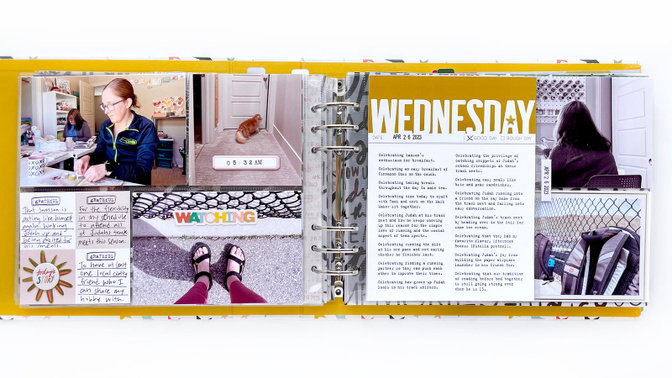
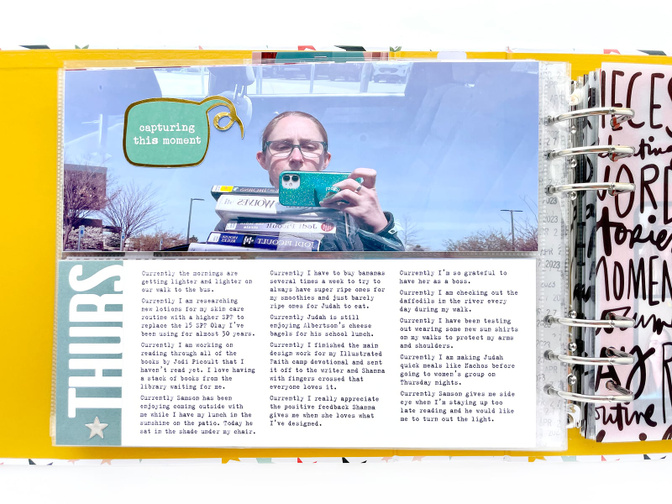
This year I tried out Ali's style of journaling that she writes on her daily blog posts during the project, including some of the prompts she often uses. Monday was the only day that I wrote during the week and the rest were written a week or so later. I found that using various prompts like "some days / most days" helped the journaling to flow better than it normally does for me when faced with large chunks of week in the life journaling. And I just love the micro stories I ended up with! The prompts I used this year are: real life looks like, today I / you / we, celebrating, currently, some days / most days, loving, and Sundays are for.
I ended up using 4x6 cards from a past Week in the Life kit as headers for my journaling and put it either in a 6x8 pocket page or in one of the 4x10 pockets.
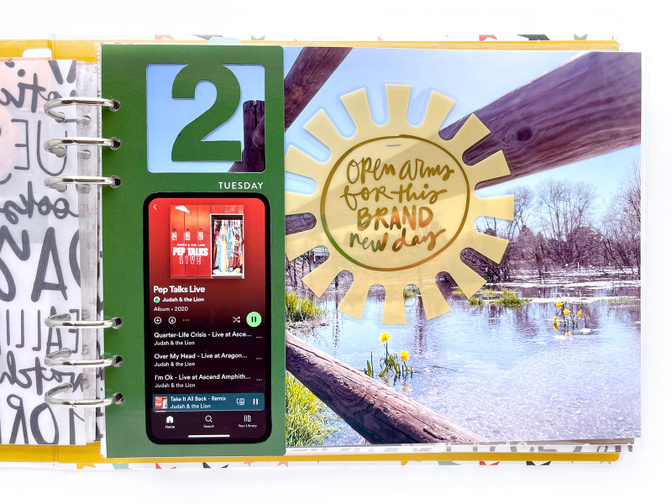
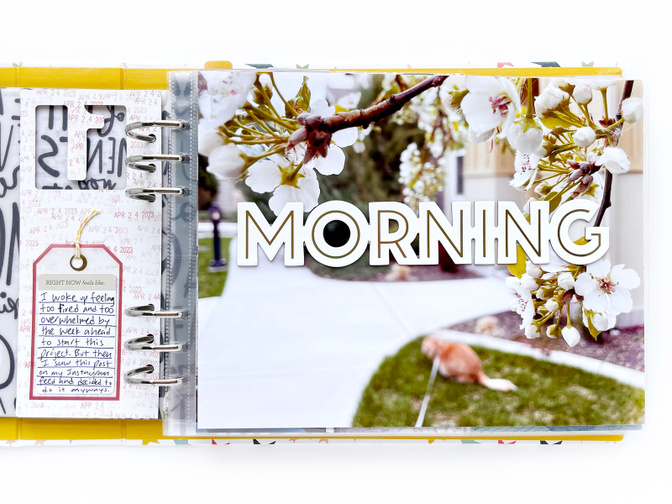
I decided to stamp the number of the day of the month on the mini day of the week chipboard tags. The numbers I used were from the December Daily 2021 6x8 numbers stamp set.
I used the 4x4 color blocked cards to write down gratitudes similar to what Ali did, except I embellished mine with the starbursts and circle chipboards.
One of my goals for when I put the final project together is to try to keep the album as flat and balanced as possible. So I purposely switch up where each of the thicker embellishments go on each day rather than putting it in the same spot every time. In general, more bulk is always in the middle or near the spine, so whenever it makes sense for the design, I will try to put thick elements on the outer edge.
In this album, you will see that I alternated the pocket placement for the 4x4 kraft pockets and the 4x4 color blocked cards that have a chipboard on them. I even rotated the placement of the chipboard so it was always in a different corner. For all other chipboard pieces, I placed them on a different spot within the day every time. I really was tempted to put those large numbers in the middle of the divider pages, but I resisted and found other spots where they made sense.
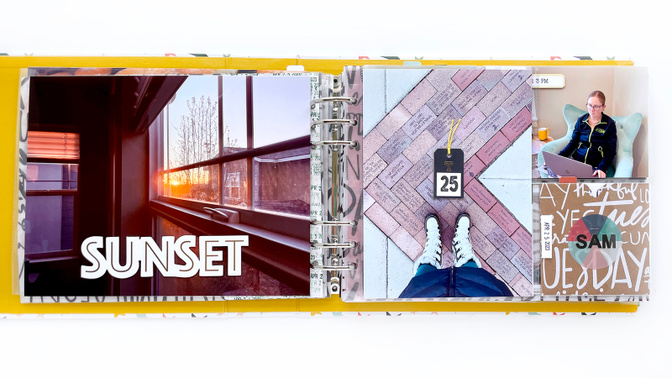
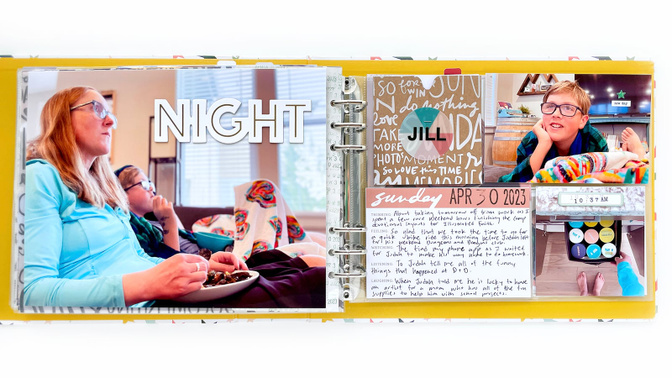
I attached the day of the week plastic circles (and quite a few of the sentiment ones) off the edge of photos with a mini staple and added either a star or moon sticker on it. The Friday one was a little light so I added a white card stock circle underneath to help it stand out.
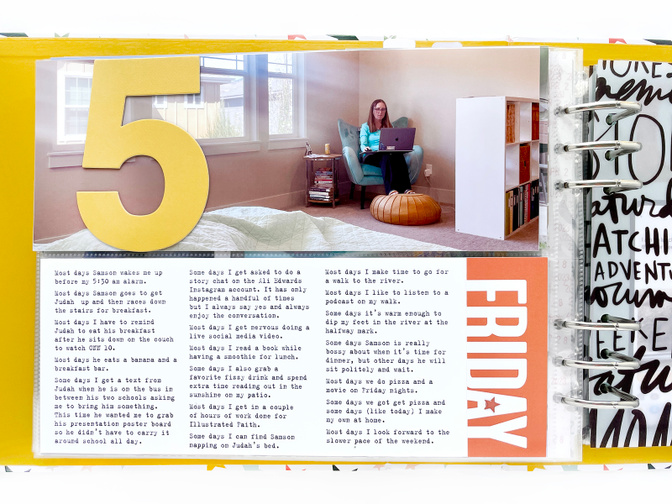
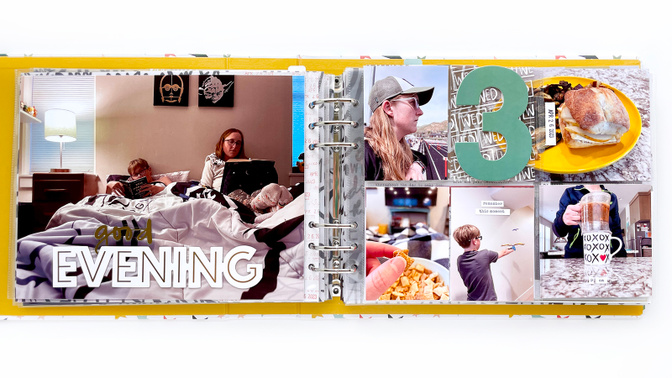
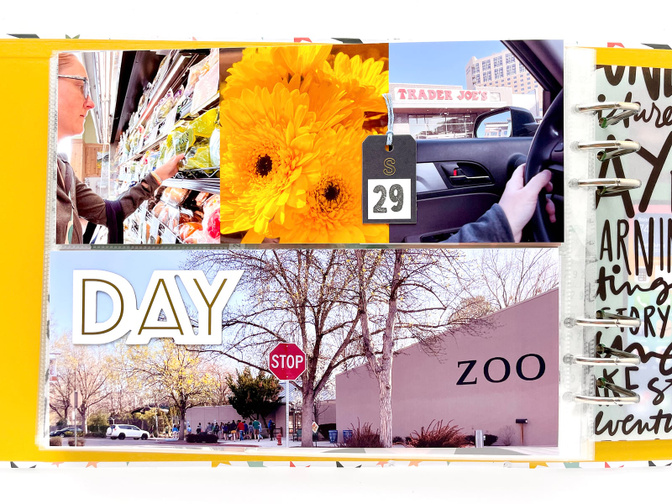
The big numbers ended up going in several places, but quite a few ended up on the 4 x 10 photos and love how that looks!
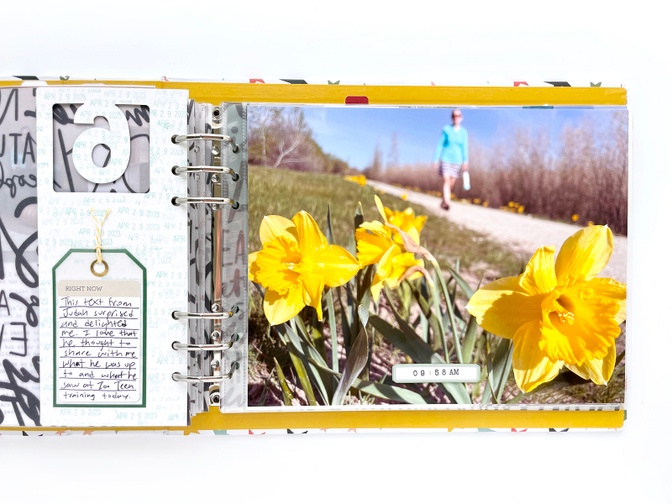
I added a chipboard label to one photo per day with the time on it. I looked for photos that had room for the chipboard, but also ones where I thought I'd want to know the time when I was looking back at my album.
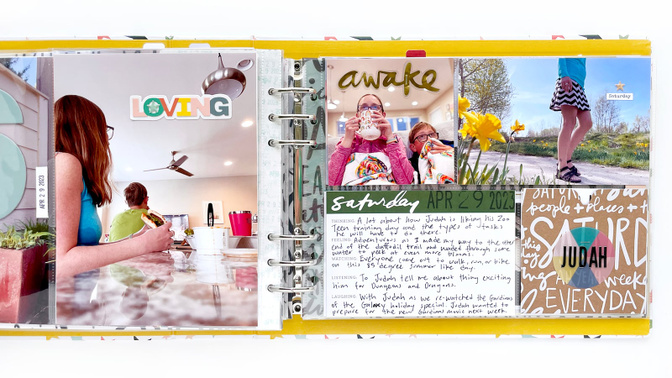
I added the "ing" stickers to one photo per day. I took off the foam tape to make them flatter as suggested by Krystal.
I loved having all of the morning and evening chipboards from the mini kit and made sure to add one each day.
I tried to add as many of the gold foil words as I could. Although I did wrestle with them a bit with different ways of adhering them. I ended up using staples, stitching and tiny pieces of redline tape. In the end, I loved the tape the best.
I sprinkled word phrase strips throughout the album because I just couldn't help myself. It was a great way to fill in some empty spaces in photos.
That's it! I hope you enjoyed this peek into my album! Let me know if you have any questions and as I mentioned before, you can find a flip through of this album on my Instagram account (@jill.drangsholt). Until next year!
Supplies: Multicolored Stars 10x8 album, Week in the Life 2023 Main Kit, Week in the Life 2023 Mini Kit, Days of the Week (DIGITAL) dividers, Multicolored Plastic Circle Pack, Number + Journaling 3x8 Inserts, Days of the Week 10x4 Journal Cards


Comments
Sign in or sign up to comment.
17 comments
I love your album! So many great ideas!
Replies to justlisa
thank you!
Sign in or sign up to reply.
I love what you did on the front and back side of the number inserts. Your entire album is lovely, thanks so much for providing a look into your thought process :)
Replies to jlutherdesigns
Thanks! I love how those dividers turned out too!
Sign in or sign up to reply.
I love the look of your album. The vellum you used for the dividers looks really thick in your walkthrough. Can you share what you used to print on. Thanks!!
Replies to scrappinjam
I have a stack of printable vellum (some of it pretty old) in variable weights so I don't know exactly how heavy it is or where it came from. This one is the medium weight version. I'm sorry I couldn't be more helpful! I wish I knew where to source the heavier weight printable vellums. I have a bunch from back in the days when I used to design wedding invitations almost 15 years ago.
Sign in or sign up to reply.
This is so great Jill! Thanks for sharing!
Replies to AliEdwards
Thanks Ali!
Sign in or sign up to reply.
This is awesome! Thank you for sharing and I love the idea of writing notes to yourself, dog, and son :)
Replies to asackr01
They were really fun! And it was freeing knowing that even if I shared my album, no one else would be reading them.
Sign in or sign up to reply.
Thanks for sharing Jill. This is a BEAUTIFUL album. I'm glad you persevered. I used the idea you shared for your highlights page:)
Replies to Elizabeth_Heinz
Thank you! I'm glad that idea was helpful for you! I'm excited to see how your's turns out!
Sign in or sign up to reply.
Loved seeing your beautiful album and ideas. Thank you.
Replies to gretchen
Thank you!
Sign in or sign up to reply.
Hug your dachshund for me! I miss mine so much.
Replies to AnnieP
Ahhh I will. He's about to turn 15 so I've been giving him extra hugs lately. He seems to be doing well but you just never know how long you have.
Sign in or sign up to reply.
LOVE this album, thanks so much for sharing, Jill! So inspiring! Can you remind me if you used templates for the screenshots (to make them phones) and where to get those? Thank you!
Replies to amy_zwart_hotmail_com
Sign in or sign up to reply.