December Daily® 2024 | Special Guest Jill Drangsholt
Tags: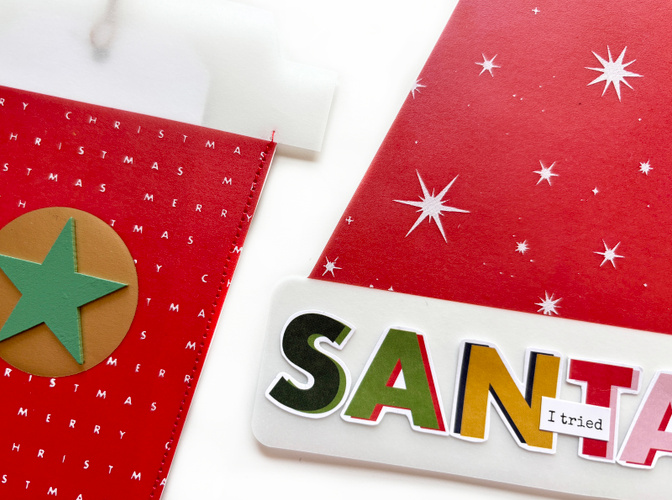
Hi friends! I'm so excited to be back with you this year to share ideas using the 2024 December Daily collection! You may remember that last year I did a whole series on mixed media ideas using the DD products. This year I will not be focusing primarily on mixed media, so if you would like more in depth tips on how to use the stencils, silkscreens, or using paint with the stamps, you can find my series on the blog (search paint + play with Jill).
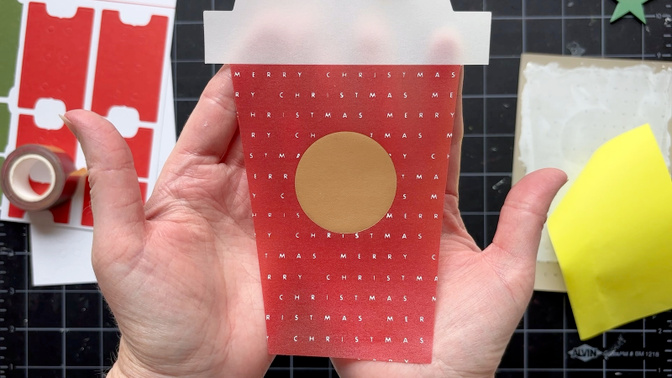
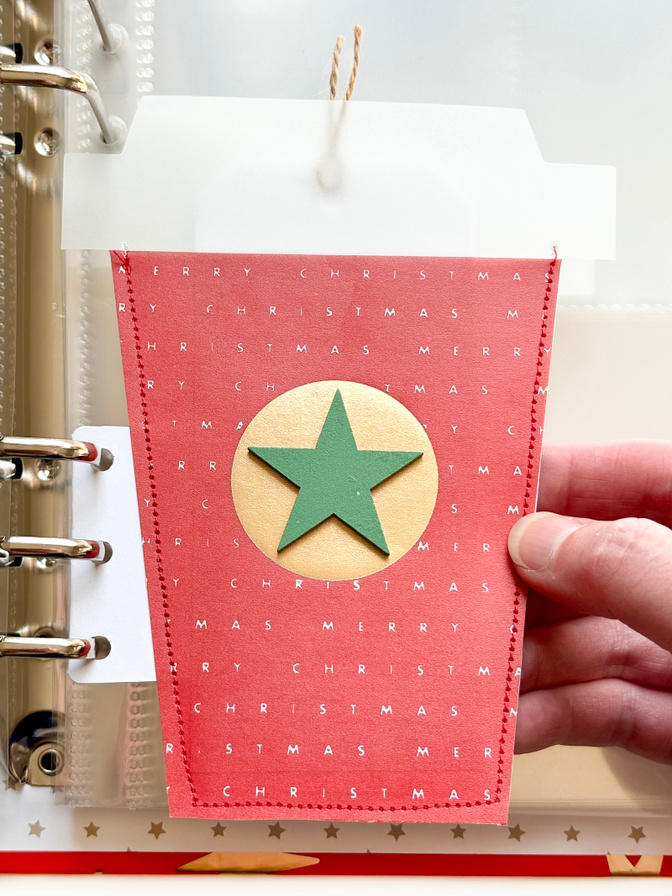
I know I just said I wouldn't be doing mixed media, but today I do have a project using the silk screens because they are so great for adding patterns onto some of the products in the collection. For this project, I was inspired to play around with everyone's favorite large vellum red cup and add a fun pattern on it using the silkscreens. I also wanted to try turning it into a pocket that I can insert into my album using the page attacher stickers. For a bonus project, I used the same silkscreen technique to jazz up the large vellum Santa hat. But first, the red cup....
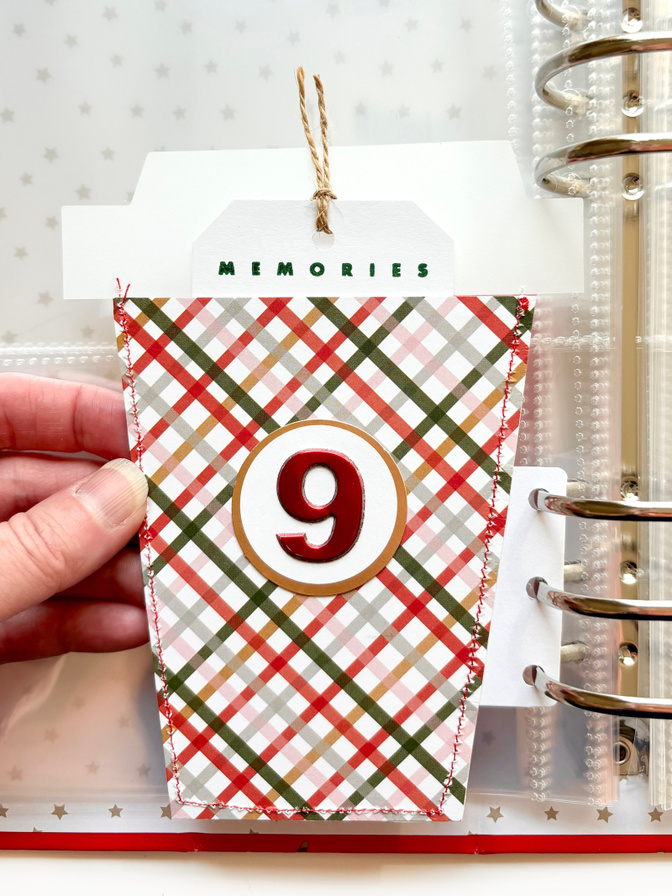
PROJECT 1: RED CUP POCKET
I have broken this project into 2 videos: the silkscreening and making the cup into a pocket. Watch my process video below for the best instructions on how to do the masking and silkscreening. However, I will also include a few process photos below the video.
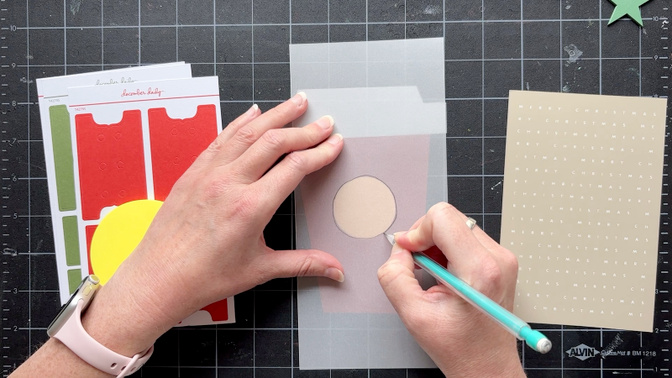
To mask this red cup, I used a rectangular sticky note across the top and then used a spare piece of vellum to help me cut out a circular mask to cover the gold circle in the middle. Lay the scrap of vellum on top of the red cup and trace the circle in pencil.
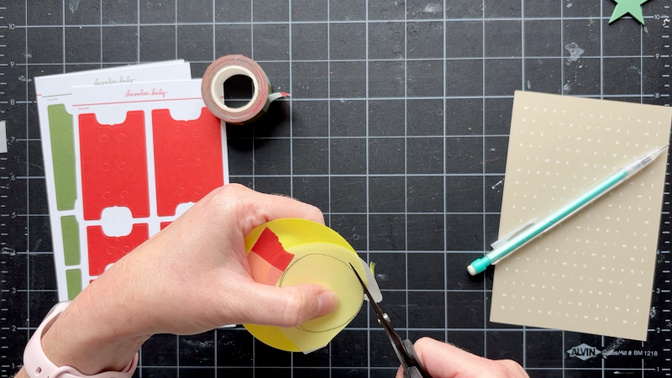
Roughly cut out your traced circle, tape it onto a sticky note with washi tape, and cut around both at the same time. Make sure you are cutting a portion of the sticky note that has the sticky backing! Lay your new circular mask on the red cup and you are ready for silkscreening!
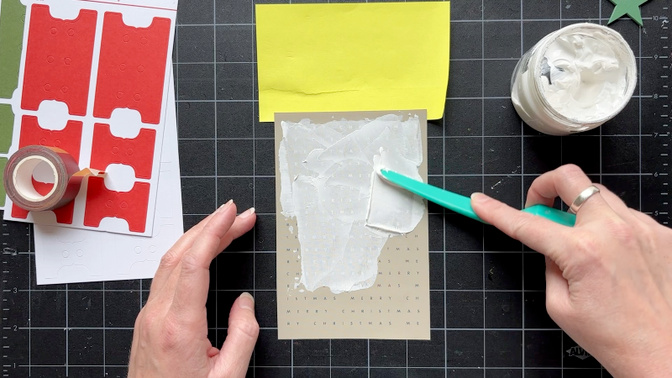
Gently take the silkscreen off of the backing, and smooth it over your red cup. Make sure it is stuck on there firmly. Then scrape a small amount of paint over your silkscreen using either an old gift card or a pallet knife. Make sure to cover the entire image with a thin layer of paint. Gently lift the silkscreen from your red cup.
I love these silkscreens. I also love stencils for messy mixed media stuff, but if you want a pattern or image that is more crisp, I recommend trying silkscreens instead. As long as you make sure they are stuck really well onto your surface and you scrape thin layers of paint on them, they will turn out great every time.
And don't forget to wash and dry them after EVERY time you use them to maintain that crisp image.
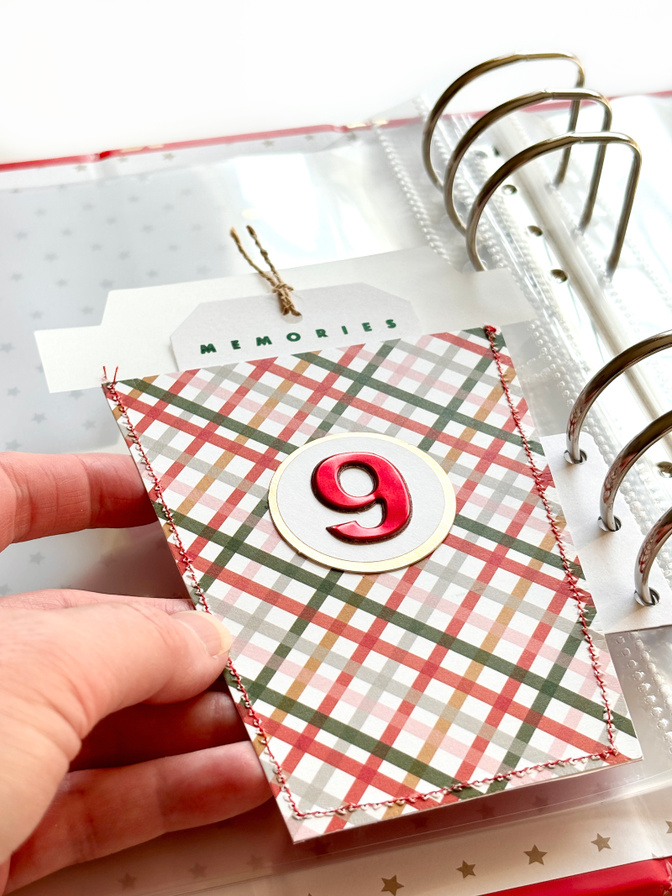
Now let's make our red cup into a pocket!!!
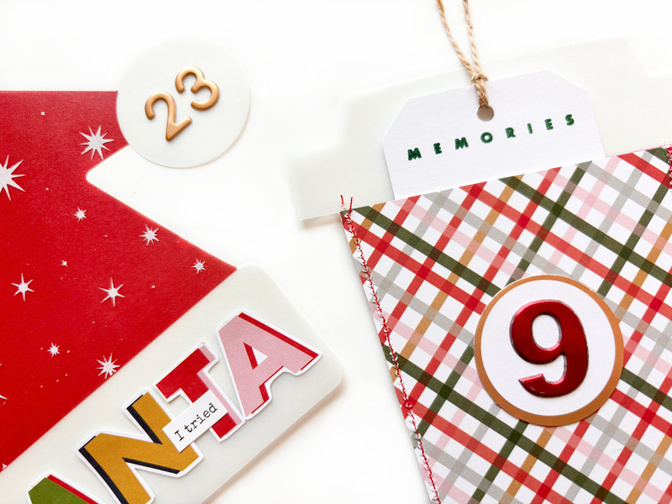
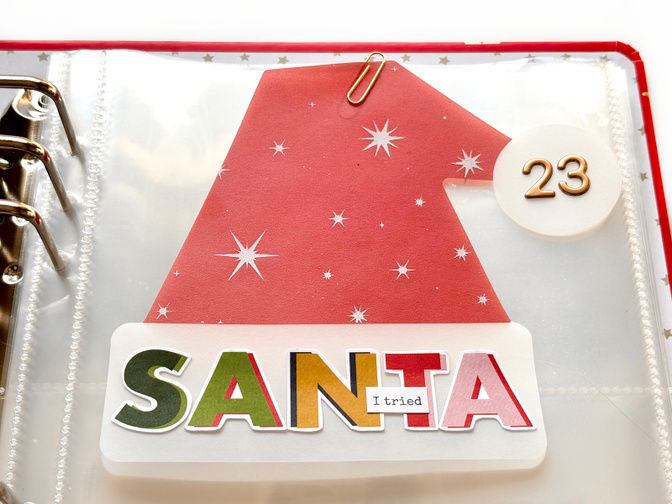
PROJECT 2: SANTA HAT FLIP UP
Enjoy this bonus project using the Santa hat vellum piece and silkscreens for a flip up that I plan to use to tell a story about my dog Samson trying his very best to be a good boy this Christmas. I won't tell Santa about the 5am wake up calls or occasional "presents" Samson left on the floor. LOL
SUPPLIES
Gold Foil Die Cut Circle Labels
Paisley Press Mini Kit
Die Cut Bundle
I hope these two projects inspired you to try out the silkscreens to add some flair to your products or to create more pockets and flip ups from other products in the collection!
I will see you again next week and in the meantime, you can find me on Instagram at @jill.drangsholt if you want to follow my December Daily journey and my other crafty adventures.


Comments
Sign in or sign up to comment.
19 comments
Thanks Jill, these are awesome.
Replies to JHogno
Sign in or sign up to reply.
Great ideas. Thanks, Jill.
Replies to Untiedt
Sign in or sign up to reply.
Love these! Great ideas.
Replies to stagnaromel
Sign in or sign up to reply.
These are so much fun! Will be adding both onto my inspiration board for this year’s album, thanks Jill!
Replies to z0eK
Thank you! ☺️
Sign in or sign up to reply.
I’ll be scraplifting both of these ideas- so cute - thank you!
Replies to Julie_scraps
Sign in or sign up to reply.
Love these ideas, Jill! I’ll definitely be scraplifting them for my album. Can’t wait to see what you do next week. 💕
Replies to Lorretta
Thank you!
Sign in or sign up to reply.
Loved these ideas, they are very fun! Thanks for the inspiration!
Replies to limarysmorales
Sign in or sign up to reply.
So fun Jill! I wasn't going to get the stencils but this sold me. Just added this and the paints to my box :)
Replies to michelezh
I hope you have fun with them!
Sign in or sign up to reply.
These are so fun!!!
Replies to Mrscarolynphillips
Sign in or sign up to reply.
Loved both projects.😃
Replies to mariapresson
Sign in or sign up to reply.
Jill, you always knock it out of the park with your December Daily skills!! So glad you are contributing again this year!
Replies to visualgirl
Thank you! 😊
Sign in or sign up to reply.
Such a cool idea! I am definitely incorporating this into my DD album this year. Thank you for sharing your gifts with us.
Replies to mecastro
Sign in or sign up to reply.
Thank you!
Replies to Jill Drangsholt
Sign in or sign up to reply.
Jill, I love how they both turned out but especially the coffee cup! I might be scraplifting that one. :)
Replies to jenwong
Sign in or sign up to reply.
The coffee cup is my favorite too!
Replies to Jill Drangsholt
Sign in or sign up to reply.