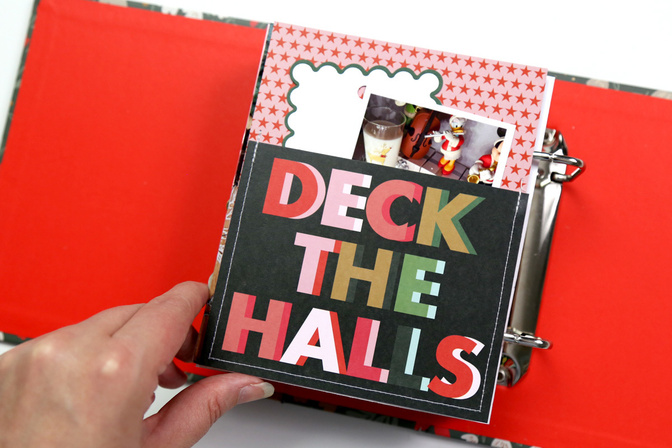
December Daily® 2024 | Special Guest Pam Baldwin
Tags:Hi friends! I’m so happy to be back with you for the 2024 December Daily season! My plan for the 2024 season looks a little different from what I’ve done in the past. This year my hope is to work on my album IN the month of December, so I’ve been spending a lot of time thinking about what will help me be successful in COMPLETING my album in (or very near) December. First of all, I’m downsizing from 6x8 to 4x6 (and I have to tell you, after preparing some pages for this post, I have no regrets about this decision at all! It has been a JOY to work with!). Secondly, I want to head into this documenting season not feeling like I need to reinvent the wheel for every spread. That means simple foundations that can be repeated throughout.
In this post, I’m focusing on the 2024 Main kit. This kit is AMAZING!! One of the things I so appreciate is how there are multiple elements that allow for repeated design formulas. I’ve picked out 7 of these elements (plus a bonus page protector orientation) and worked out 3 different ideas for how each of these elements could be used. This is like a menu, and the level of difficulty is generally pretty low. For example, putting 3x4 cards into a 3x4 pocket, lol. If you were to pick 1 strategy for each item and repeat it 3 times, you’ve got yourself 24 pages to hold your stories. Also, for many of the kit items, there is enough to repeat more than 3 times OR enough to use the item in multiple ways.
A couple of things I’d like to mention before we jump in.
You’ll clearly hear me say in the intro video that I am not making completed pages/spreads for the purpose of this post, because my intention was to make “foundation pages”. I did print photos from a past December to better demonstrate how the spread might work, but these are not “completed” spreads or pages. And you can definitely use plain white cardstock as placeholders, or even sticky notes for ones you want to try. I’ll narrow down my final foundation pages in November and I look forward to using these strategies in December!
The “journaling” in these pages is printed on transparency with song lyrics just to illustrate how the spaces might look with text. My journaling cards are still pretty much intact and ready for December documenting!
While the scale of my projects may take some tinkering to translate nicely into a 6x8 or 10x8 format, the ideas can definitely be used for any size album.
Most of the supplies in these pages are from the Main kit, but there are a few shop items that snuck in there. 2 of my favourites from the stamp collection: Holiday Icons 6x8 stamp and the Gingerbread Men 4x6 stamp set.
Okay, let’s dive in!
Item 1: 3x4 journaling cards
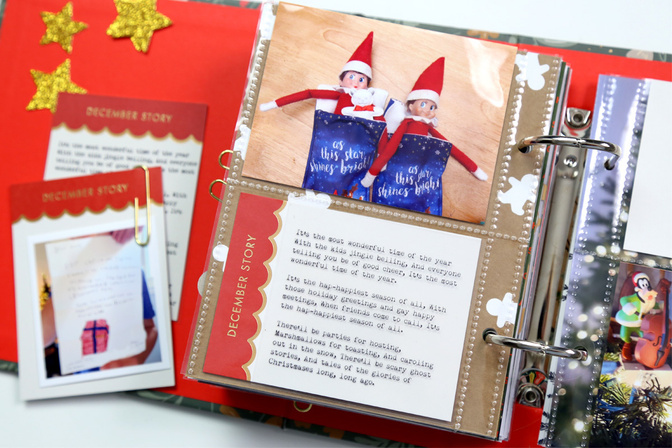
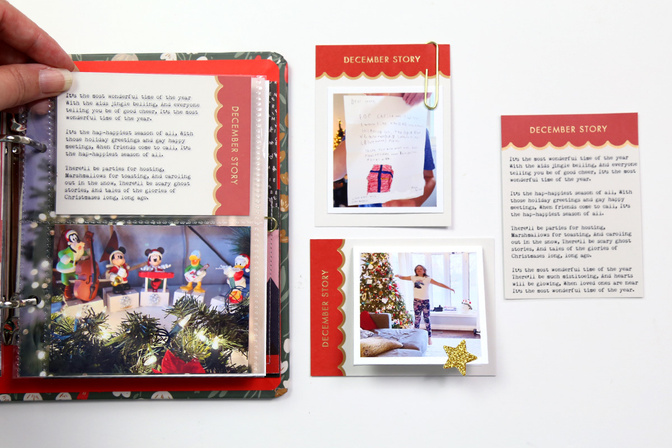
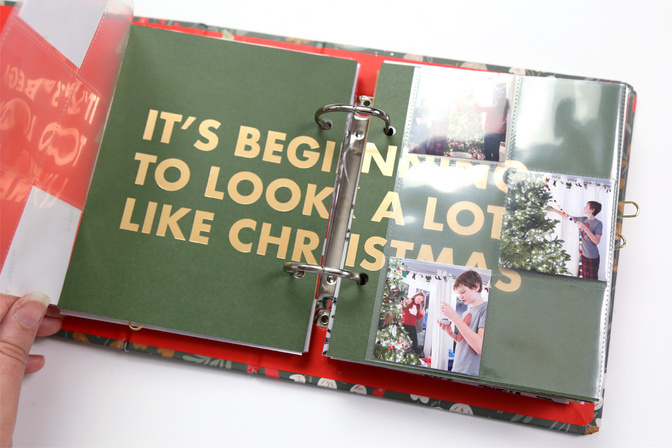
Fill the pockets. The 4x6 album comes with 10 divided page protectors that has 2 – 4x3 pockets. Pair a journaling card with a 4x3 photo and add your story, extra photos, or small pieces of ephemera.
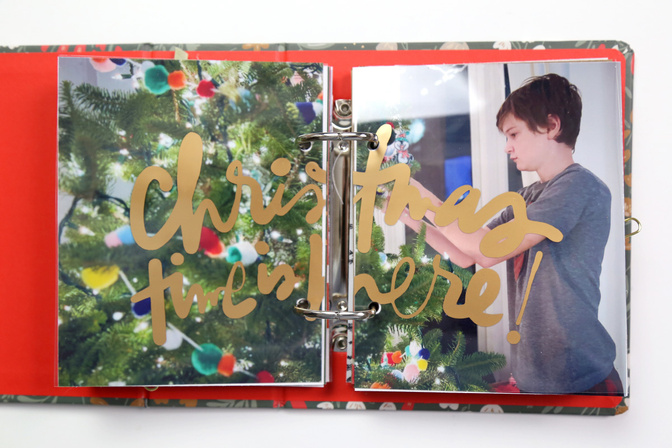
Use page protectors from your stash to make extra pockets that can be added onto full page photos (5x6.25 for this 4x6 album) or background papers. Add journaling or additional photos to the white space of the journaling card.
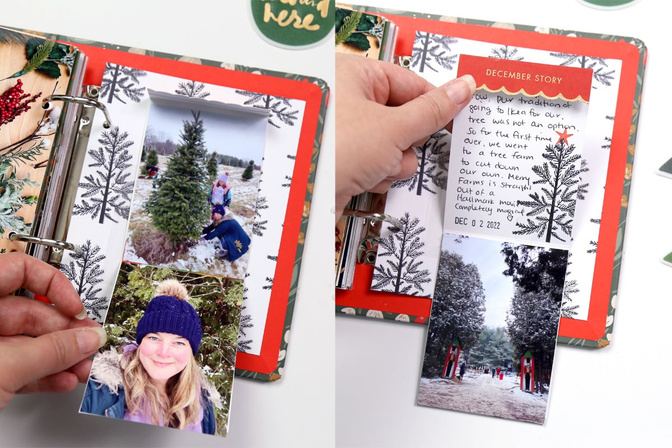
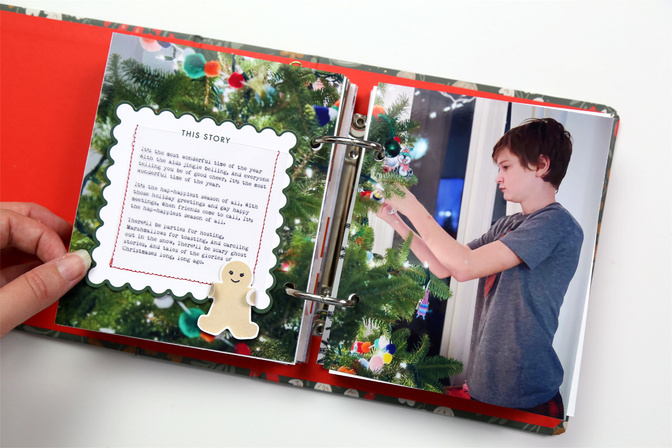
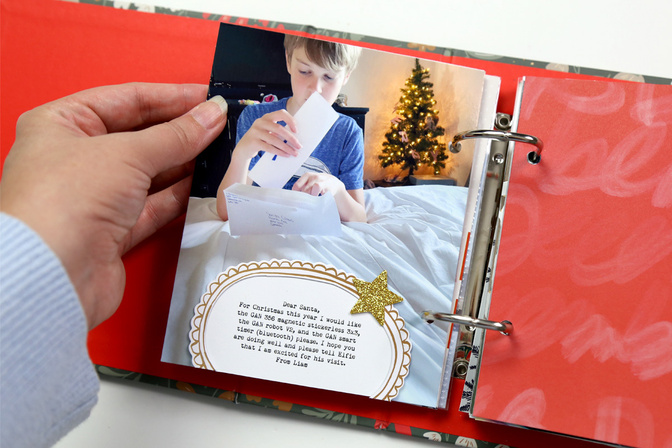
Turn the 3x4 card into a mini booklet (interactive element) to hold additional photos and journaling.
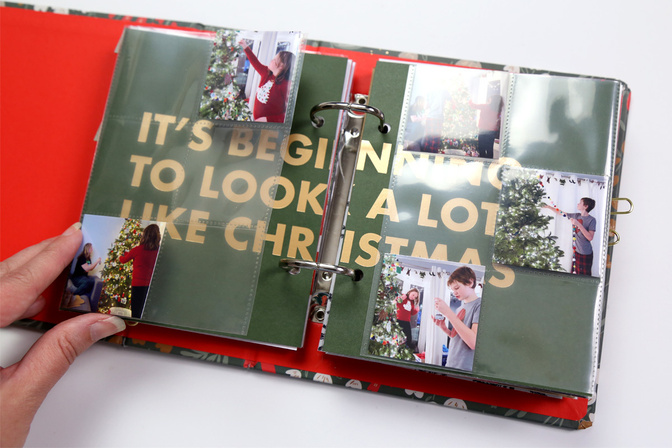
Item 2: 10x8 patterned paper
Feature a patterned paper across a 2 page spread. (This is also a great strategy for some of the awesome designs in the 10x8 extra paper pack and 10x8 specialty paper.)
Cut out some of the fun designs for extra embellishments. I started with the bows; the doves and ornaments are also great choices!
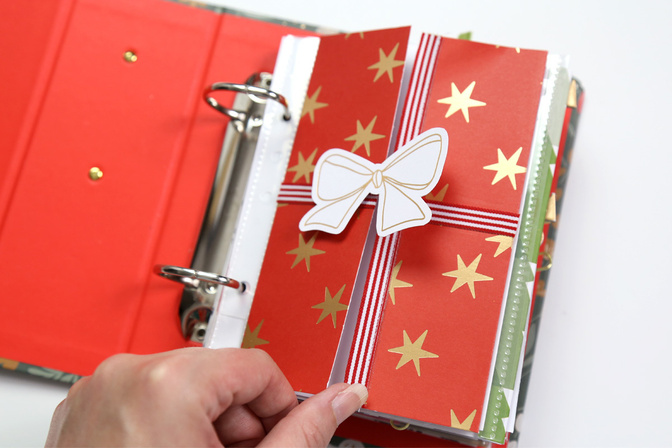
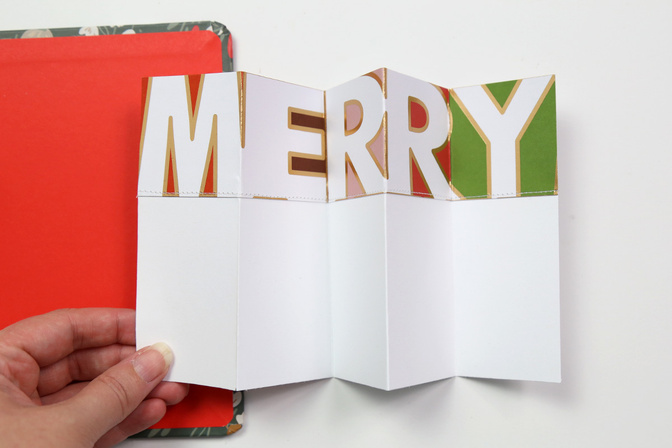
Use the paper to create interactive elements. The “present” could be repeated with any of the patterned papers. The letters in the “MERRY” text pattern are approximately 2x2 and would look great in 2x2 pockets as well.
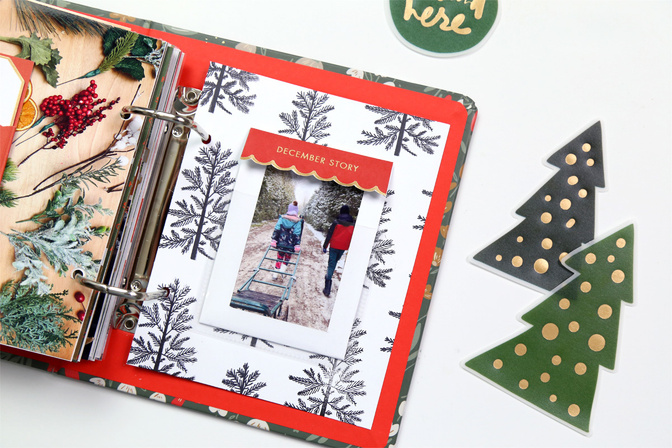
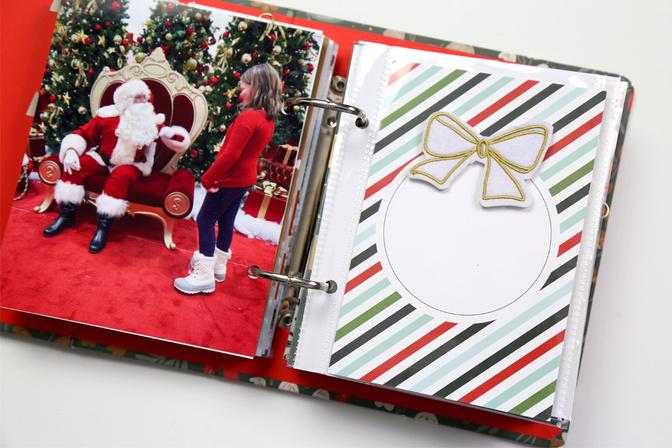
Item 3: 4x4 scalloped edge journaling cards
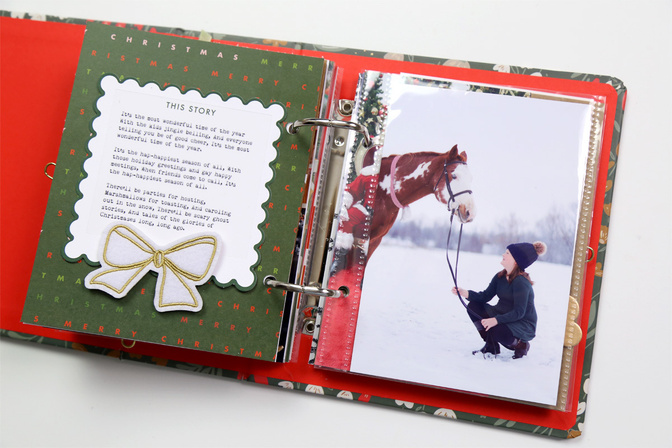
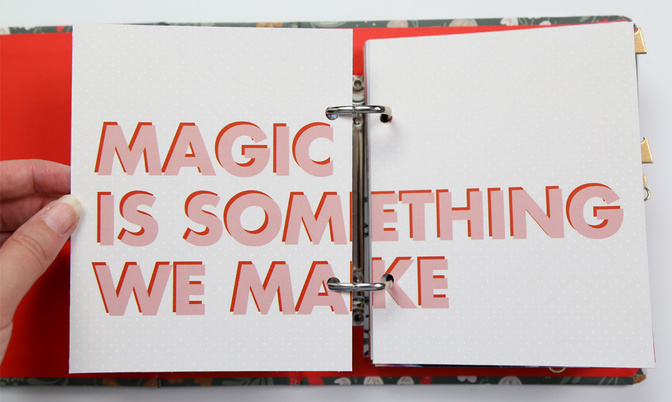
Keep it simple. Add the 4x4 card onto a patterned paper background.
Use a large photo as your background and turn the 4x4 card into a pocket for additional photos, journaling or ephemera.
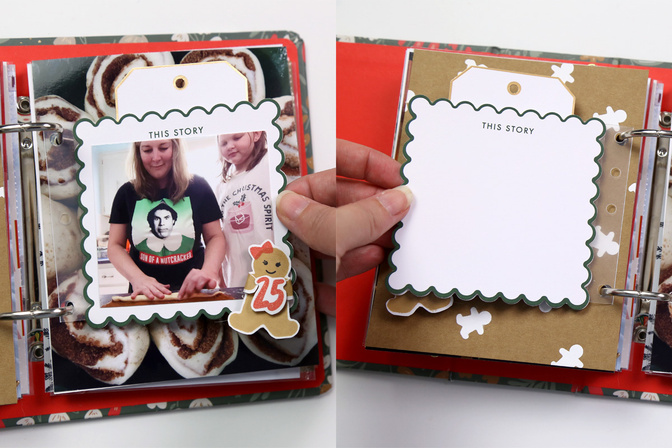
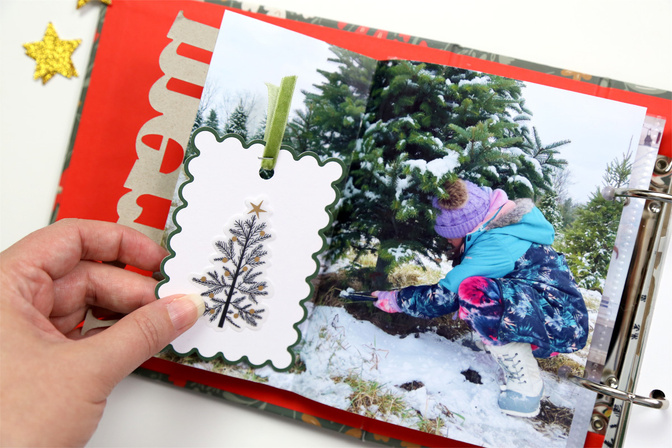
Use the 4x4 card as an insert. Add it to your album by punching holes directly into the card OR use a plastic attacher.
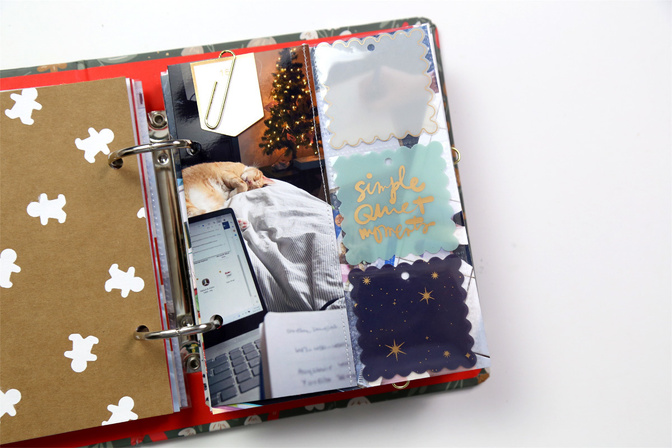
Item 4: Scalloped tag pockets
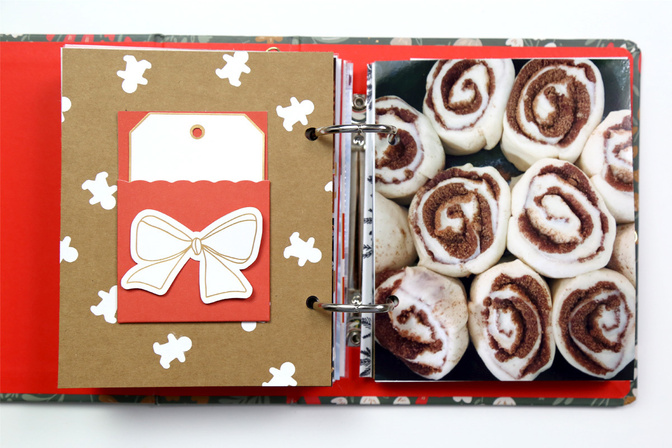
These pockets are so beautiful!! They speak for themselves and really don’t need any extra frills. This whole category falls under “keep it simple”. Add it to some background paper.
Or a photo.
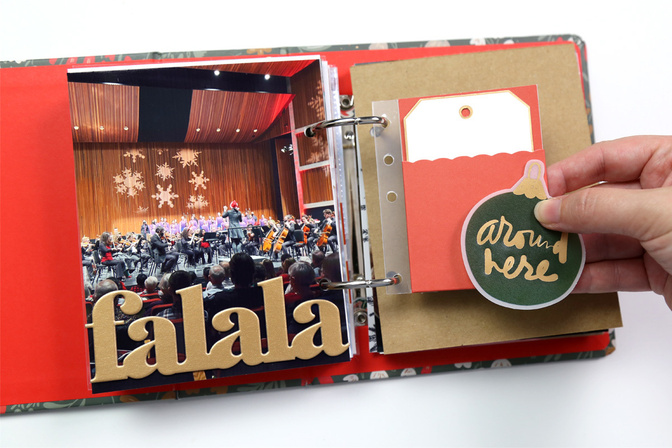

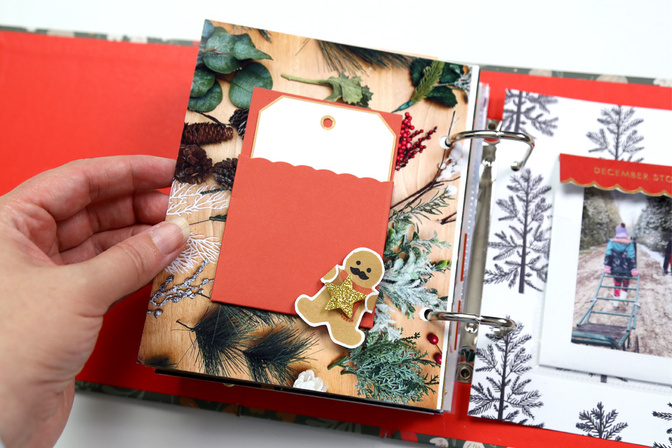
Or turn it into it’s own insert (just like the 4x4 scalloped cards)
Item 5: Gold chipboard words
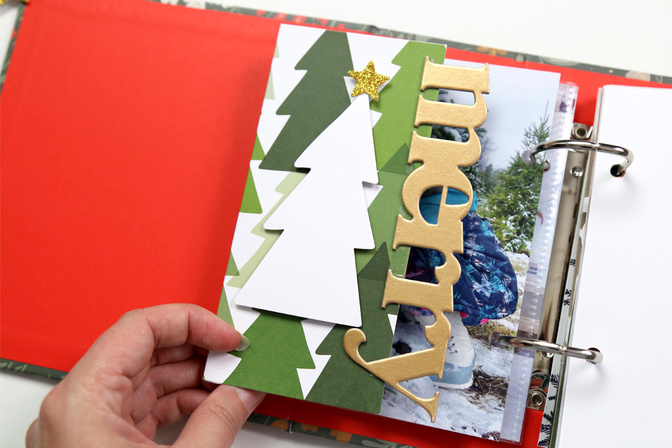
There are 7 of these beautiful pieces in total. 2 of them fit horizontally in the 4x6 format, the other 5 work best when they’re turned on their side. You can expand the size of your page to 8x6.25 and fold in the over hang. These chipboard pieces make a really cool decorative edge.
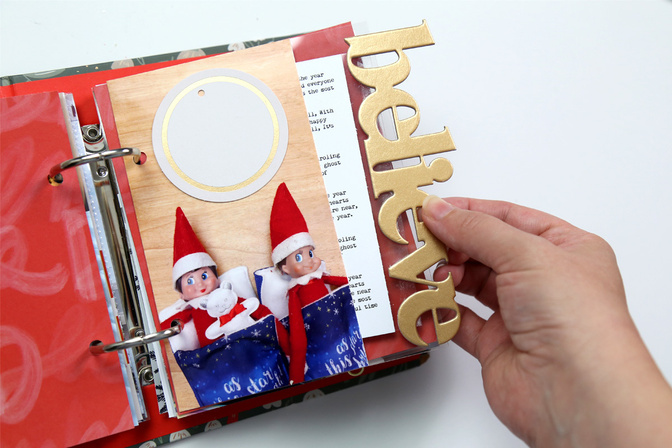
Turn your chipboard word into a tab to pull out hidden journaling or photos. When added to a transparency, the chipboard piece appears to be “floating” for an extra bit of magic.
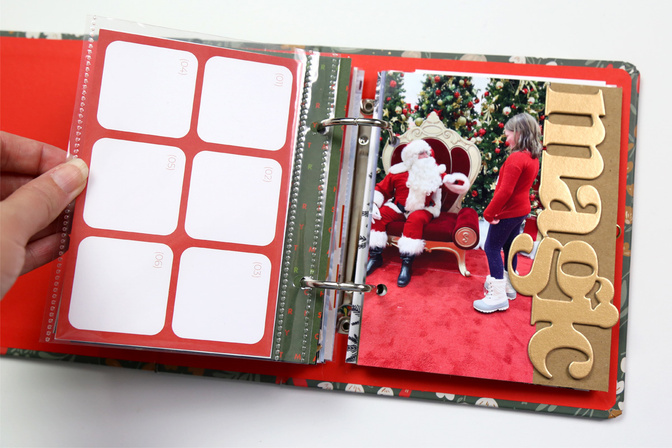
Use the chipboard as a decorative title on the edge of a photo or journaling spot. The gold on kraft combo looks even better in real life!
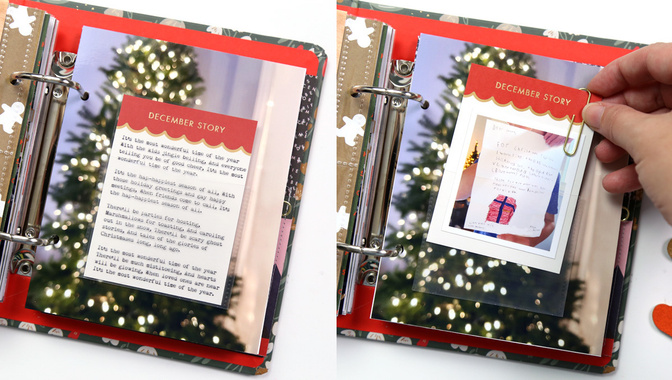
Item 6: 4x6 journaling cards
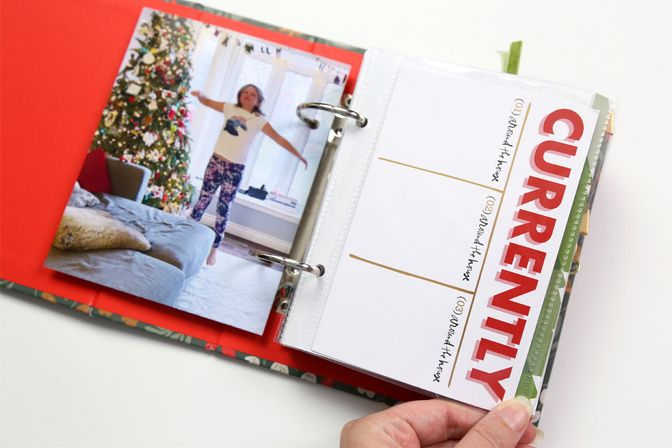
Some of the 4x6 cards are designed as story prompts and they are PERFECT, just as they are! So tuck those ones into some 4x6 page protectors and let the prompts be your story telling guide.
Pockets that hold extra photos and journaling and ephemera are a fun, tactile way to get more stories in your album. These pockets can be made with 4x6 cards and some patterned paper! (I haven’t punched holes in my custom pockets yet, waiting to figure out where they’ll land in my album this year)
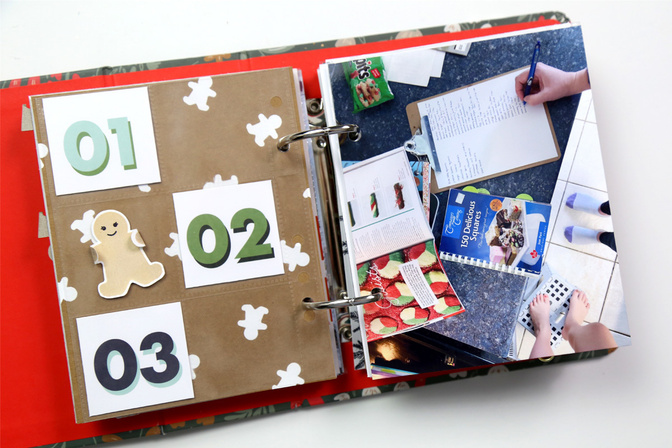
Don’t be afraid to cut up your journal cards to make them work for you!
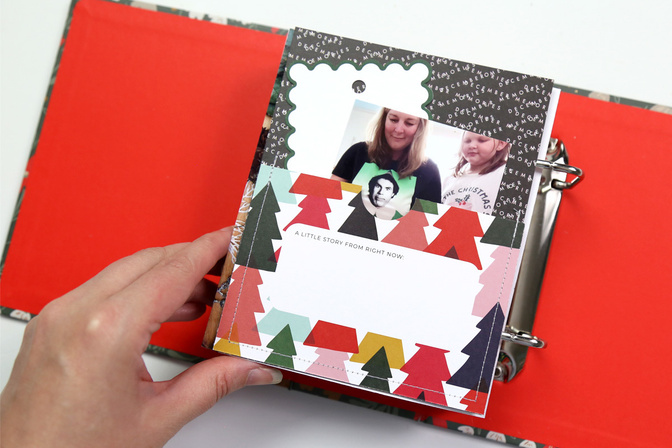
Item 7: 2x2 Pocket pages
I love the option of adding in a 3rd style of page protector in the 4x6 album! All this requires is a few extra 6x8 page protectors with a 2x2 pocket design that you’re willing to cut up. These can be used exactly as they are intended (as a pocket page!) as shown above with the cut up journaling card.
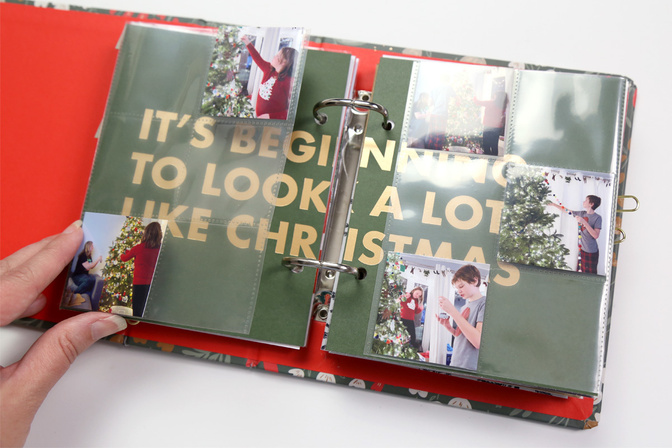
I also shared the idea of using these extra pockets as “flip outs” from photos or patterned paper. This technique can be done with any of the page protectors that fit in the 4x6 album, it doesn’t have to be just the 2x2’s (but they are an awful lot of fun!)
The 2x2 pockets really are the perfect home for the plastic scallop edged 2x2 pieces in this year’s collection. I love the idea of using a skinny column (quite certain this idea was shared by Lesley aka. @scrapandtell on Instagram recently!).
Item 8: Cardstock frames
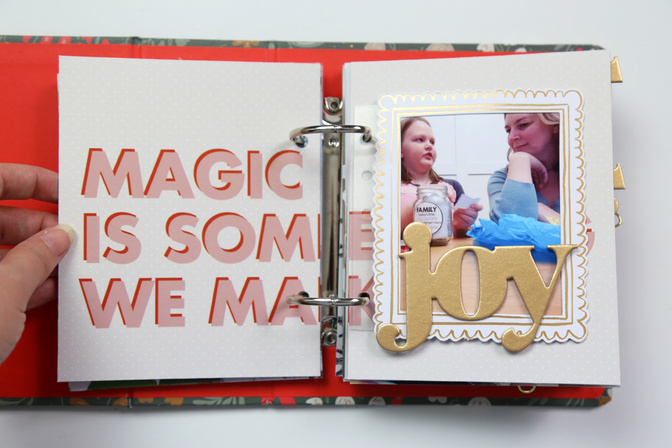
The 4 gold foil card stock frames is this kit have my heart!! In the video, you’ll see how they fit so beautifully into the page protectors. I’m thinking the largest one may be my intro page this year (along with a family photo if luck is on my side). They would also look pretty great floating on top of a transparency (on my to-do list!).
I said I wasn’t going to cut the frame in my video, but I couldn’t help it! These frames are lovely as journaling spots, and I’m always especially fond of items like this running right off the page.
They can also be turned into little interactive elements. I discussed my plan for the 2nd largest frame in my video but didn’t actually record the part where I put it together. I did in fact use one of the heavy plastic attachers to get it into the album. This piece opens into a booklet that’s just waiting for some journaling to capture the rest of this story.
Okay friends, 7 (+1) different items from the main kit, 3 different strategies each, that’s 24 options (+) to start planning your foundation pages. Keep it simple. Find a technique that you like and repeat!! Thank you so very much for being here today. I’m looking forward to sharing some more ideas for the 4x6 album with you soon (think transparencies and pockets!)!


Comments
Sign in or sign up to comment.
67 comments
Thanks for the ideas. I’m using 6x8 but love these ideas and will be able to modify some for that size too!
Replies to gretchen_mansfield
Definitely works for a 6x8 too :D thank you!
Sign in or sign up to reply.
Pam!!! I have missed you! Such great content. So many videos and I was still sad when I scrolled and there were no more. This little 4 by 6 album will surely sell out now. Love all of these ideas!!! xo
Replies to stagnaromel
This is super kind, thank you!! :D
Sign in or sign up to reply.
Wow so many beautiful and inspiring ideas! I was going to use a 6x8 again this year, but now i'm not sure anymore...!
Replies to IKS87
The decision fatigue is real, lol! But I really don’t think there’s a wrong decision here, either one will be great!
Sign in or sign up to reply.
Thank you Pam! This was just fabulous!
Replies to MonicaMcNeill
Thank you so much! :)
Sign in or sign up to reply.
WOW! I'm in awe of each and every idea! I've already watched each video several times. It's so inspiring, I just added the 4x6 album to my box :) Thanks so much for sharing all of the beautiful ideas.
Replies to paperpicnic
Thank you so much!! :D
Sign in or sign up to reply.
Pammmm… ugh this was all so good I’m blown away. Now I feel like I need a 4x6 too! Haha 🖤 TFS
Replies to Jessanicolas
Thank you!! I really love the 4x6 :D
Sign in or sign up to reply.
Amazing job, Pam! I love your ideas!!
Replies to jenwong
Thanks so much Jen!! :D
Sign in or sign up to reply.
Wonderful ideas! Thanks so much!
Replies to karinioia
Thank you!!
Sign in or sign up to reply.
Thank you so much Pam! The idea of foundation Pages and a design formula is soooooo good! Wish we Had this in the last years! Easy pages, easy to do AND you are actually USING the Kit! Back to the roots! YAY!!!!! Perfect! Again, thank you soooooo much!
Replies to Mareen
Thank you!!
Sign in or sign up to reply.
So many great ideas for the 4x6 album!! Love the use of the 2x2 pockets :) Always such amazing ideas.
Replies to cjflynn09
Thank you!! Those 2x2 pockets are so good in this album :D
Sign in or sign up to reply.
So many amazing ideas. Thank you, Pam! You have inspired me to go back and document last year in a 4x6- it feels very doable!
Question- do you expect that everything will fit within the one album?
Replies to 2rparikh
Thank you!! I’ve got 2 albums on the go at the moment and each one has 20 pages/inserts in it with a little room to spare. I’m pretty sure I can fit 25 spreads in one album but 30 would probably be too tight. I’d also say if you prepare more flat spreads than the bulky/interactive ones, you’ll be good for one album. But if you like lots of ribbon/trims/pockets, you might want to be prepared with a second album. They do have the same 2.5” spine as the 6x8 and 10x8.
So helpful- thank you!
Sign in or sign up to reply.
I have never bought the Main Kit... until now! Fully inspired by the many beautiful options shown by you, Pam!! And I know I will not regret it! Thanks again for being on this team. ⭐️⭐️⭐️⭐️⭐️
Replies to visualgirl
Sign in or sign up to reply.
Thank you Pam for all of the inspiration. You got me moving and working on foundation pages and I am so grateful! I was in a slump and now I have so many ideas! You are the best!
Replies to Meltex
Sign in or sign up to reply.
So many great ideas Pam, thank you!
Replies to prettyplease
Sign in or sign up to reply.