Week In The Life™ 2025 | Monday In Ali's Album
Tags: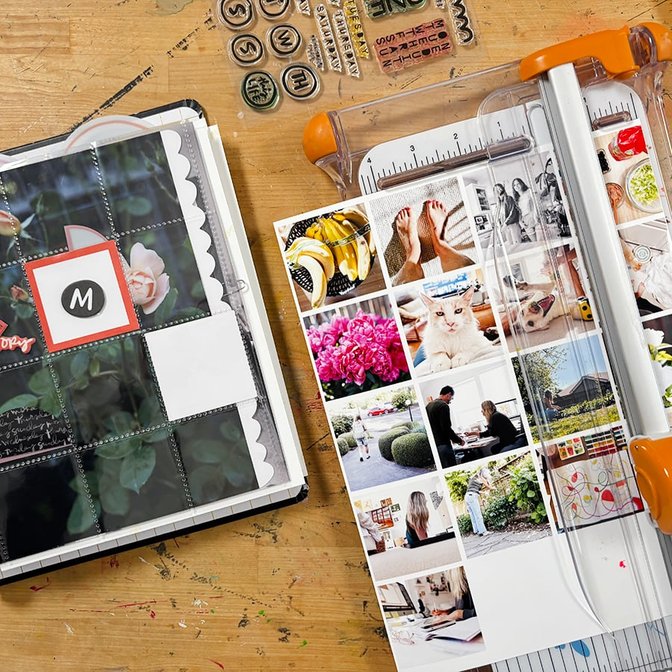
Thank you so much for your patience as I took extra time to bring my Week In The Life™ album together after the documenting week this year.
Most years I dive into the process of bringing the words and photos together a week or so after the documenting. This year I took a longer break and I found that I actually enjoyed the process of putting it together more than in some previous years. I think part of that is sometimes I feel like I have to hurry to get it all done.
Waiting allows some of the story to synthesize. We see different things when we are looking at the bigger picture vs. the daily details.
Today I'm sharing a look at Monday in my album along with a video that talks you through pieces of my design formula this year. I'll be sharing the rest of the days next week along with a video walkthrough of the completed album.
Let's dive right in with some general thoughts on the process:
You can see what my album looked like before diving into the documenting week here. I changed a few things around based on the content I decided to include.
I always begin the process of adding in my content by printing photos and figuring out a flow for Monday. This year I knew I wanted to have a 2-page photo spread each day that would surround the 2x2 pocket page. From there I figured out the measurements for the rest of the homes I wanted to create for my photos (you can see my photo size list below). I love having a formula for this project as it makes the entire thing more manageable when pulling it all together.
One of the big decisions for me was deciding what and how to bring some of the words out of the notebook and into the album. You'll see how I decided to tackle that below.
This year I decided to do my filming a bit different and I let myself figure out my flow for Monday off camera to release a bit of the pressure that bubbles up for me from time to time. After I had the Monday flow figured out I started filming myself working on Tuesday - which is where the following video begins. Some elements I do all at the same time (one for each day of the week) and sometimes I work on only one day at a time. In the video I also talk about my 2-page photo enlargements and detail what I ended up adding to my transparent pages.
Let's dive in:
Now let's take a look at the images of my completed Monday:
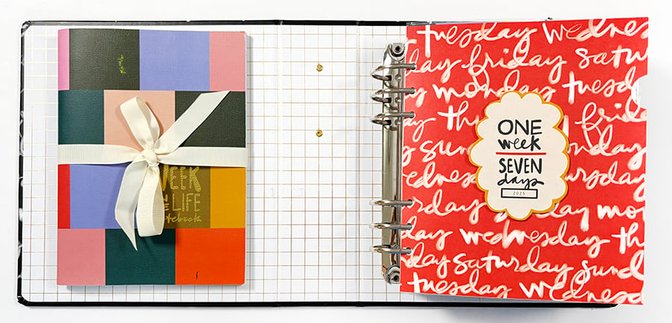
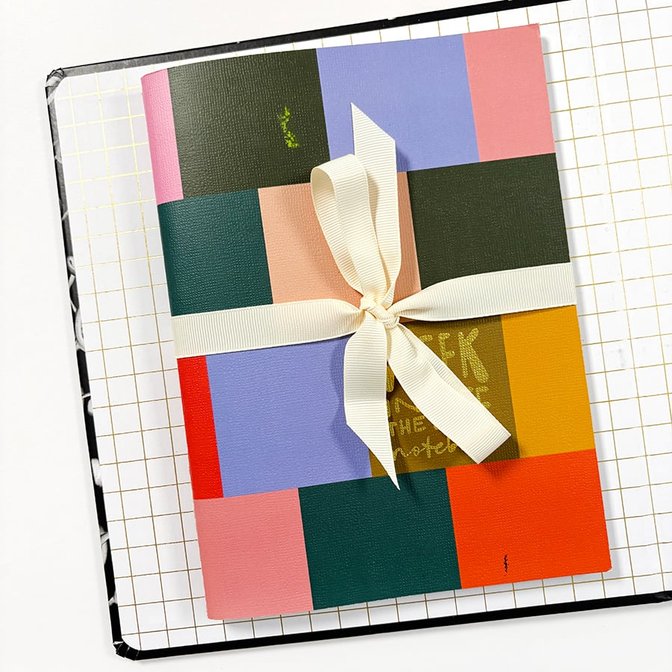
Because the notebook was an integral part of my project this year I very much wanted to store it with my album. I considered making a pocket out of vellum or transparency but decided to try seeing if a grosgrain ribbon and a thick strip of red line tape would be strong enough to hold that in place. I think for living here on my shelves this will be fine.
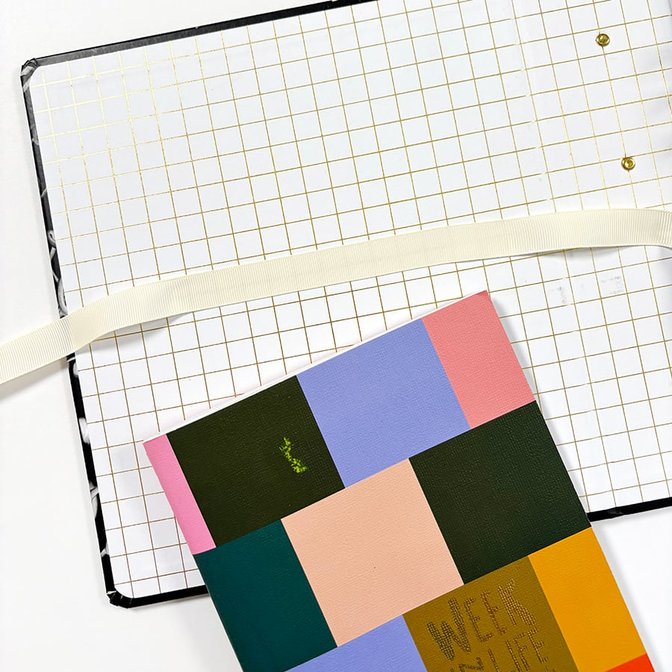 Red line tape under the cream ribbon holds the notebook in place.
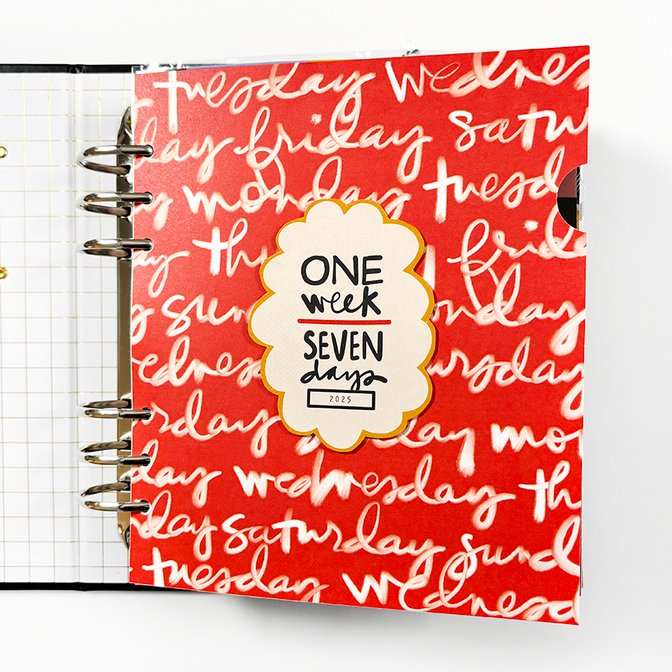
Along the edge of most of the full page photos I used a 1 inch circle punch to punch a half circle as a page turner.
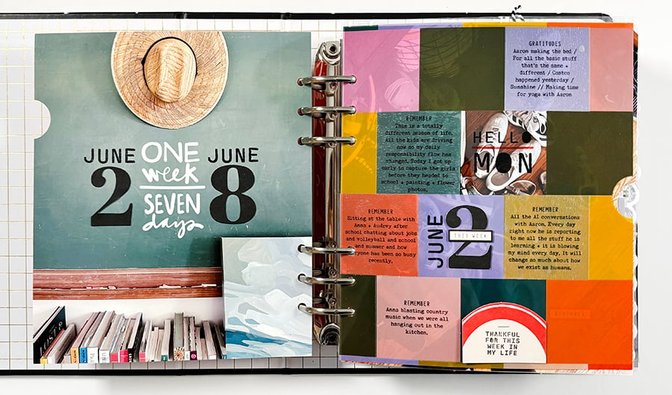
On the back of my main title page I created a secondary title page. I took a photo of our large chalkboard with my garden hat hanging in the middle and my gardening books along the bottom. I considered adding longer text here (an intro or reason why) but decided to go graphic instead. I added the "one week/seven days" word art from the digital stamp before printing. After printing I used this alpha stamp set + StazOn ink to stamp "JUNE" and added the black die cut numbers from the By The Numbers Kit for the dates.
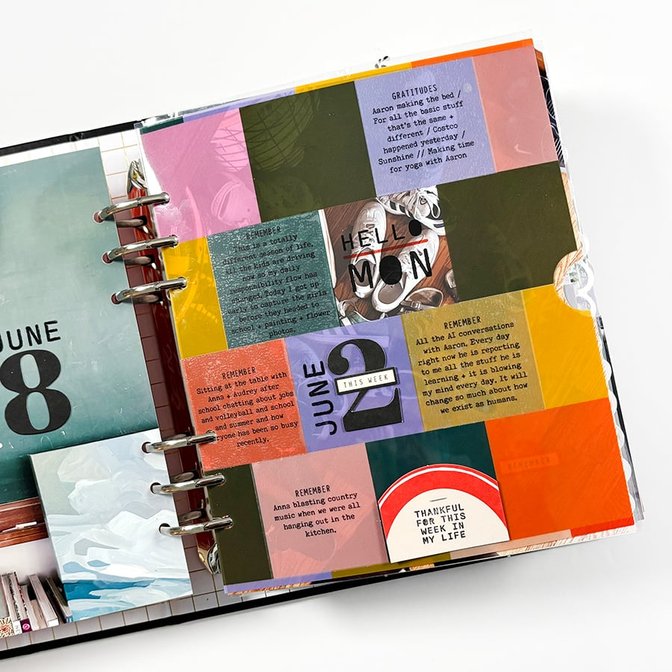
I love when I end up going down an unexpected path when I'm bringing my content together.
Originally I was planning to just leave these transparent pages as they were with the fun little "hello mon" window, but as I was thinking about places I could add words or photos I decided to take advantage of the 2x2 squares.
The first thing I added was one of the die cut numbers from the By The Numbers Kit (this is the actual date) along with stamping "June" using the same stamp set as I did on the intro page. On top of the number I added a word/phrase sticker from the large sheet in the Main Kit.
The second thing I added was the 2x2 punched portion of the oval with "thankful for this week in my life" stamped on top. I ended up cutting up the original ovals from the By The Numbers Kit and adding a portion of it to a 3x4 photo of my photo archives for the day (you'll see this below).
The last thing I ended up adding on top of these transparencies are "gratitudes" and "things I want to remember" that I took directly from what I had written in my notebook. I arranged the text onto 2x2 squares which I then printed on sticker paper before peeling off the backing and adding onto the transparencies. This was one of the last things I did in my process. Prior to that I wasn't sure if I was going to bring in the gratitudes and what I wanted to remember (I'm totally okay with not taking everything from the notebook and moving it into the album especially since I'll be storing the two together).
I repeated that same formula on each of the following days.

A full page photo follows the transparency each day (7 inches x 8.25 inches). This doesn't have to be your first photo of the day. It can be one of your favorites or something that simply reflects this season in your life.
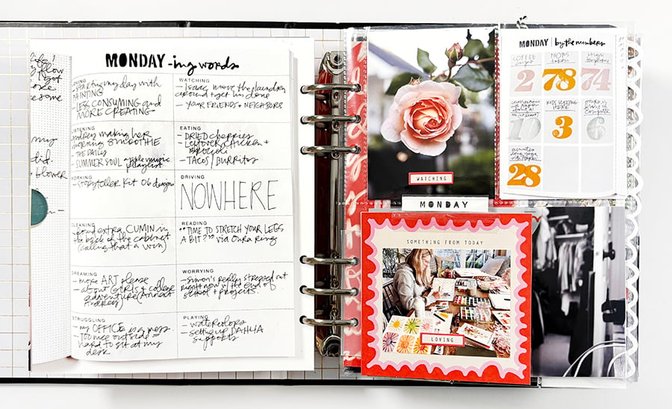
To bring in some of the content from the notebook I decided to simply photograph the -ing words page and the by the numbers page. I printed the -ing words page as a full page photo (7 inches wide x 8.25 inches tall) and printed the by the numbers page as a 3x4 card that was then slipped inside a page protector.
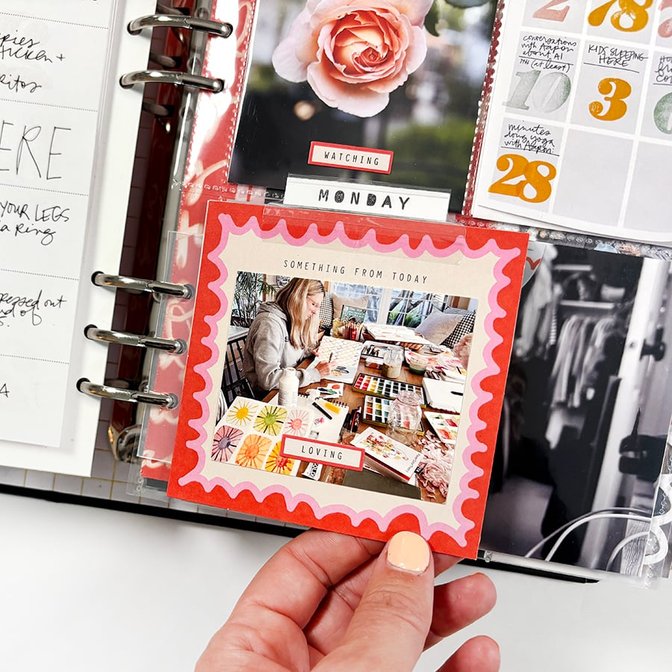
Each day on this 4x4 card I added a 5 inch x 3.25 inch photo. Along the top edge I added an Avery Index tab and stamped the day of the week using the Seven Days Stamp Set.
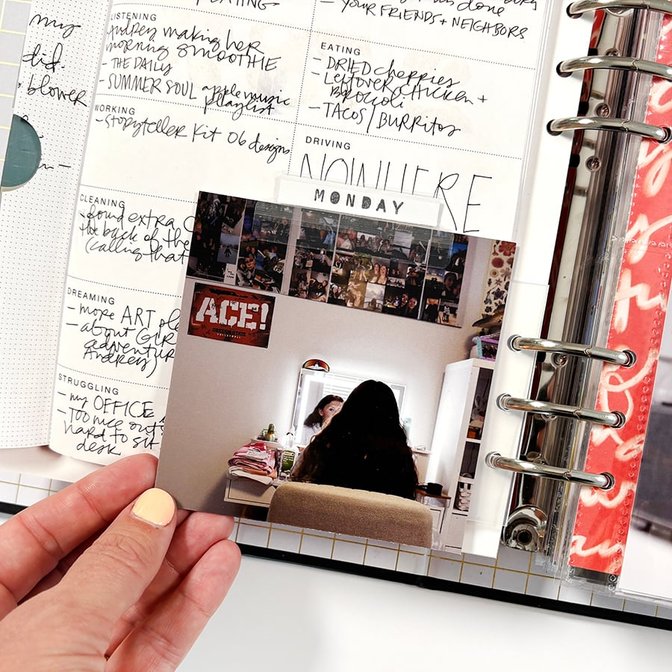
On the back I add a 4 inch x 4 inch photo. Just pick a photo and stick it down.
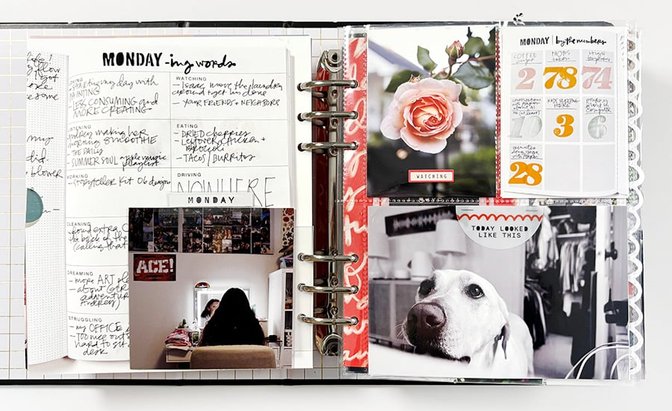
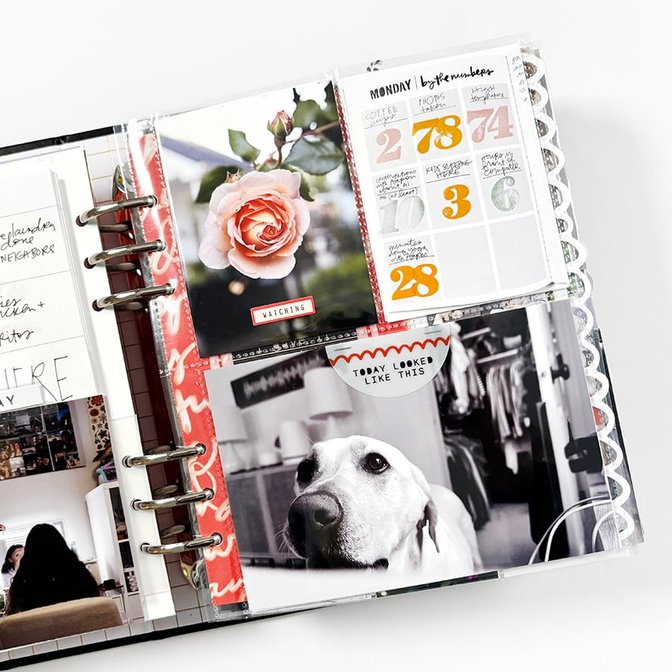
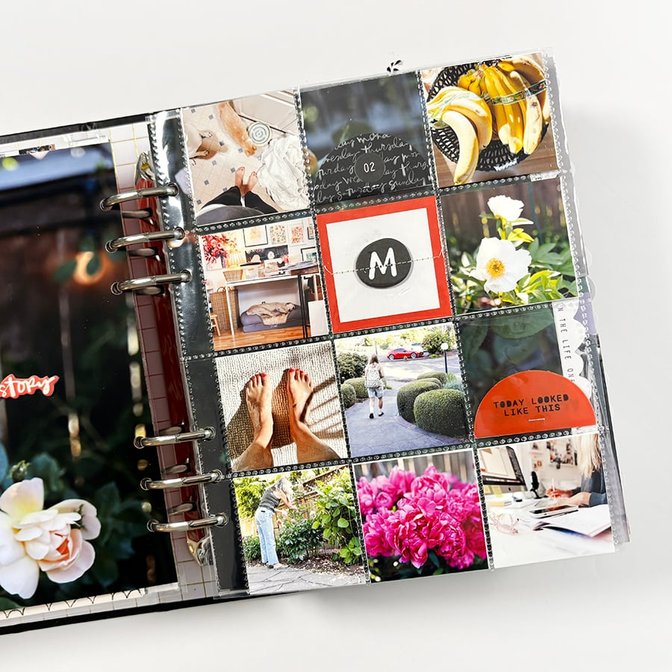
On the front of this page proctector for each day I'm adding a 3 inch x 4 inch photo (often with a word sticker on top), the 3x4 by the numbers page from my notebook, and a 4x6 photo. On top of the 4 inch x 6 inch photo I'm adding the "today looked like this" half circle from the 1/2 circle plastic pack.
For the next spread in my formula I've got the following:
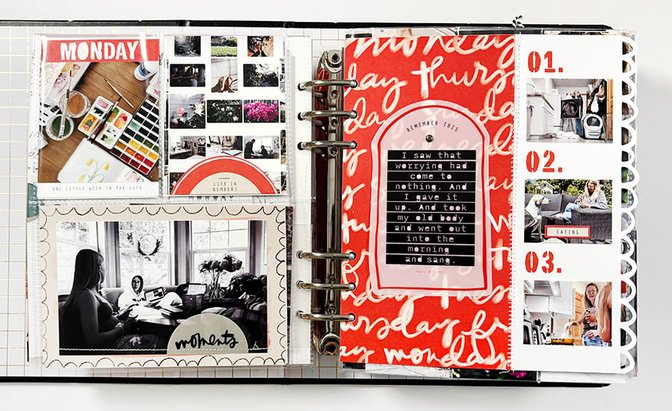
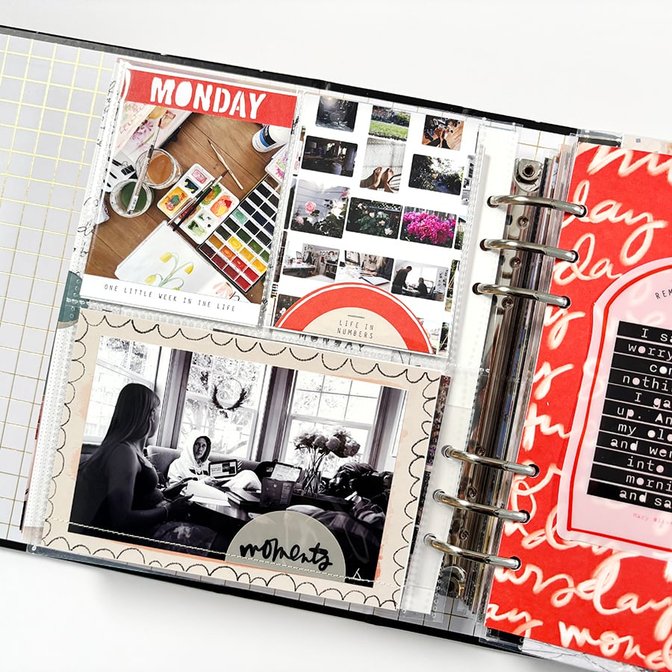
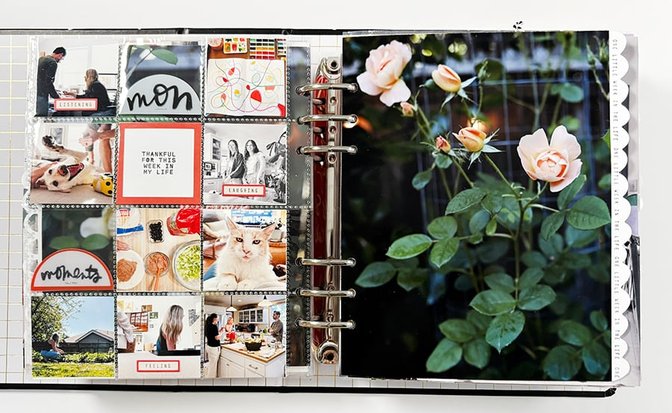
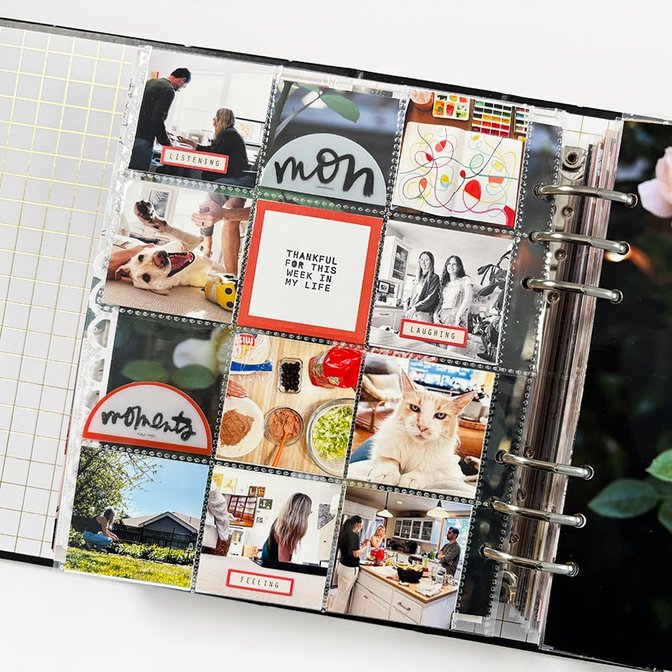
3 inch x 4 inch day of the week card with a 3 inch x 3 inch photo added on top.
3 inch x 4 inch screenshot of my photo archives with a portion of the "life in numbers" oval from the By The Numbers Kit.
4 inch x 6 inch watercolor card with a 5 inch x 3.25 inch photo added on top (watercolor card is from the Variety Pack). On each of these I also added a "moments" half circle and ran the whole thing through the sewing machine to add the line of stitching.
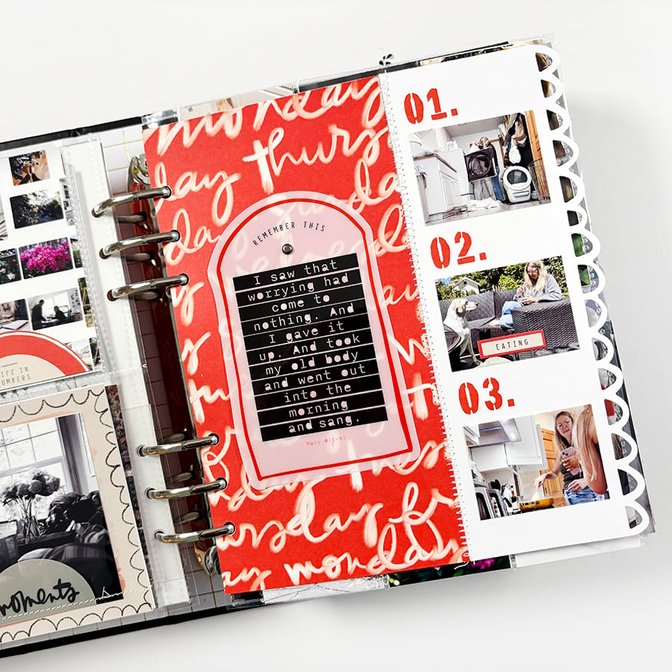
On the second page of the spread I added the plastic quote from the Main Kit using a mini brad. I selected three photos that I cropped to 2 inches x 1.5 inches and adhered under the numbers.
The next spread features the following:
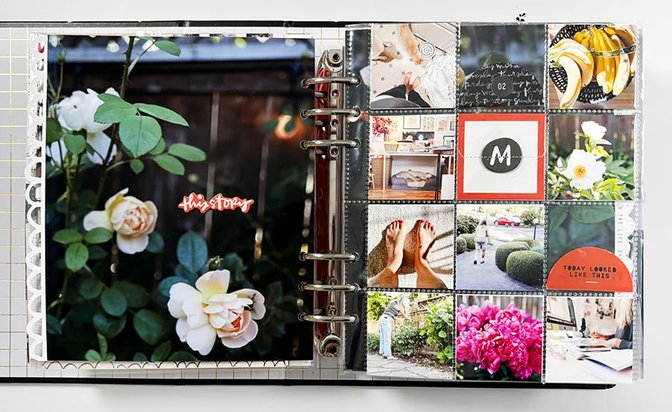
A 14 inch x 8.25 inch photo that spreads across two pages and takes advantage of the two papers with scalloped edges (the 1, 2, 3 page and the color blocked page). I aded the chipboard "the story" to the first page of the photo spread.
In between the photo spread I've added a 2 inch x 2 inch page protector. As the days go on in the week I'll have fewer photos for this page and adjust it accordingly (meaning I trim off the squares not being used).
The repeated elements that I added to each day in the 2 inch x 2 inch page protector included the 2 inch x 2 inch squares from the Variety Pack along with two half circles stapled back to back from the plastic 1/2 circle set. For each day of the week I added the chipboard letter to the top of one of the 2 inch x 2 inch squares and ran it through my sewing machine. On the back side I stamped "thankful for this week in my life" from the Weekly Moments stamp set.
A look at the second page in this spread.
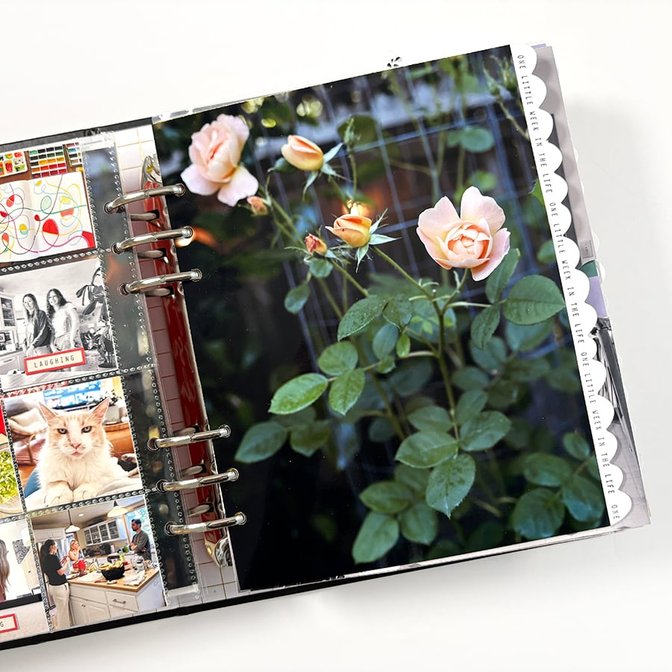
Along the outside edge of the second page of the photo enlargement I stamped "one little week in the life" along the scalloped border.
The next spread features:
As you saw above, I ended up turning the scalloped edge page upside down in order to have the back side appear first in order to accommodate the photo spread and the stamping along the scallop edge.
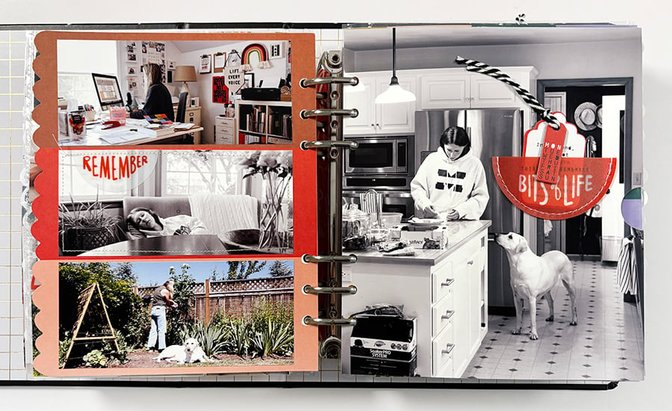
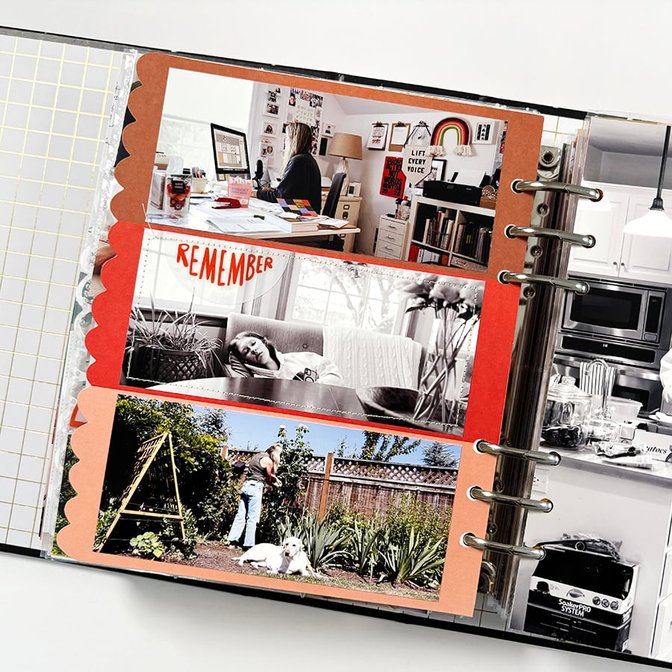
On top of the color blocked scallop page I added three photos - each measures 5.5 inches x 2.5 inches. To the middle photo I added the remember plastic half circle and ran it through my sewing machine to create a frame around the photo.
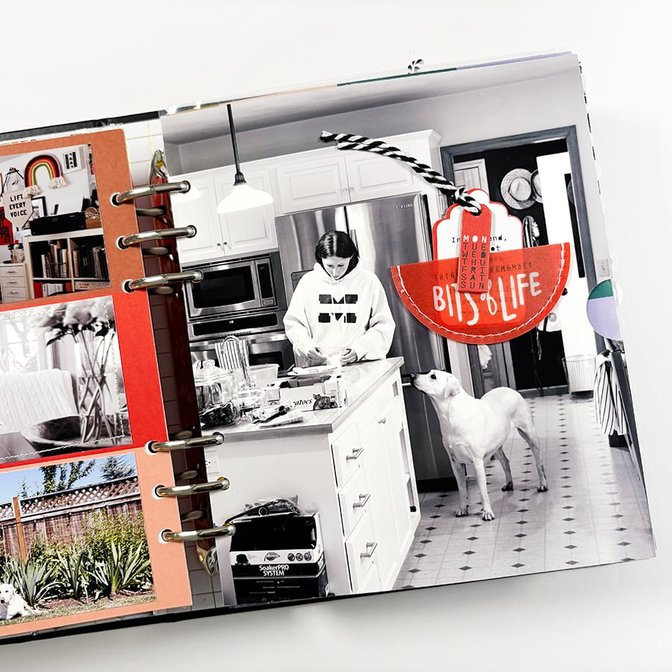
The second page in this spread is another full page photo. As the week goes on and I have fewer photos you'll see this full page photo (with another one on the back) disappear and the vellum pocket moved to the previous spread. On top of the full page photo I created a little cluster of embellishments with the vellum pocket, a tag from the By The Number Kit, the chipboard day of the week, and some black and white twine to hold it all together. I'll be using the scalloped cards that were originally inside the vellum pocket for another project.
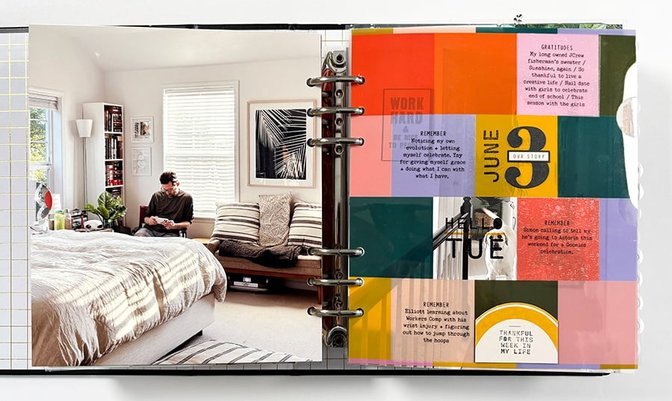
I finished off Monday with one more full page photo and then we move into Tuesday!
PHOTO SIZES
Something from today 4x4 card front: 3 inch x 2.5 inch
1, 2, 3 scalloped edge: 2 inch x 1.5 inch
Watercolor 4x6: 5 inch x 3.25 inch
Color blocked scalloped edge: 5.5 inch x 2.5 inch
3x4 Daily Card: 3 inch x 3 inch
SUPPLIES
7 Days 4x6 Stamp (also used the digital version)
Tiny Attacher
Red Line Tape


Comments
Sign in or sign up to comment.
14 comments
Ali ~I would love if you could show us and walk through your notebook!
Replies to StephanieHokenson
Sure! I can do that!
Sign in or sign up to reply.
Love it! I am planning to do WITL in early August.
How do you organize your photos? Do you go in chronological order or what makes more sense for the size/ album flow? Thanks. I think I am always overthinking it. :)
Replies to tuna13
Hi! I most often start with the photos that are my favorite (for whatever the reason - they tell a different story, they are just cool, etc) and make those big. From there I just trust my gut - I really don't think it matters!
Sign in or sign up to reply.
Thank you for sharing that you start to run out of photos towards the end of the week 😉 I got lucky because we went to the zoo on Friday, but there is otherwise a steady decline in both pictures taken and notes written down (for Sat it was literally just my waking up and going to bed time 😅).
Replies to JoHannaS
Looking back through all my WITL albums over the last 20 years that's been the case almost every time for me! It just happens!
Sign in or sign up to reply.
I spy a Litter Robot! Love ours! Absolutely life changing. Great job, Ali!
Replies to Mjsjackson
Sign in or sign up to reply.
Looks great! Love the gratitudes on the transparency! Love how you took photos of the notebook and those double-page full photos!
Replies to Jeannew
Sign in or sign up to reply.
Love this so much!! Each part is so fun and flowed well together!!
Replies to dawnmi
Sign in or sign up to reply.
Love this!! I have everything together but yet to start putting it all together :) Do you happen to have a source for your "work hard and be nice to people" wall art? I think that's a great sentiment as my son starts middle school. And for us all! Thanks!!
Replies to ahiggins83
Hi! I got that from Schoolhouse a number of years ago. https://schoolhouse.com/products/work-hard-oversized-screenprint?variant=44142194393132
Thanks Ali!! Love it.
Sign in or sign up to reply.
Love seeing how you’ve laid everything out in the album! The way the photos fit together feels really intentional. I’ve been looking into different print sizes recently and came across this guide: https://skylum.com/blog/4x6-photo-size. It helped me better understand how dimensions translate once the photos are printed, which makes the planning part of albums so much easier. Might be useful if anyone else is sorting through formats for their own projects.
Replies to Velsit
Sign in or sign up to reply.
Der Artikel https://luminarneo.de/bild-drehen/ zeigt dir, wie du Fotos mit wenigen Klicks richtig ausrichten und drehen kannst – ganz gleich, ob du eine Landschaft perfekt horizontal haben willst oder ein Porträt leicht kippt. Dort findest du, wie die Software von Luminar Neo dich mit KI‑Unterstützung dabei unterstützt, den optimalen Drehwinkel zu finden und dabei die Bildqualität zu wahren. Ideal, wenn du deinen Bildern den letzten Schliff geben willst und aus jedem Motiv das Beste herausholen willst.
Replies to User56075
Sign in or sign up to reply.