Color Storyteller Kit | Special Guest Jill Drangsholt
Tags: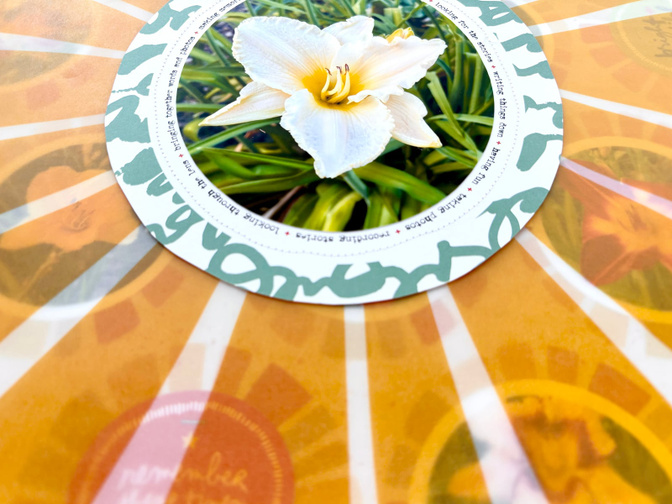
Hi friends! I was inspired by all of Ali's flower photos to document my collection of daylilies. They are one of the few flowers that I have found to flourish in my patio garden that only gets 3-4 hours of sun a day, and I have loved them so much that I have planted even more colors in my HOA managed front yard whenever something up there dies (shhhhh... don't tell my HOA!). So now I have over 10 varieties of these flowers and had so much fun putting these photos of them all in one place!
I will also show you how to fix the typo on one of the papers in the kit.

I fell in love with the sun birst paper and vellum and decided that it would be fun to layer them on top of one another!

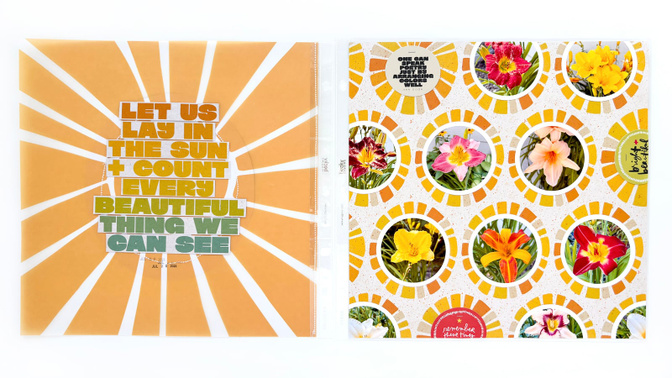
For my flower photos, I printed them at 2.75 inches and cut those out with a 3 inch circle punch to give them a white border. I also added in 3 of the circular paper die cuts to fill in some of the extra spaces. I also stitched the edge of a page protector to one side of my vellum so that I could attach it directly into my album. Because I am using a 3 hole album, Ali's page attachers wouldn't work, but this was a great solution!
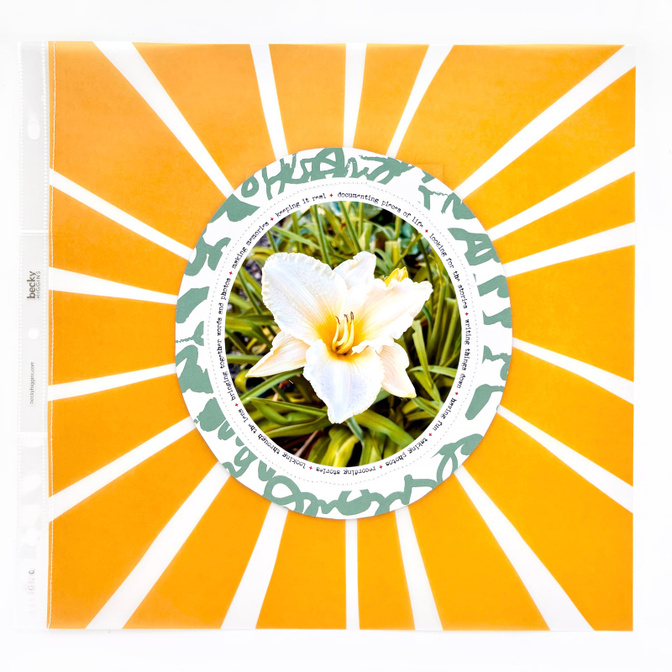
On the front of the vellum, I cut out a large oval from the paper with the blue handwritten pattern border and added one of my flower photos inside. I then stitched around this with white thread to adhere it onto the vellum.
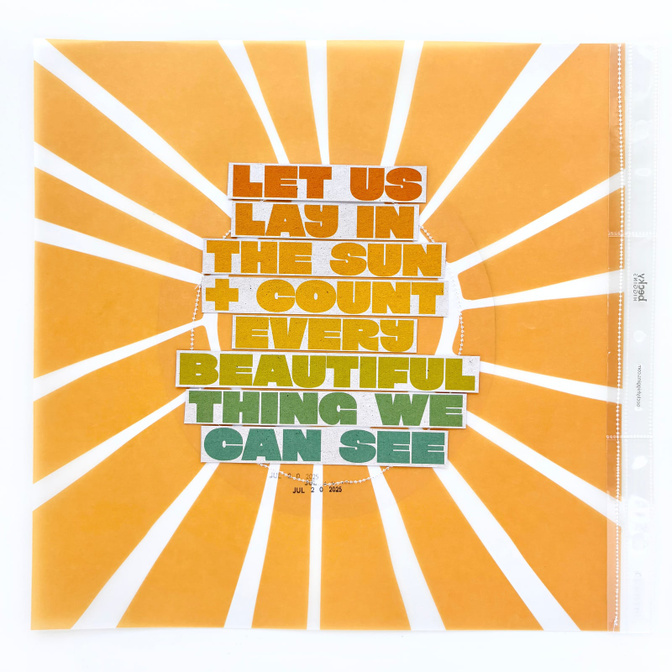
On the back of the vellum, I wanted to use the phrase from the "let us lay in the sun" paper on top of the sunburst. There is a typo on that paper (two i's in things), but I was easily able to fix that by cutting the phrase into long strips, and then cutting the "thing we" strip in half right between the two i's. I was then able to overlap those to hide the second i. You can't even tell!
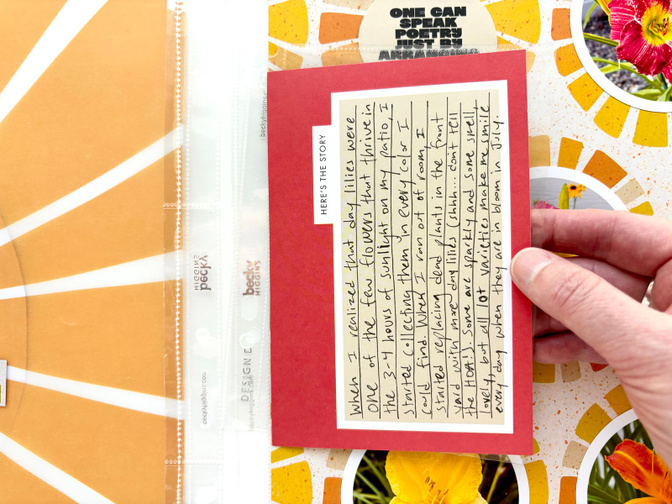
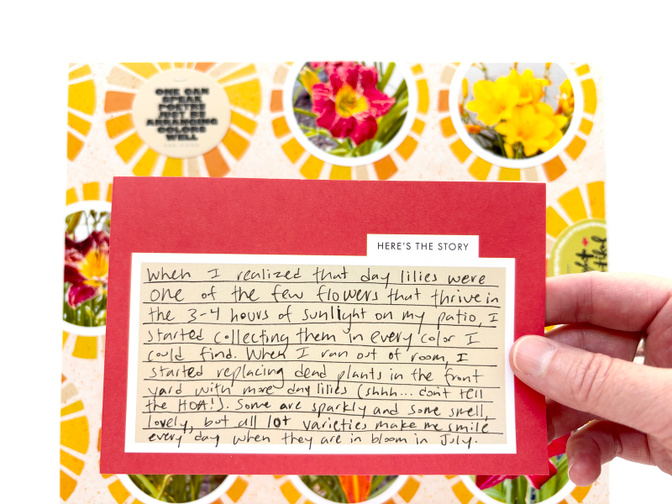
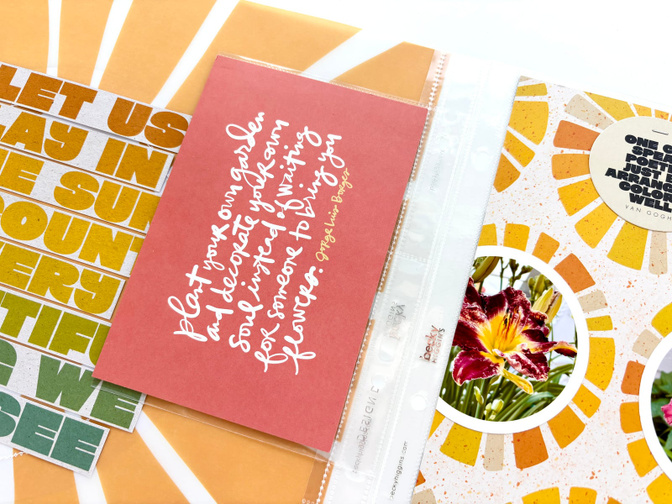
To add some journaling for my project, I just used a 4x6 card from the kit and paired it with a quote card from my stash.
You can check out my process video below to see how this project came together!
I hope you enjoyed my lesson! Let me know if you have any questions and you can follow along with my other crafting adventures on Instagram (@jill.drangsholt).


Comments
Sign in or sign up to comment.
6 comments
Beautiful work!
Angi
Replies to angib5252
Sign in or sign up to reply.
This is just gorgeous! I love your work!
Replies to mecastro
Sign in or sign up to reply.
Hi Jill,
I love your use of the vellum and the sun paper - I had been struggling with what to do with them. Just a query; you said your circular photos were 2.75 inches and the cut out 3 inches, but it looks more like a quarter inch border to me, meaning the photos would be 2.5 inches. Is that actually right?
Replies to geordie281
Sign in or sign up to reply.
I love this!
Replies to carrieW
Sign in or sign up to reply.
I love daylillies! SO MANY varieties.
Replies to Anne235
Sign in or sign up to reply.
That sounds like such a lovely and personal post.
https://www.mywisely.com.co
Replies to kety75pery
Sign in or sign up to reply.