December Daily® 2025 | Ali’s Story 13
Tags: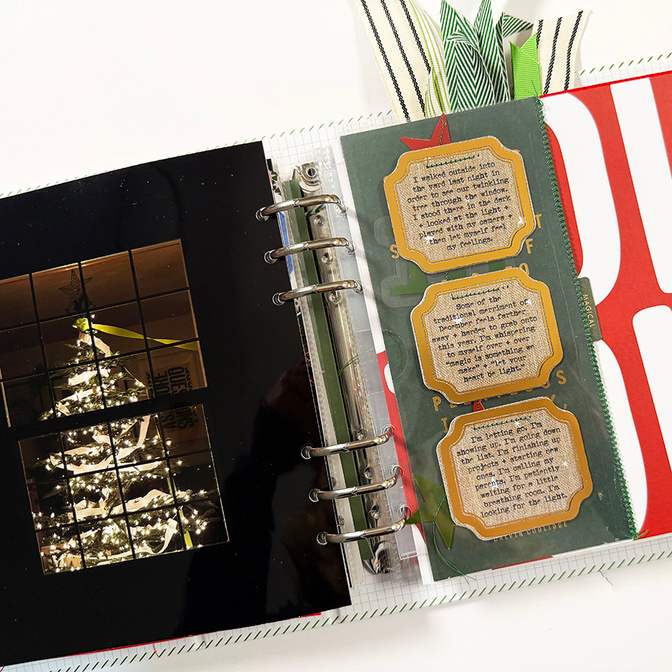
Welcome to Story 13 in my December Daily® project for 2025.
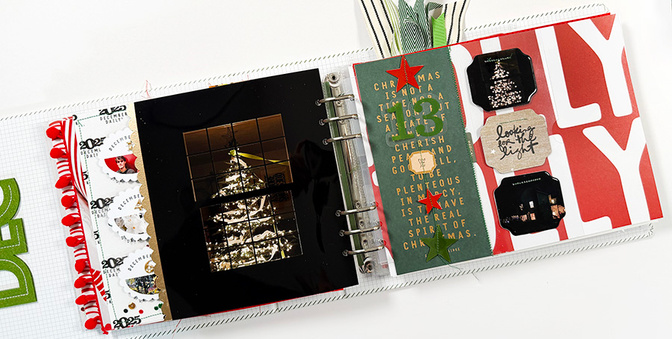
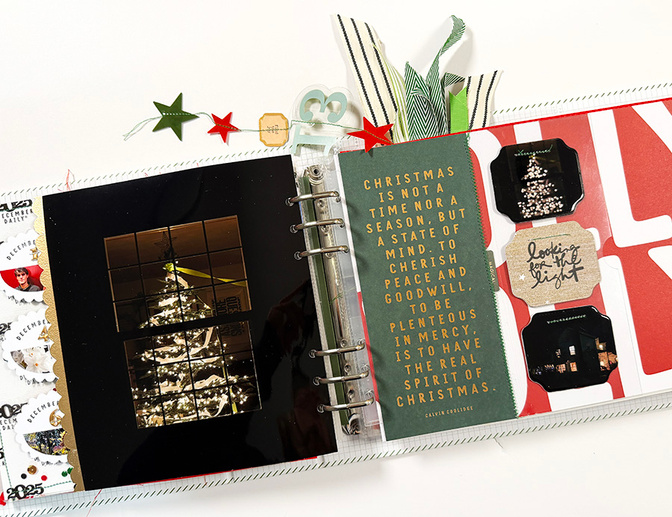
Today's story is about stepping out into the dark of night in my backyard to take a photo of our tree from the outside. I originally planned that I would just have this be a single page photo story but I ended up adhering it to the previous page before remembering that was my intent. It happens! Pivot! It's a great reminder that you can end up going all kinds of directions with this project - I loved what I ended up coming up with to hold my story.
Let's dive into the process video:
Here are additional images:
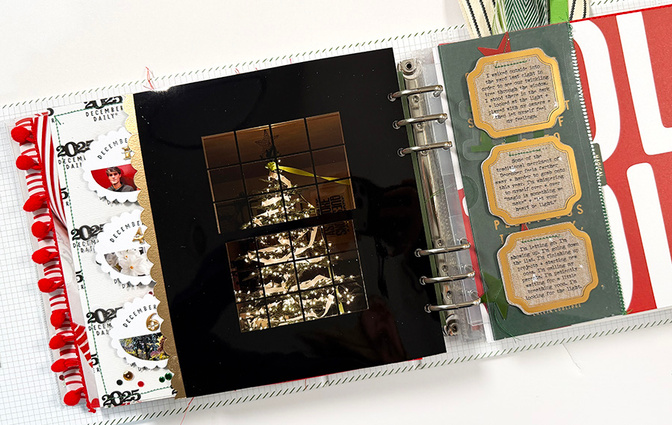
As you'll see in the video I started off today by creating a long scallop border along the outside edge of my photo (using leftover pieces from previous scallop border accents). On one side I used the green tinsel embossing powder from Story 12 and on the other side I used gold embossing powder. I love how that looks along the outside edge.
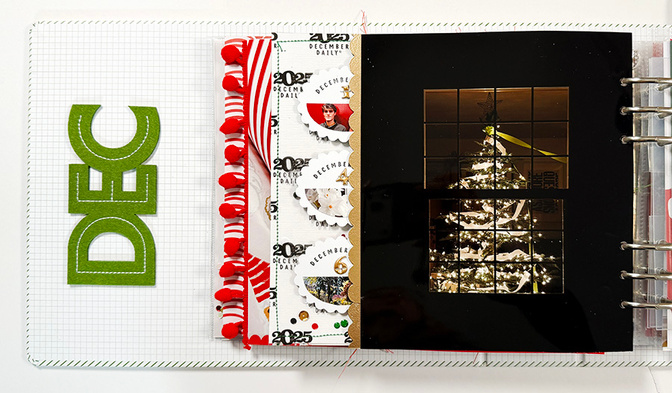
I also went ahead and adhered the felt "DEC" from the Main Kit on the inside of my album. I might add in the 25 circle chipboard (or see if it fits) right inside the "C."
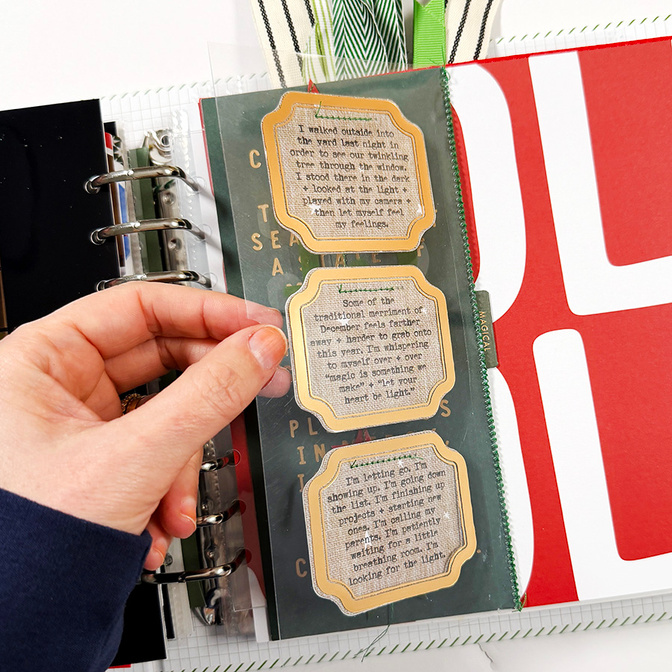
I ended up setting up my jouranling to fit inside the label shape. I printed the words on pattern paper and then use the metal die to cut my journaling to the label shape.
I also printed out a couple more photos and a title and used the die again to cut those shapes out.
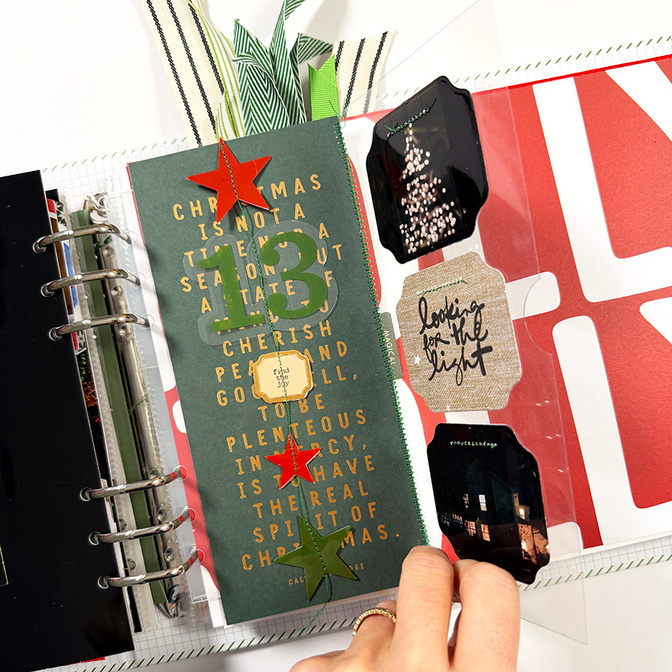
I adhered the journaling and photo label shapes back to back and then ran them through my sewing machine to attach them to the transparency.
I then used a zig zag stitch to attach the transparent page to the quote page. I knew from past adventures that using a zig zag stitch would allow the page to fold over.
Here's a download of the "looking for the light" word art I used here.

After getting the other elements set up I decided to create a "hanging embellishment" by running stars, a number, and a small label through my sewing machine. Keep the machine going between elements to create this look. I adhered the top star to the back of the page in order for it to hang down the front.
I love when things come together like this! Thanks for being here this year!
SUPPLIES
December Daily® Specialty Journal Card + Transparency Set (digital available)


Comments
Sign in or sign up to comment.
6 comments
Wow! So many great elements in this! Sending love and light ❤️💫
Replies to Jeannew
Sign in or sign up to reply.
Ali, you always brighten up my days in December🥰 100% I would have also forgotten to cut the photo! And I just love watching embossing powder melt too😆
Replies to scrappysue
Sign in or sign up to reply.
So fun to take a photo from the outside in. Beautiful pages!
Replies to dawnmi
Sign in or sign up to reply.
So lovely. Thank you! Beautiful!
Replies to reneemc63
Sign in or sign up to reply.
First off, love this and the idea to go outside to get your tree. Second thanks for enabling me lol. I already had the silver tinsel but yes the green and a red tinsel embossing powder is now on it's way to me! Yay for unexpected delights
Replies to Seester2t
So fun! I need to use the red too!
Sign in or sign up to reply.