December Daily® 2025 | Ali’s Story 16
Tags: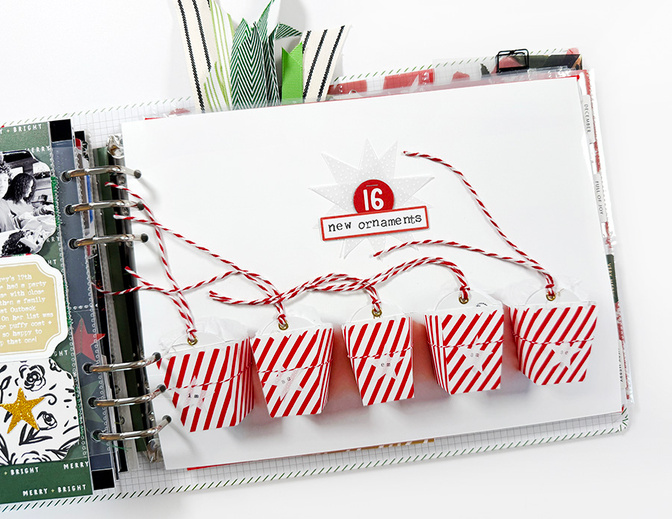
Welcome to Story 16 in my December Daily® project for 2025.
Today's story is about the new ornaments I picked out for the kids this year. I decided to take photos of each one, wrap them, take a photo of them all wrapped, and then create an interactive page where the photos of the ornaments peek up out of the actual wrapped gifts. It was fun!
Let's dive into the video:
Here are additional images:
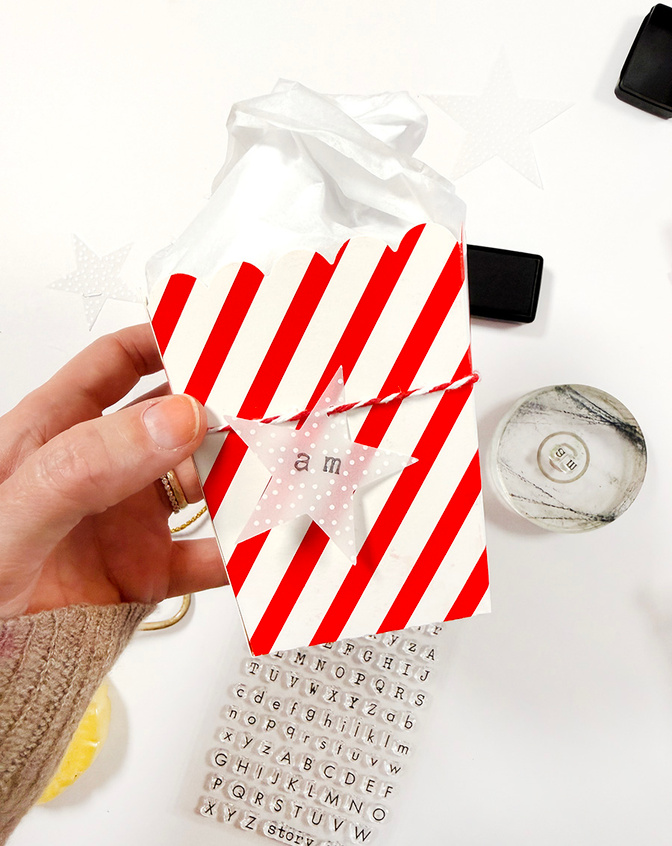
I bought these little box containers a few years back knowing that I'd love to use them at some point in the future.
That day was today!
I wrapped each of the kids ornaments in tissue paper and then placed them inside the boxes (they come flat). I used the vellum stars from the Star Mini Kit and the fun new mini alphabet stamp set to put initials on the outside of the tag. Red and white twine holds the initial stars around the boxes.
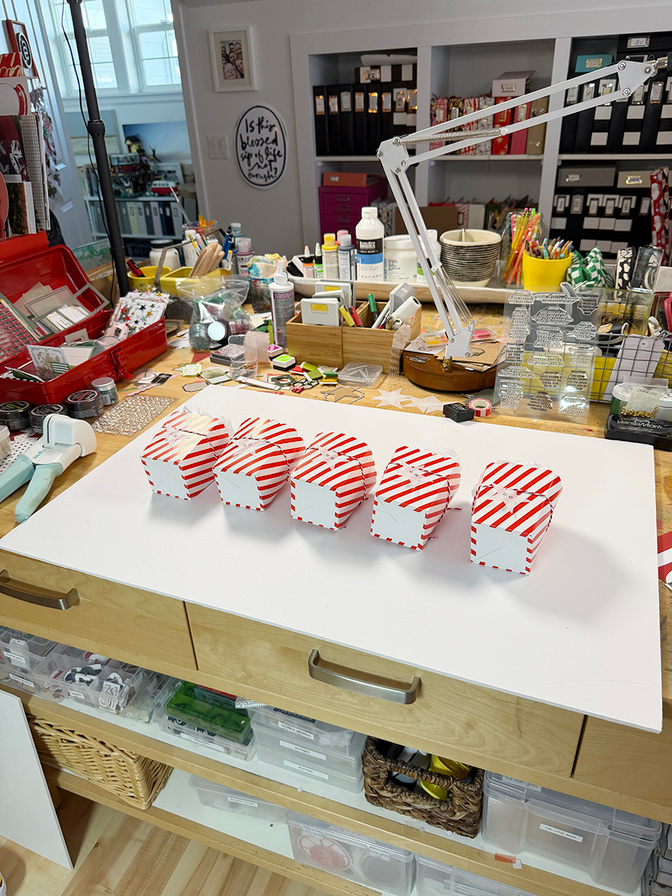
To photograph the boxes for my page I placed a white foam board on my work table and laid them on their sides.
Let's dive back in to the completed page:
After photographing all the boxes I cropped and printed the big photo (11 inches wide x 8.25 inches tall) on my Epson XP15000 printer.
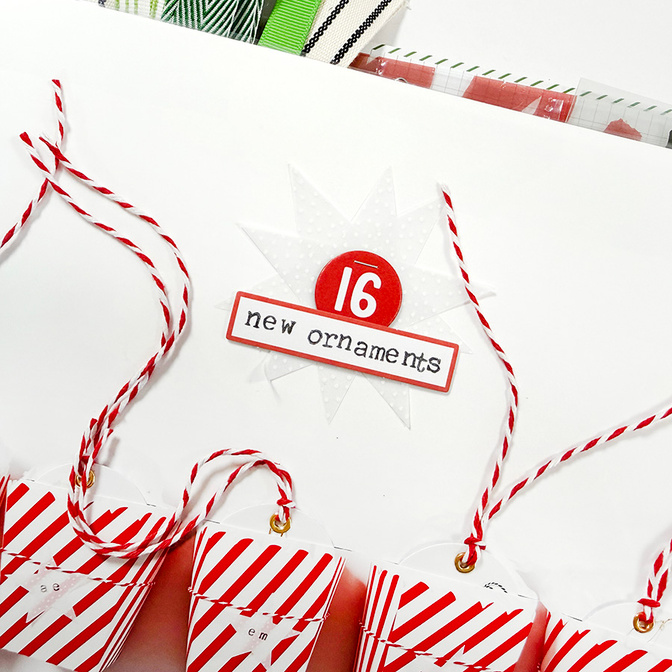
For the title I layered two of the vellum stars from the Star Mini Kit and added a chipboard number on top. I used the new mini alpha stamp set to stamp "new ornaments" on one of the rectangle labels.
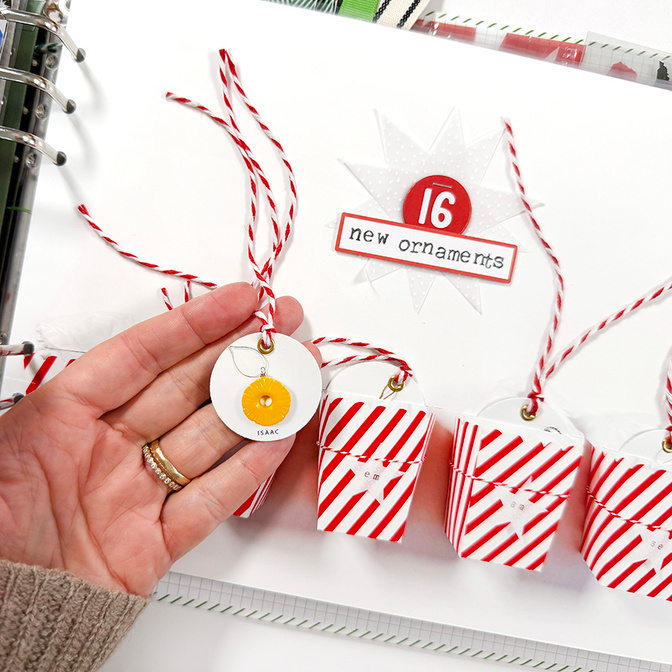
I photographed each of the new ornaments and cropped them to be 1.5 inch x 1.5 inch and then punched each one out with a 1.5 inch circle punch. I used a Crop A Dile to punch a small hole and then set a mini gold eyelet before running the red/white twine through the hole.
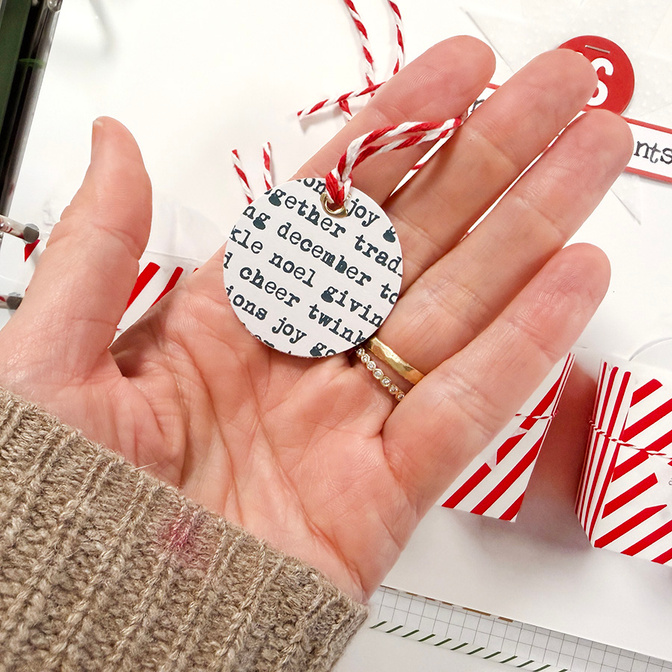
I added pattern paper to the back of each circle.

I used a craft knife to cut a slit near the top of each of the boxes on the printed photo in order to create a home for the circles. Each one slips right inside the box.
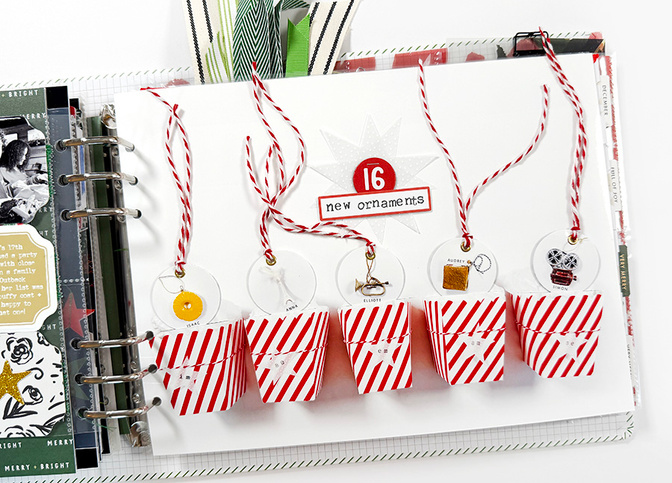
So fun!
SUPPLIES


Comments
Sign in or sign up to comment.
10 comments
Just great, Ali! How do you fix it on the other side, so that the ornaments cannot dissapear?
Replies to g_scrapped
The eyelets actually help it stay on the outside of the slit! And then I did long tails on the twine just in case they move down. Another thing you can do on the back of the page is put a foam adhesive square on the back right below where you want it to stop.
Sign in or sign up to reply.
Love it, Ali!!
Replies to Lorretta
Thank you!
Sign in or sign up to reply.
I love this one! I think it's my favorite so far this year. I have those little boxes on hand already and now I thinking.... :-)
Replies to stagnaromel
Yay! It was so fun!
Sign in or sign up to reply.
I love this! Such fun to se ether ornaments in the boxes!
Replies to Jeannew
Sign in or sign up to reply.
That flat lay was very realistically 3D. I first thought...wow! that is a really chunky page! Then I realized it was a flat lay! Great page idea!
Replies to Kpadalik
Sign in or sign up to reply.
Love this Ali, what a fun idea.
Replies to gretchen
Sign in or sign up to reply.
Love this so much!
Replies to Birgitreizer
Sign in or sign up to reply.