Week In The Life™ 2026 | Intro Pages + Monday In Ali's Album
Tags: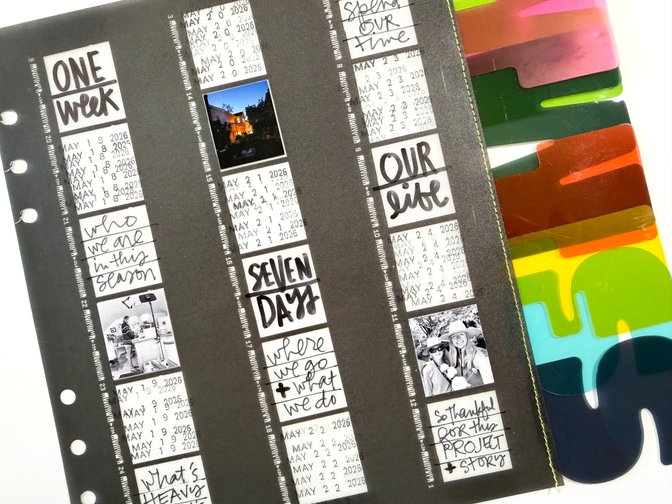
Thank you so much for your patience as I worked through my Week In The Life™ project this year. It's a true labor of love and I'm so thankful to have this time capsule from this specific time in my life.
Looking for process videos? Check out the three album progress videos I shared over the last few days via our Week In The LIfe™ blog archives. You can also see my starting place for this year where I planned out my design formula here.
Over the next few days I'll be sharing images of my project day by day and you can find a walkthrough video of the completed album here.
Let's start with my intro page:
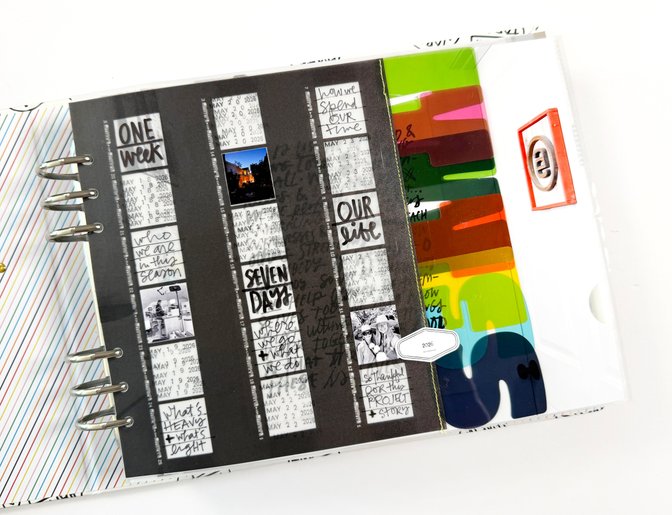
I used the vellum pattern paper from the Photography Mini Kit for my opening page this year and stitched the days of the week plastic pieces from the Main Kit along the outside edge.
On top of the vellum pattern paper I used a rolling date stamp to add the dates, three small photos, and then a couple handwritten sentiments using two sizes of Staedtler Lumocolor pens: super fine and medium. I also stapled one of the little shape icons along the seam.
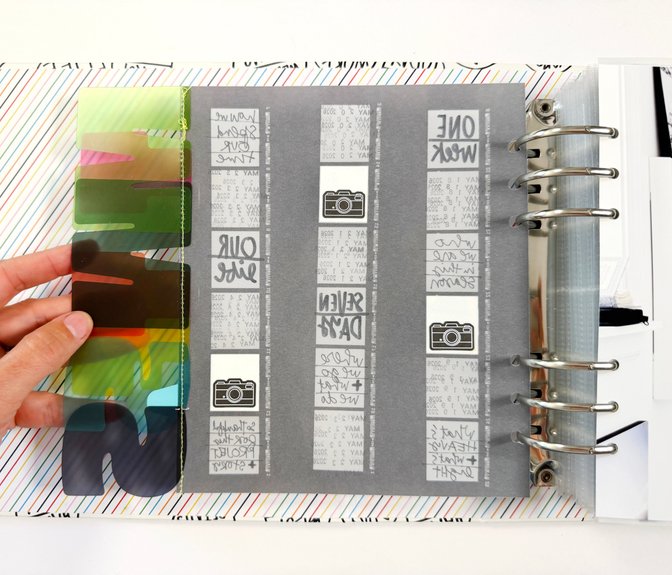
On the back I decided to add three of the camera stickers. You could also just leave this blank or add a bunch more photos.
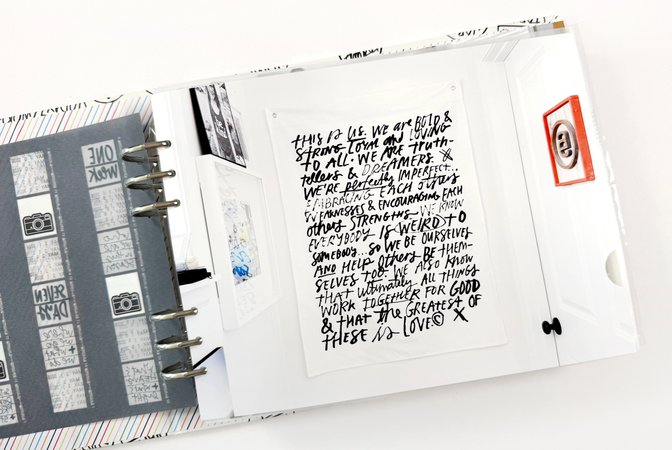
As I was living my week I kept looking at this canvas that hangs outside the door to my office. It's been hanging there for a few years now and I obviously see it regularly but during the documenting week I read the whole thing multiple times and it brought me comfort. I decided to add it in as a full page photo before the daily storytelling begins.
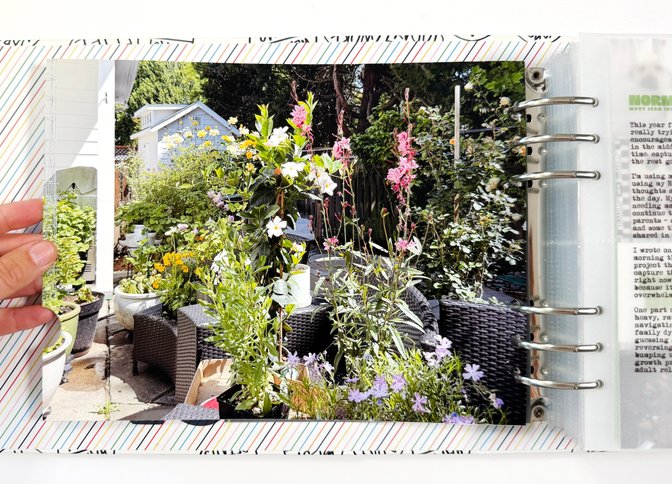
On the back I added a full page photo of a bunch of flowers I bought with my Mom during the week.
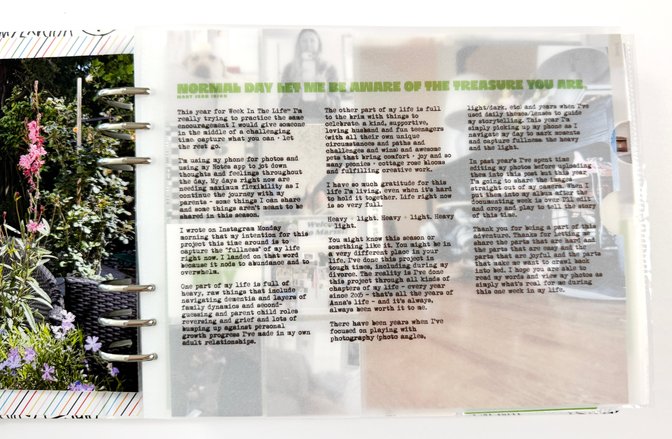
Next I added in the words that were part of my Monday Words + Photos post here on the blog. I chose to print it out on printable vellum.
Now let's dive into Monday and the repeatable design formula I followed for each day:
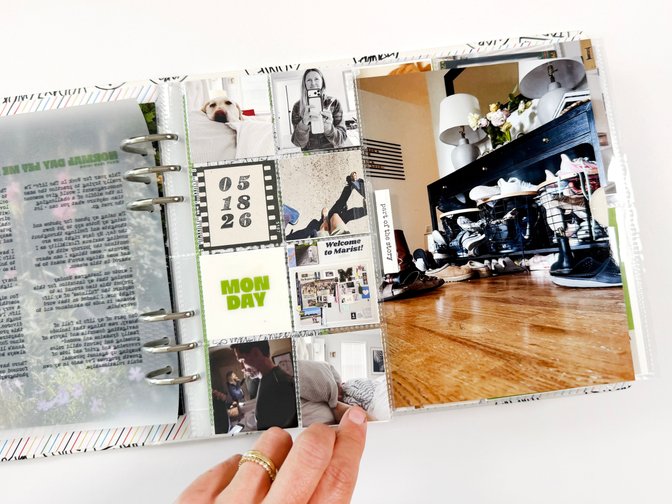
Each day begins with a 2x2 page protector. I ended up cutting these down to fit the number of additional photos I wanted to include. Monday and Tuesday have two columns and the rest of the days have just one.
I used the small number stamp set (sold out) that was available when this collection launched and the 2x2's from the Photography Mini Kit to create an embellishment and also added a couple squares from the Plastic Die Cut Pack.
I added an Avery Index Tab along the outside edge.
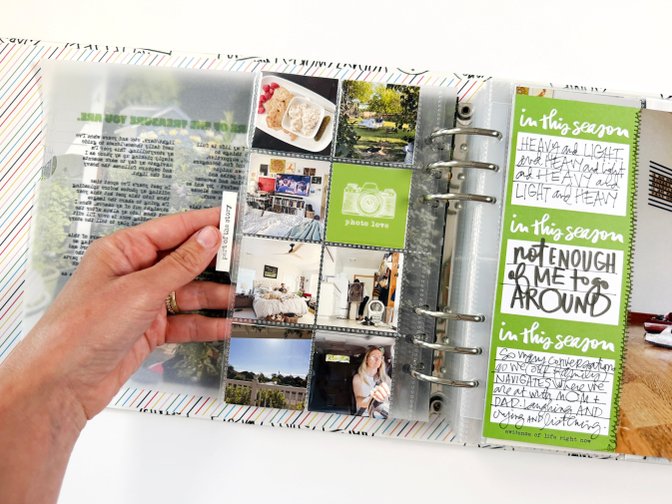
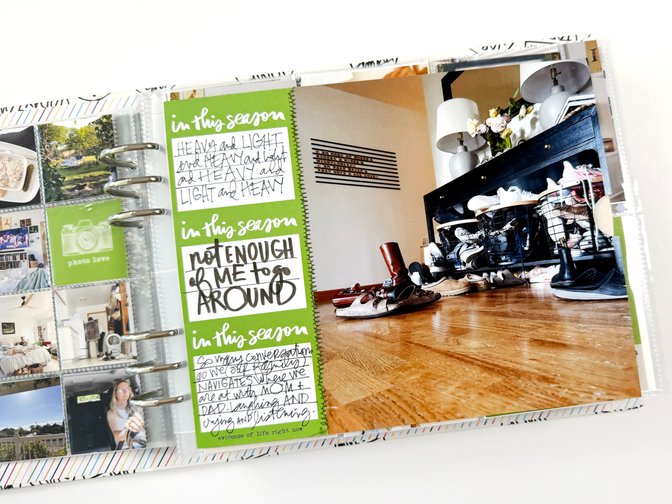
Next up is the "In This Season" card from the Main Kit stitched together with a photo enlargement.
The majority of my journaling this year is done by hand using Staedtler Lumocolor Pens in Medium, Fine, and Super Fine. I love mixing up the pen widths.
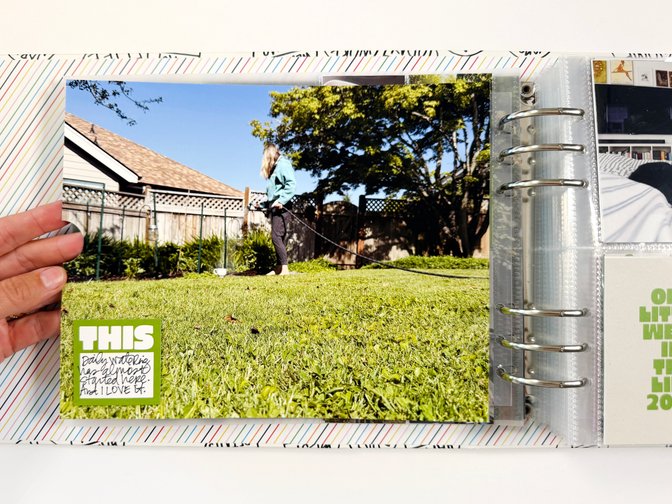
I used the "this" 2x2's from the Journal Card + Paper Variety Pack to add a bit of story to a couple photos within each day.
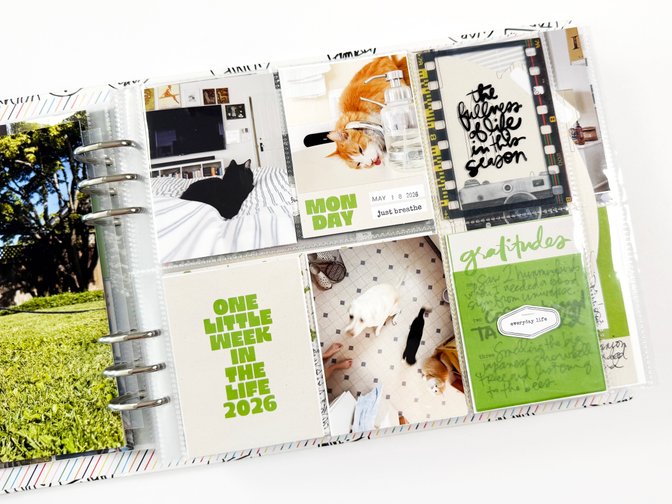
I've become a huge fan of this page protector and have been using it a bunch in my regular memory keeping 10x8 project (where I document stories from the year).
Here I added photos, a title card, a transparent film strip from the Photography Mini Kit paired with a quote printed on transparency (you can grab the download of those quotes on this blog post), and I filled out the "gratitudes" card and added a small die cut embellishment on top.
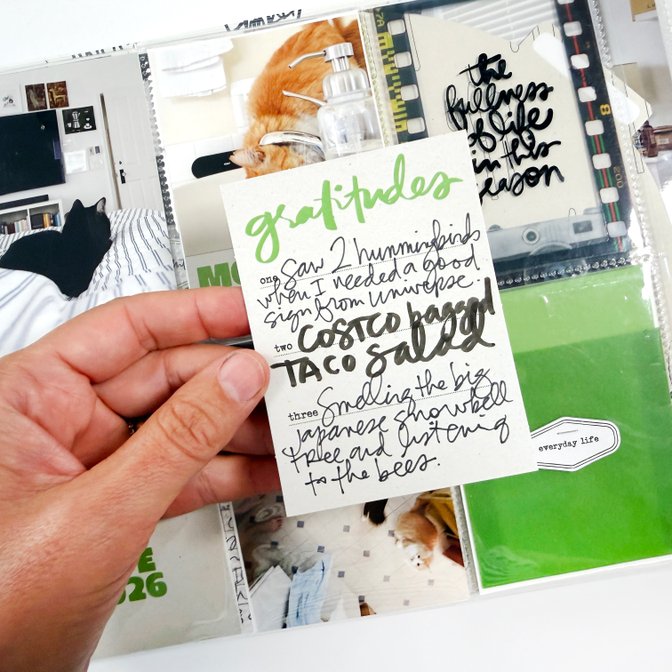
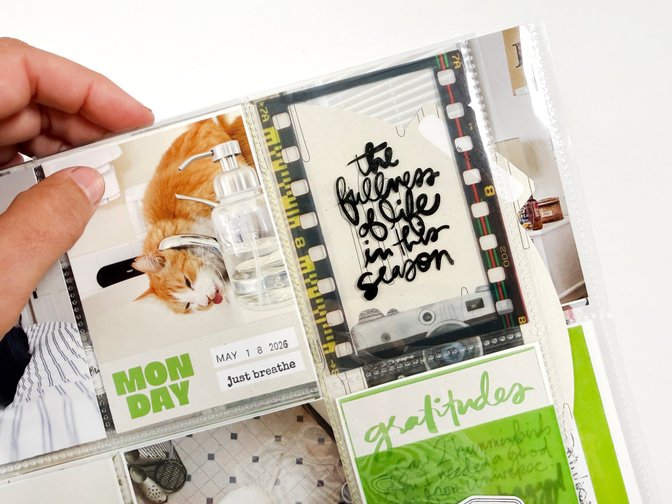
I loved the choice to add a photo to the journal card. Do what makes sense for you and your story!
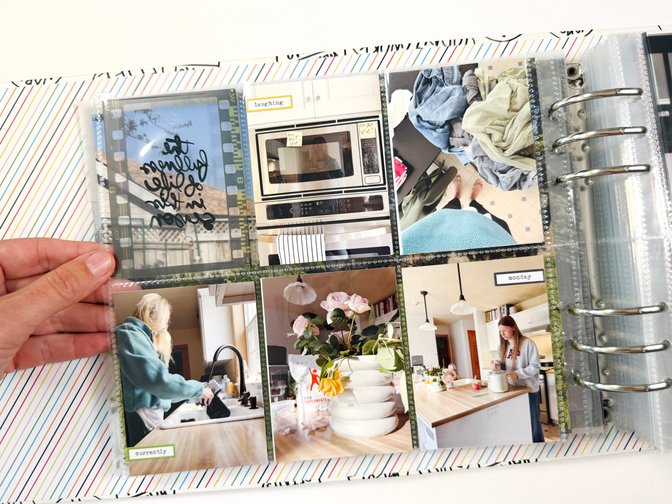
On the back I filled all the pockets with 3x4 inch photos. On three photos I added stickers from the Main Kit.
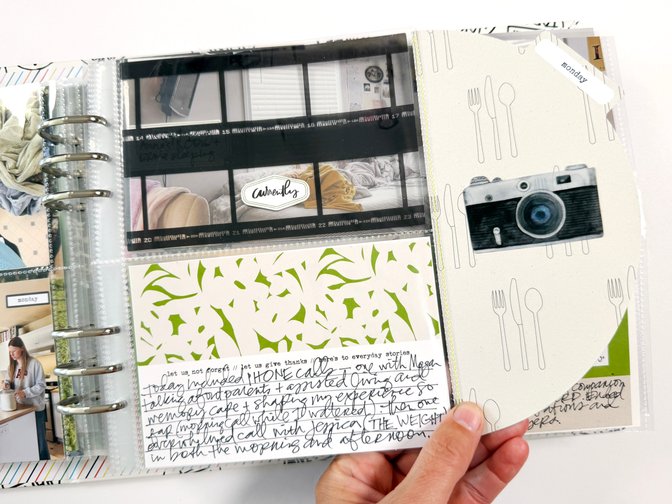
The next page in the flow of each day is a 4x6 inch page protector with the 1/2 Die Cut page (Main Kit) stitched along the outside edge. On top of the 1/2 circle page I added a transparent camera. The 4x6 transparent film strip will be found in the top pocket of this section on each day and the journaling card on the bottom is also repeated in this same location each day.
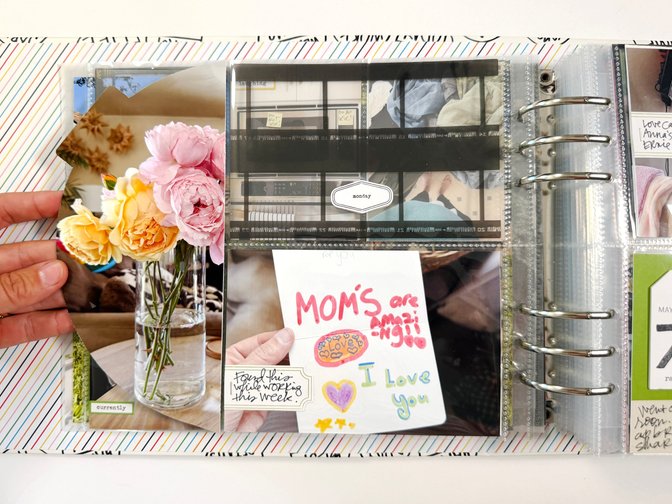
Small labels from the Main Kit are used throughout the album (there are three colors for each day within the kit). I cut off the outside edge and stapled to my photos.
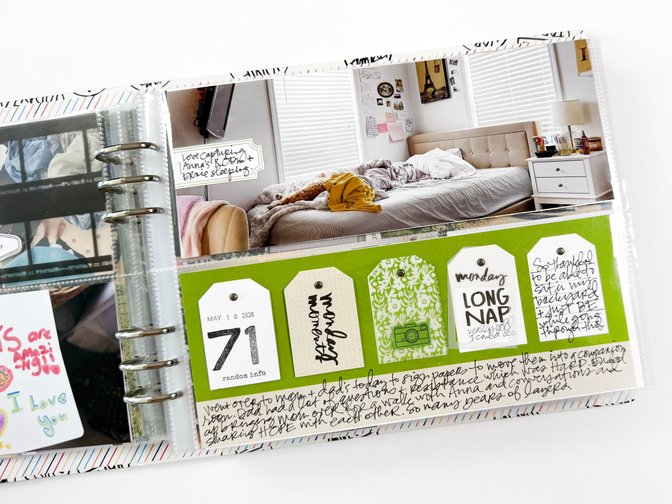
Each day also features a 10x4 inch journal card with tag shapes on top. For each day I used a blank tag to stamp the temperature and then added the other tag shapes from the Main Kit. I added journaling along the bottom of the width of the journal card and used mini brads for each of the tags.
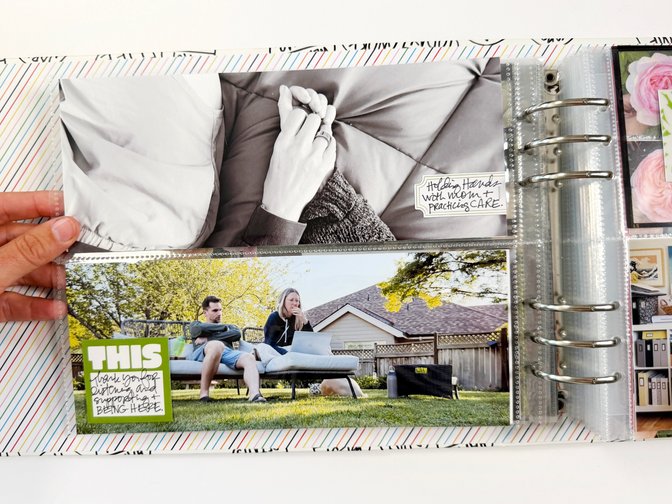
Simple embellishments added to the photos to add context.
These long horizontal photos made me really happy this year.
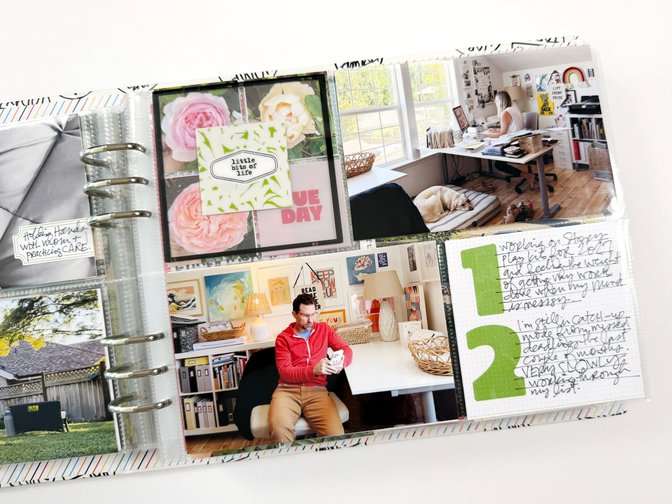
Next up you'll find the page protector with the 4x6 and 4x4 pockets. I added the "1-2" journal card here along with the 4x4 transparency from the Photography Mini Kit.
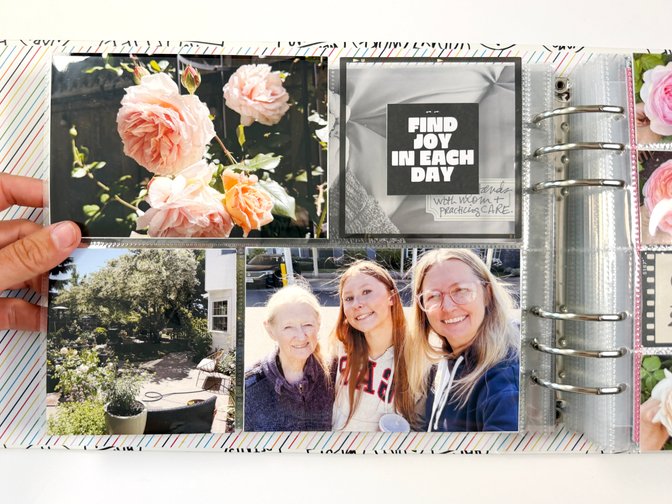
The last page for each day is the back of this page protector. I simply filled the pockets with photos and added one of the black and white sentiment squares from the Main Kit on top of the transparent 4x4 piece.
I hope this gives you some ideas and encouragement for working on your own album!
SUPPLIES


Comments
Sign in or sign up to comment.
5 comments
Love your album & appreciate all of your “working on” videos. The good days and the tough days are all part of our story, but I’m always grateful for the memories. Thanks for sharing your stories
Replies to carrieW
Thank you Carrie!
Sign in or sign up to reply.
gorgeous and what a treasure to have documented this season. Thank you for sharing it with us. It's an honour. Really... Grateful for you, your beautiful family. your MOM & DAD raised a daughter most are praying for. It's hard. We can do hard things, you taught us that. Blessings to all of you. May all your efforts be rewarded with Health, More Light and a strengthen your bond. Make you closer and closer. From my heart to yours, Emine
Replies to Eminepala1
Sign in or sign up to reply.
Thank you for sharing the good, the hard, the vulnerable parts of your journey. Give yourself grace - all of us who have walked this path know that it isn't a straight or easy one. You are a blessing. You are appreciated!!
Replies to ScrappinMyHeartOut
Sign in or sign up to reply.
I really love how you documented your week so thoughtfully. It is inspiring to see how you capture daily moments. During my own quiet breaks between projects, I usually enjoy playing ブロックブラスト https://playblockblast.org/ to keep my mind sharp. Your creative design formula makes me want to start my own album today!
Replies to User57184
Sign in or sign up to reply.