December Daily 2010 | Cover Option Two Step By Step (+ Free Title Download)
Tags: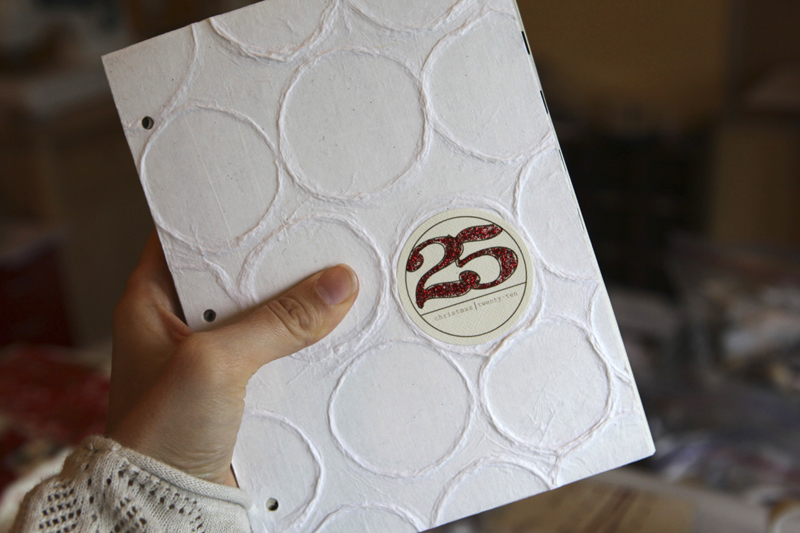
My second December Daily cover option is much simpler than the first.
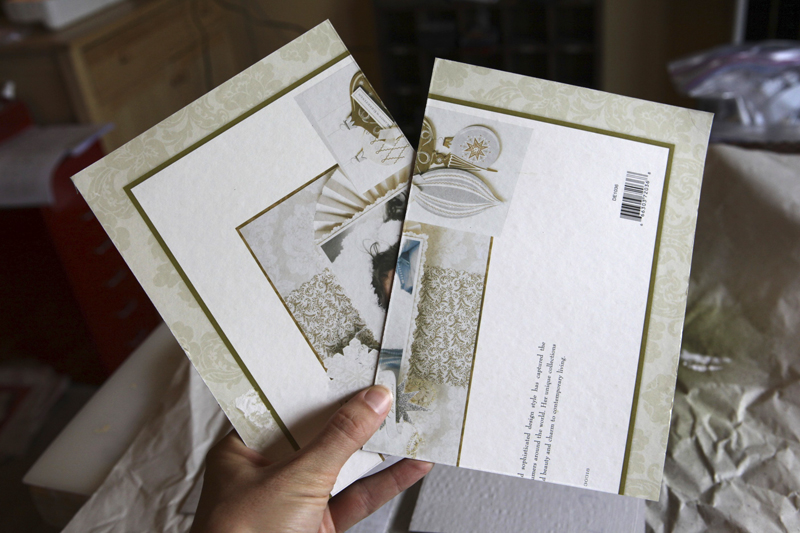
I started with two pieces of recycled chipboard that were actually the back of this page of Anna Griffin pattern paper. Any chipboard will do. Cut to 6 inches x 8 inches.
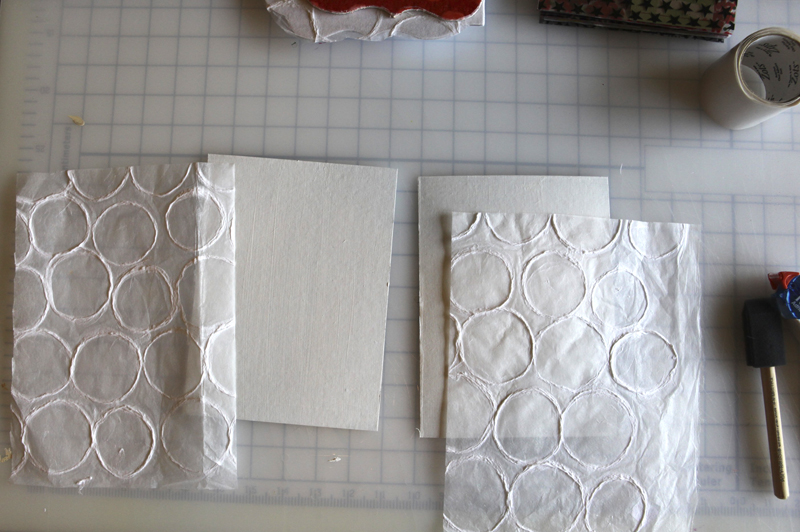
Paint the chipboard with gesso or white paint on both sides. Cut two pieces of specialty paper (still working on a source for this paper - I purchased it at my local art supply store: Oregon Art Supply). I cut mine larger than 6x8 so that I could trim it after adhering. You might want to check out your local art supply store to see if they have something similar or use some other paper you have on hand.
Adhere the paper using gel medium. To apply the gel medium I paint it in an even layer onto the chipboard and then use a brayer to smooth the paper onto the chipboard.
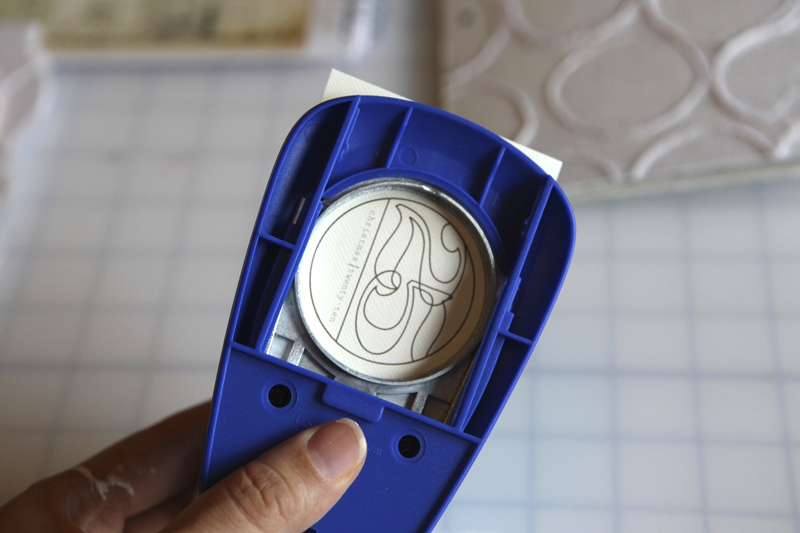
For the title I created a circle digital element. Print on cream cardstock and punch (I used this circle punch).
Merry Christmas! I'm happy to share this fun little circle title with you for your own album. The file download includes a single PNG file and a PDF that includes 12, 1.75 inch circles on the page. They would also make nice gift tags.
DOWNLOAD HERE: AEdwards_25DecemberTitle

For a little decoration on my title I added Christmas Red Stickles inside the lines of the 25.

Adhere it to the cover using a tape runner.
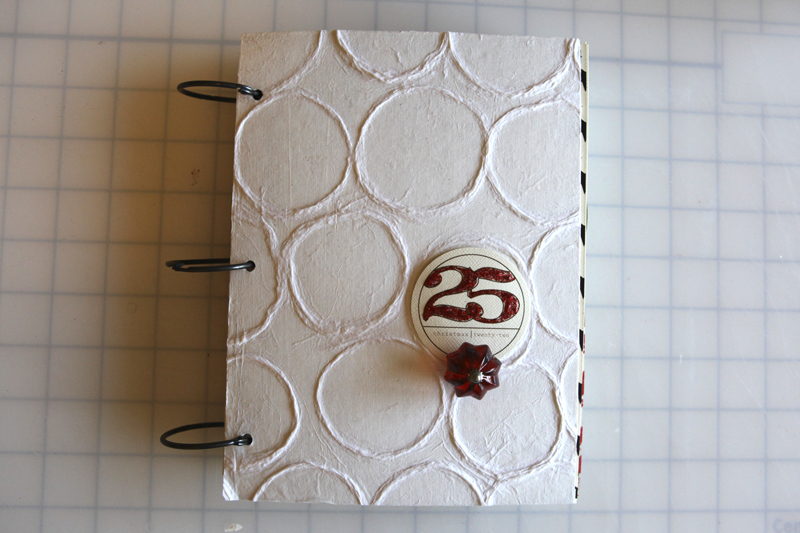
I set a 7gypsies glass knob on the cover - it's not attached yet because I couldn't get the back off (really easy to do generally - it screws in after punching a hole with a crop-a-dile). I'm not sure if those 7gypsies knobs are still available but I know that Tim has some new ones here.
This is most likely the cover I'll go with this year. It feels nice and clean and simple - similar to the rest of the design throughout the album. I've been wanting to use this white paper on a project for awhile now.
For a full list of December Daily posts go here.


Comments
Sign in or sign up to comment.
70 comments
ty!
Replies
Sign in or sign up to reply.
This is the best Christmas present ever!
Replies
Sign in or sign up to reply.
Beautiful cover! Thanks for the title download.
Replies
Sign in or sign up to reply.
This paper looks quite similar to the circle paper you used:
Thai Pulp on Mulberry
Beehive White
TP-2530
Another one I liked:
Whimzy - White
TP-2520
I ordered both papers tonight from this company (they have a minimun order of $20 before shipping):
http://www.phoenixartsupply.com
Replies
Sorry about the typo - that should bne minimum.
Sign in or sign up to reply.
Hi Ali - I did this cover but have a quick question = did you attach the knob and then cover the inside cover over it? I found the paper thanks to your supplier - they were wonderful and such a tremendous help in providing me with resources locally for the paper. Love Love Love this project and thank you so much.
Replies
Sign in or sign up to reply.
love the Christmas cover and the free download...I am very excited, this is my first year ever to do the December daily. I just recently made the design team for our local scrap store. I am very excited and interested to learn a lot of different techniques in the scrapping world. Thanks Ali for all the inspiration that you have given me!!!!
Replies
Sign in or sign up to reply.
For the knobs on the cover, how big is it? I am nearly finished putting my album together and was wondering, would a traditional knob found at Home Depot, etc. do the trick? I checked Tim Holtz' site, but didnt' see dimensions.
Thanks Ali!
So, having fun this first time around on the December daily! On maternity leave, I decided to be as frugal as possible and went crazy in my stash. In place of the Hambly clear pages, I used the clear pages you buy at office stores for bind-it machines - the heaviest guage - I normally use it for embossing, but it worked well here. Pretty happy with the results. Even tied in some Christmas fabric for a few pages, just to have a twist on the transparency thing. I had some organza that is a neat twist. Ran a rolled edge around the edges and made button holes for the holes. Pretty cute.
I only had a few pages of transparencies and wanted to get the thing together to enjoy the process day by day. With 4 kids, I am so proud to have a project to enjoy! It really is doable - I think I am ready to go tomorrow! Thank you from the bottom of my heart for giving me some inspiration to capture the coming month!
You really are the greatest Ali!
Replies
Sign in or sign up to reply.