The Crafter's Workshop/Balzer Designs Stencil Hop | Stars & Circles
Tags: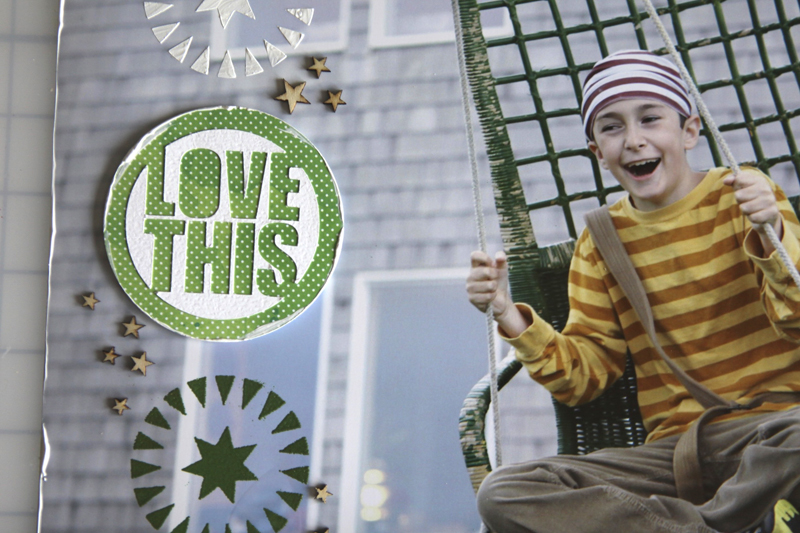
Welcome to The Crafter's Workshop/Balzer Designs Stencil Hop.
This month features the very cool Stars And Circles stencil.
I'm a big fan of Julie Fei-Fan Balzer. She's got a great blog that's filled with educational creative content (check out her recent post about her experience with Project Life six-months in) and her stencil designs are awesome so I was even more excited to play. Check out the list of other people participating in this month's blog hop at the bottom of this post.
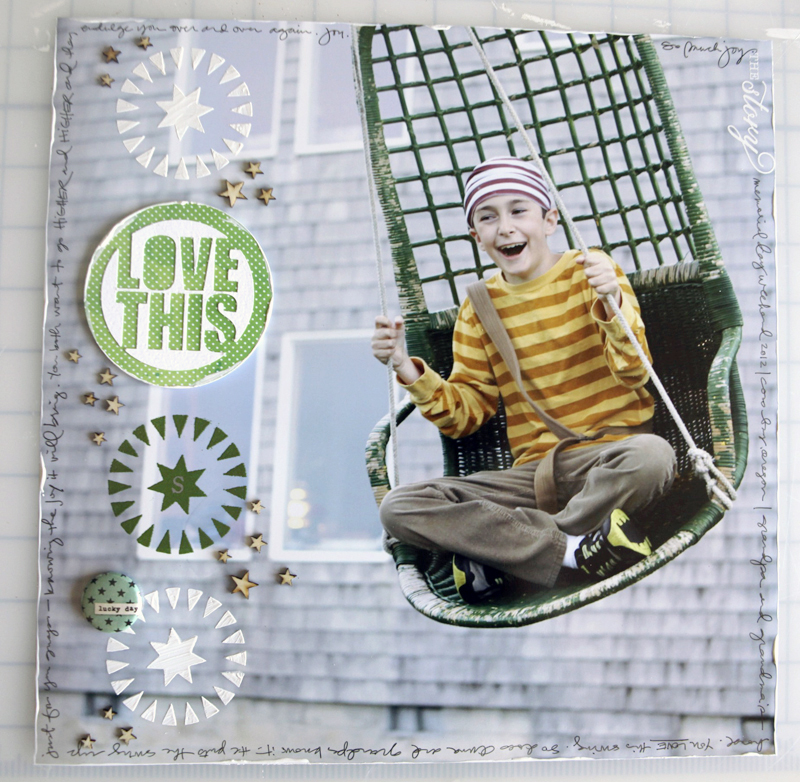
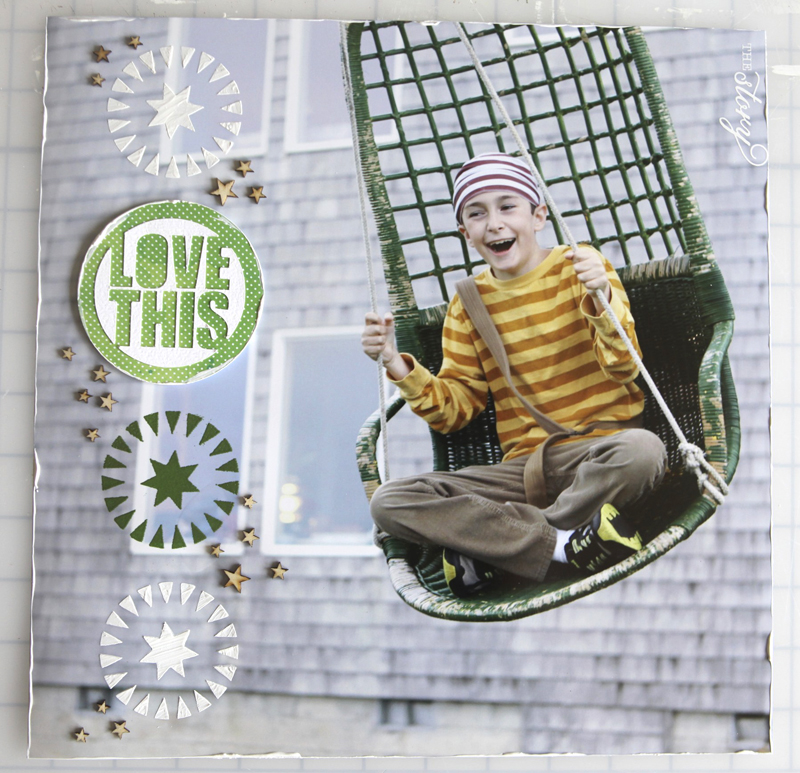
Here's a look at my completed layout:
Here's a closer look at my process:
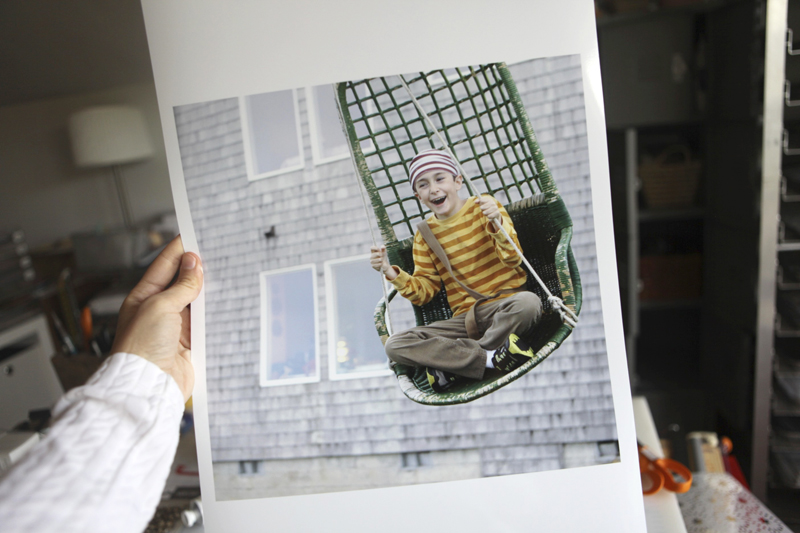
Print a 12x12 photo. I'm not tired of creating layouts on a 12x12 photo background. In fact, I want to do more. I print these here at home using my Epson R2000 printer onto Epson 13x19 photo paper.

I knew I wanted to do a series of circles (most of them from the stencil) going down the left side of the photo.
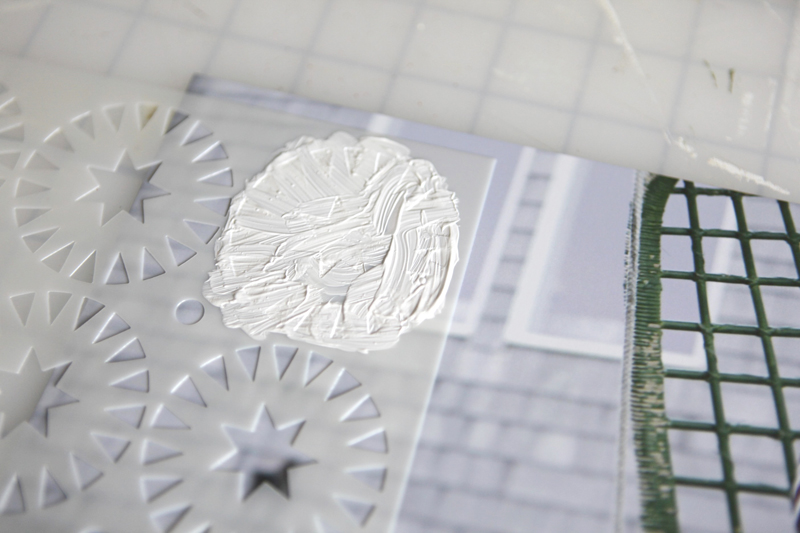
Once I had the stencil in place I used white paint (gesso would work too) applied liberally on top of the circle/star combo. I wanted it to be thick - it means a little extra drying time but looks cool due to the additional dimension.
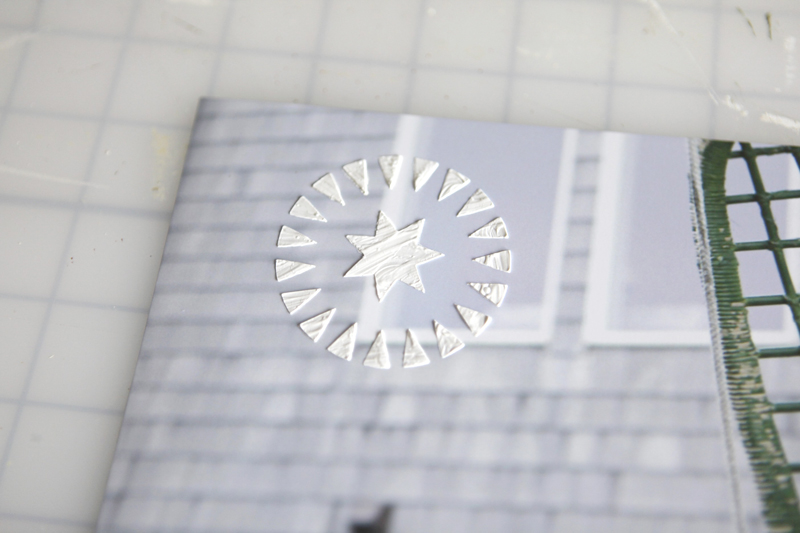
Love that.
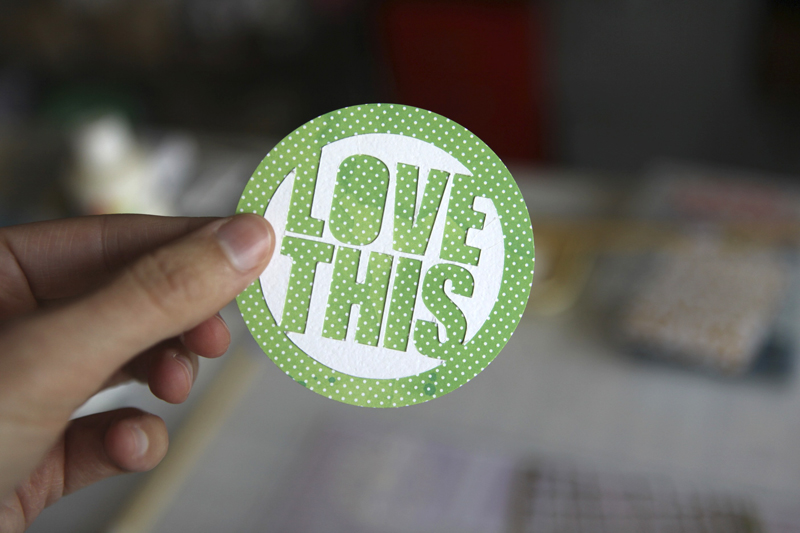
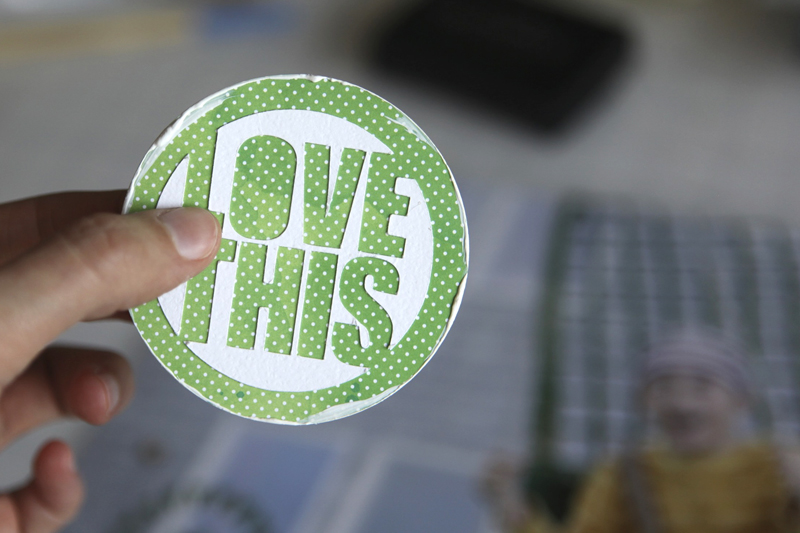
Next I used the Silhouette to cut "love this" (actually it's the center of this design that's been hanging out on my table waiting for a home - from the Circles Of Life set) and used a really big circle punch and some cute Amy Tangerine Sketchbook pattern paper (from the 6x6 pad).

The Xyron Creative Station comes in handy with the Silhoutte cut files. You can see a video of how I use it here.
I didn't adhere that circle right away because I wanted to get the others in place first and add a bit of paint around the edge as you'll see below.

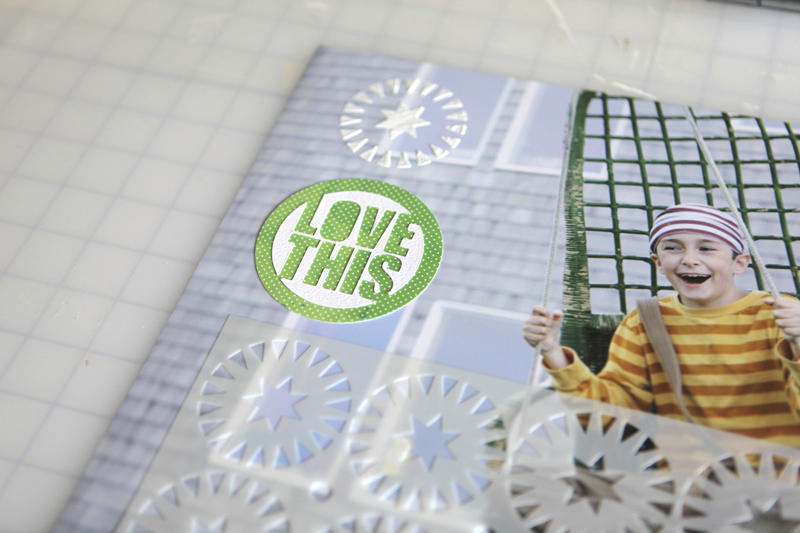
For the next circle I used Versamark Embossing Ink + Green Metallic Zing Powder + a heat gun. Lay the stencil down, press the embossing ink pad down into the stencil, remove the stencil, pour on some powder, remove the excess, and then melt with a heat gun. Be careful when "cooking" the ink + powder on top of a photo - if you leave the heat gun pointed on one place for too long it might bubble. Mine did just a bit and then it laid back down.
For the last circle I repeated the white paint and stencil.
I added some of the white paint around the edge of the circle before adhering it down with foam dots.
Here's what it looked like before I added the journaling around the outside edges.

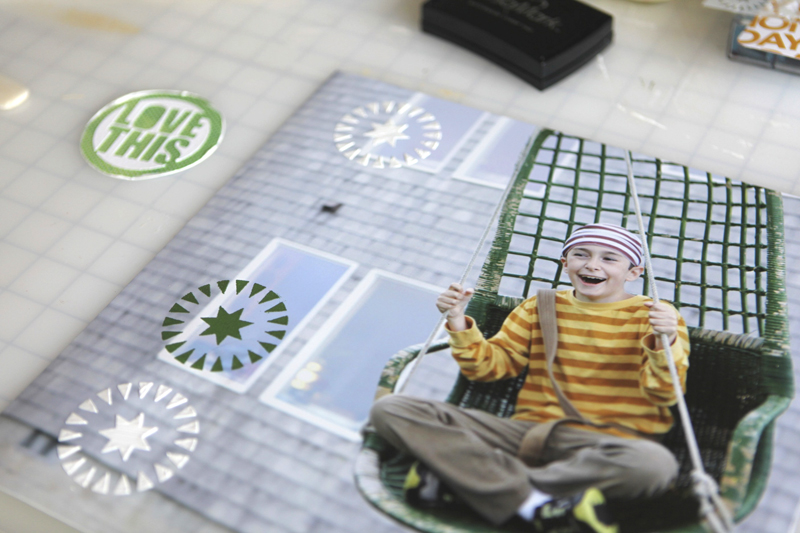
I used glossy accents to adhere the wood veneer stars and added white paint around the outside edge of the photo. I also added a great "the story" white rub on from Hambly in the upper right corner.
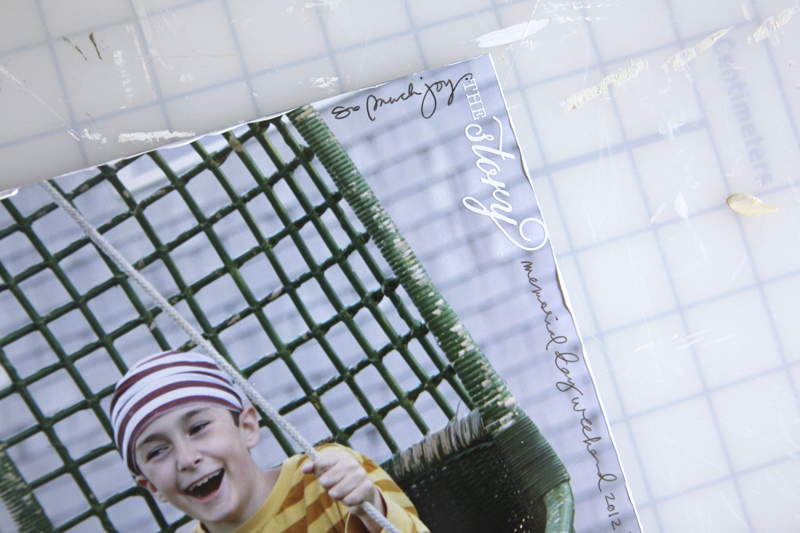
Once the paint was dry I added journaling with a black pen, beginning right after "the story" rub on.
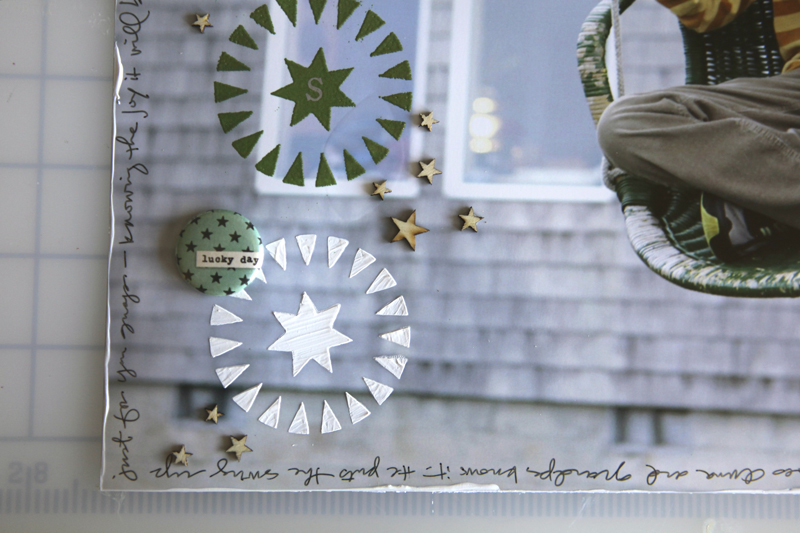
Found this button in my stash from October Afternoon's 5 & Dime.

Here's another look at the completed page:

SUPPLIES
Click on the images to link to the products.
Check out the other people participating in this month's blog hop:
Check out all the spring stencil hops here using Julie's different designs.


Comments
Sign in or sign up to comment.
49 comments
[...] Ali Edwards [...]
Replies
Sign in or sign up to reply.
Completely love your layout!
Replies
Sign in or sign up to reply.
Love the layout. Love, love, love the photo of Simon. :)
Replies
Sign in or sign up to reply.
Wonderful page! I was anxious to see what you would do with that terrific photo. Thanks so much for sharing - and posting your entire process of putting this layout together.
Replies
Sign in or sign up to reply.
Love the photo and the page! I've been wanting a wide format printer for a while now....maybe for my birthday at the end of the summer. I just love the photos as the background for the page. Great job!
Replies
Sign in or sign up to reply.
Love this page! Might be scraplifting that one ;)
Replies
Sign in or sign up to reply.
[...] Ali Edwards [...]
Replies
Sign in or sign up to reply.
What a great idea! The wheels are turning...need to get off the computer and into my craft room.
Replies
Sign in or sign up to reply.
Hey, what a great way to use those stencils. The comp is really fab on this page. It is all overshadowed, naturally, by the cuteness of your son ;)
Replies
Sign in or sign up to reply.
Gorgeous page-pinned it!
Replies
Sign in or sign up to reply.
love it
Replies
Sign in or sign up to reply.
awesome picture!! great layout! makes me want to play too! think i can call in a 'sick' day??? i have the tag stencil and am anxious to play with it ....got several ideas..thanks ali for the inspiration!!
Replies
Sign in or sign up to reply.
Is there anything else but to LOVE this! Made me smile :)
Replies
Sign in or sign up to reply.
Very beautiful layout. I love it. Thanks for sharing.
Replies
Sign in or sign up to reply.
Love this! Great use of the stencil!
Replies
Sign in or sign up to reply.
Love the page you created! Great job with the thick white paint.
Replies
Sign in or sign up to reply.
This is fabulous Ali! I just love everything from the 12x12 picture to your embellishments. Thanks for the tutorial!
Replies
Sign in or sign up to reply.
wow, ali, I love the full page photo layout. Thanks for inspiring. It is just super expensive for me to print a full page as a photo.
Replies
Sign in or sign up to reply.
Totally love it!
Replies
Sign in or sign up to reply.
LOVE LOVE LOVE this!! So simply and gorgeous at the same time!! I didn't see it listed but what kind of black pen do you use to journal? Is this paper glossy? Thanks Ali!
Replies
Sign in or sign up to reply.