The Crafter's Workshop/Balzer Designs Stencil Hop | Stars & Circles
Tags: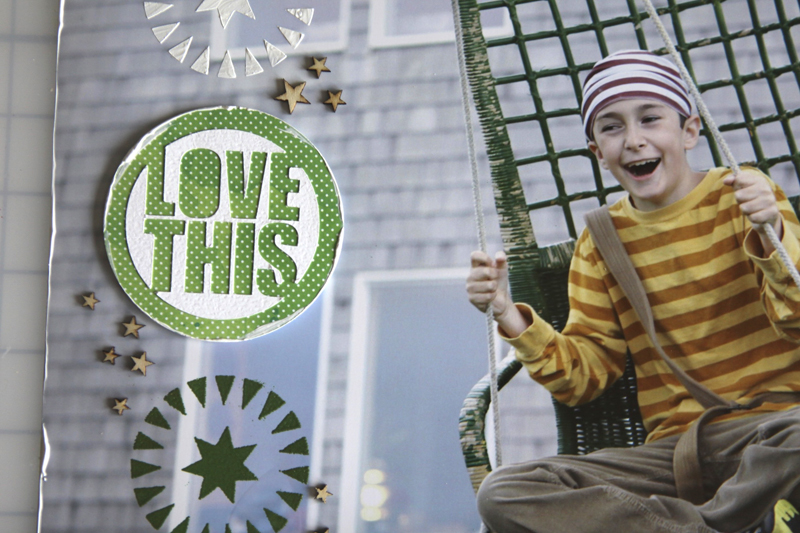
Welcome to The Crafter's Workshop/Balzer Designs Stencil Hop.
This month features the very cool Stars And Circles stencil.
I'm a big fan of Julie Fei-Fan Balzer. She's got a great blog that's filled with educational creative content (check out her recent post about her experience with Project Life six-months in) and her stencil designs are awesome so I was even more excited to play. Check out the list of other people participating in this month's blog hop at the bottom of this post.
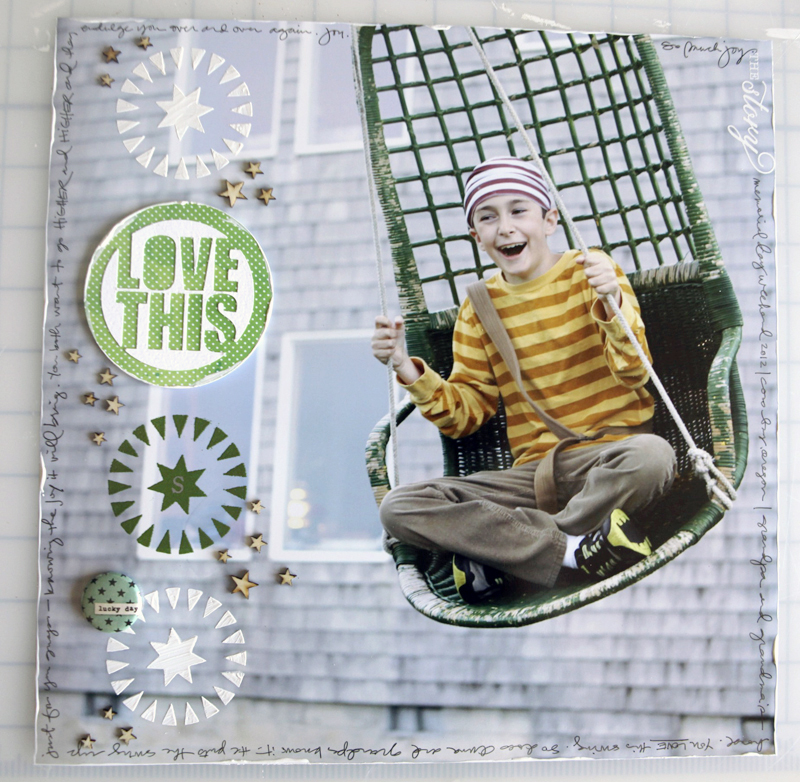
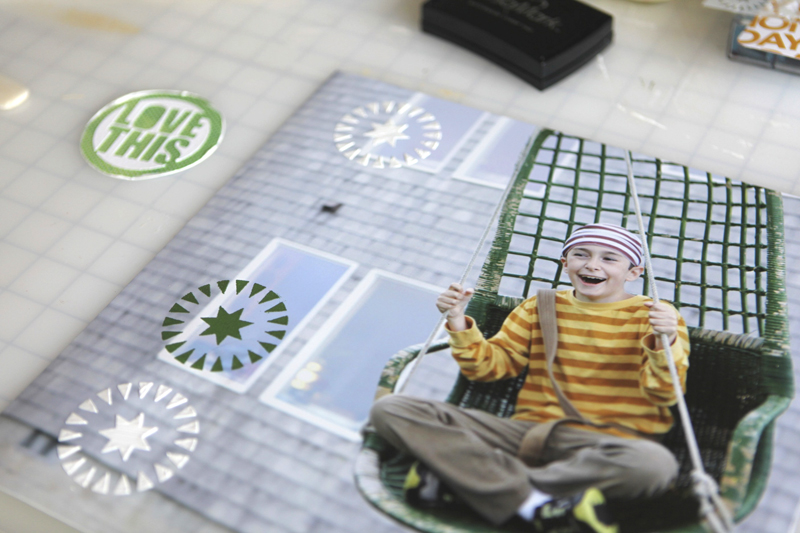
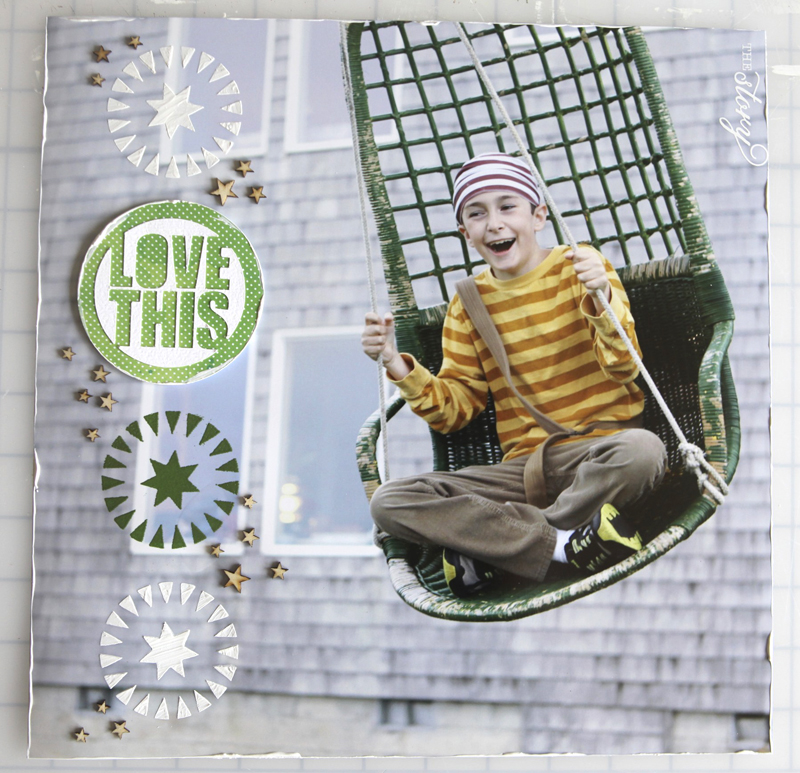
Here's a look at my completed layout:
Here's a closer look at my process:
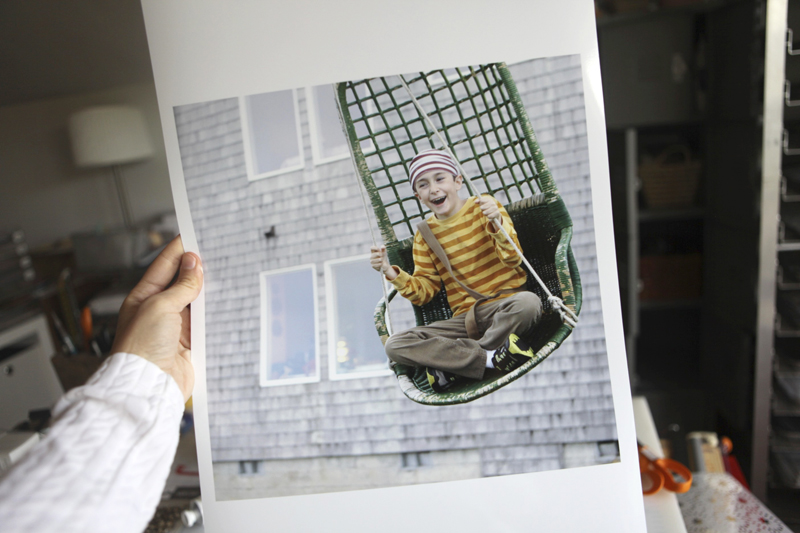
Print a 12x12 photo. I'm not tired of creating layouts on a 12x12 photo background. In fact, I want to do more. I print these here at home using my Epson R2000 printer onto Epson 13x19 photo paper.

I knew I wanted to do a series of circles (most of them from the stencil) going down the left side of the photo.
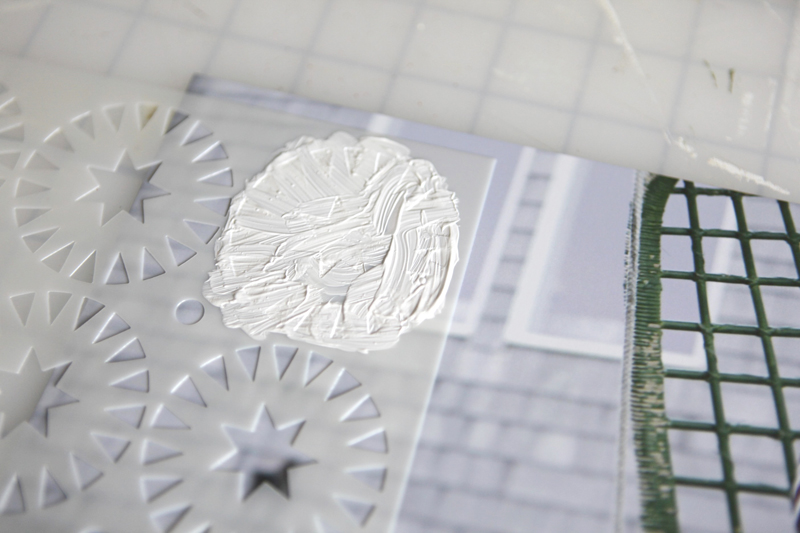
Once I had the stencil in place I used white paint (gesso would work too) applied liberally on top of the circle/star combo. I wanted it to be thick - it means a little extra drying time but looks cool due to the additional dimension.
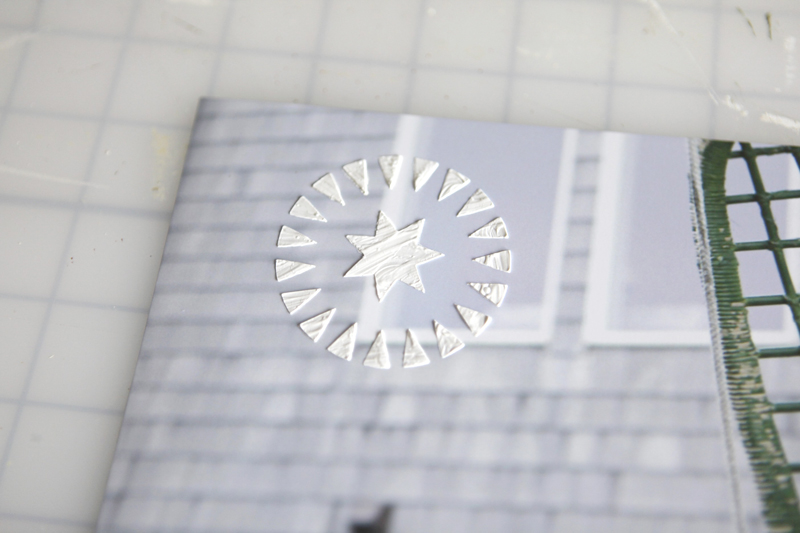
Love that.
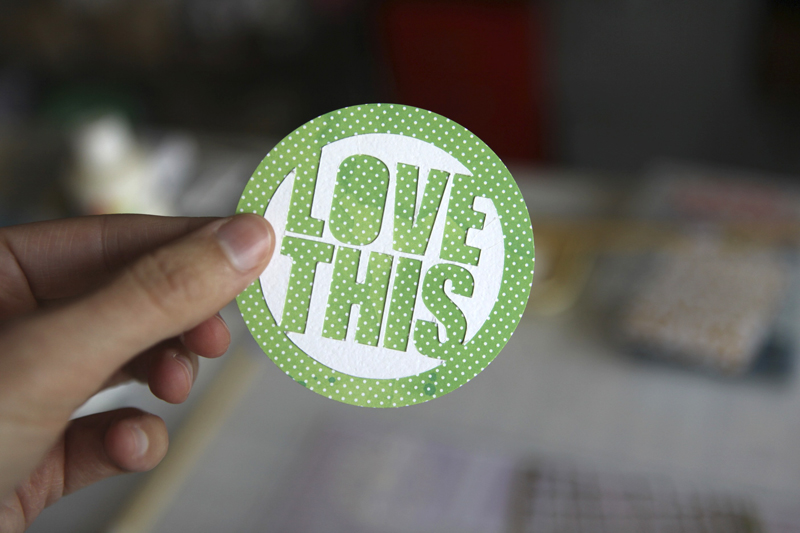
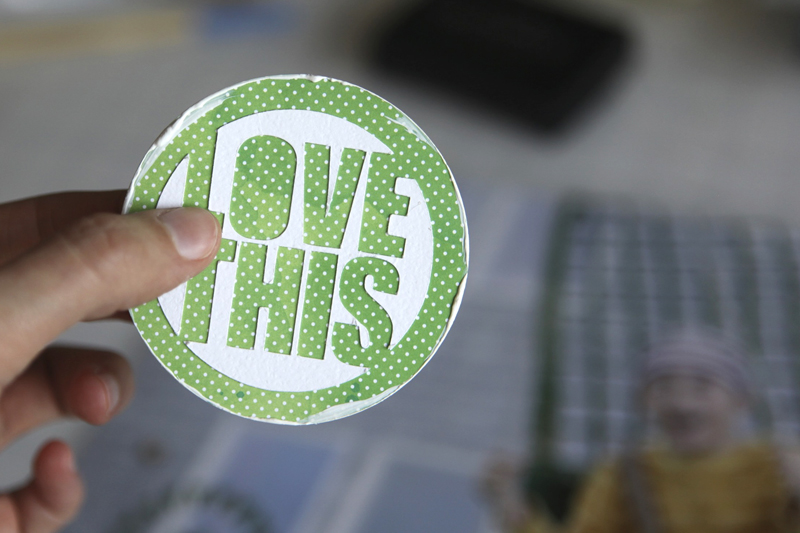
Next I used the Silhouette to cut "love this" (actually it's the center of this design that's been hanging out on my table waiting for a home - from the Circles Of Life set) and used a really big circle punch and some cute Amy Tangerine Sketchbook pattern paper (from the 6x6 pad).

The Xyron Creative Station comes in handy with the Silhoutte cut files. You can see a video of how I use it here.
I didn't adhere that circle right away because I wanted to get the others in place first and add a bit of paint around the edge as you'll see below.

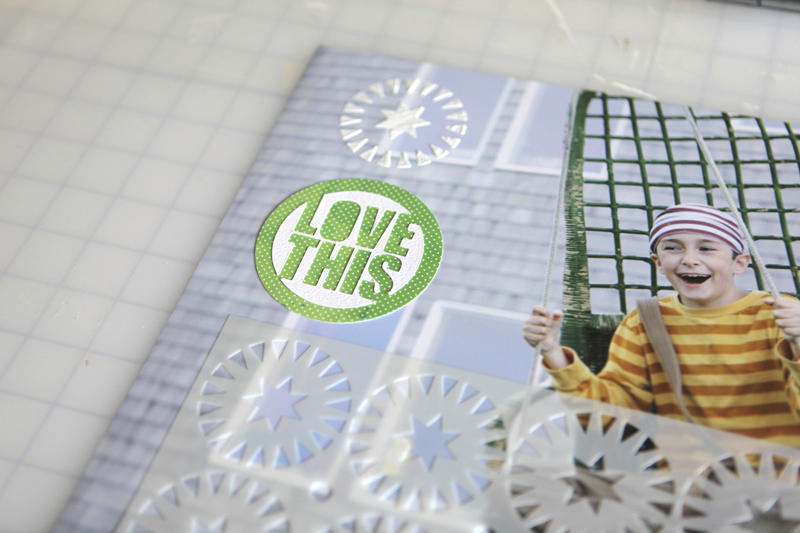
For the next circle I used Versamark Embossing Ink + Green Metallic Zing Powder + a heat gun. Lay the stencil down, press the embossing ink pad down into the stencil, remove the stencil, pour on some powder, remove the excess, and then melt with a heat gun. Be careful when "cooking" the ink + powder on top of a photo - if you leave the heat gun pointed on one place for too long it might bubble. Mine did just a bit and then it laid back down.
For the last circle I repeated the white paint and stencil.
I added some of the white paint around the edge of the circle before adhering it down with foam dots.
Here's what it looked like before I added the journaling around the outside edges.

I used glossy accents to adhere the wood veneer stars and added white paint around the outside edge of the photo. I also added a great "the story" white rub on from Hambly in the upper right corner.
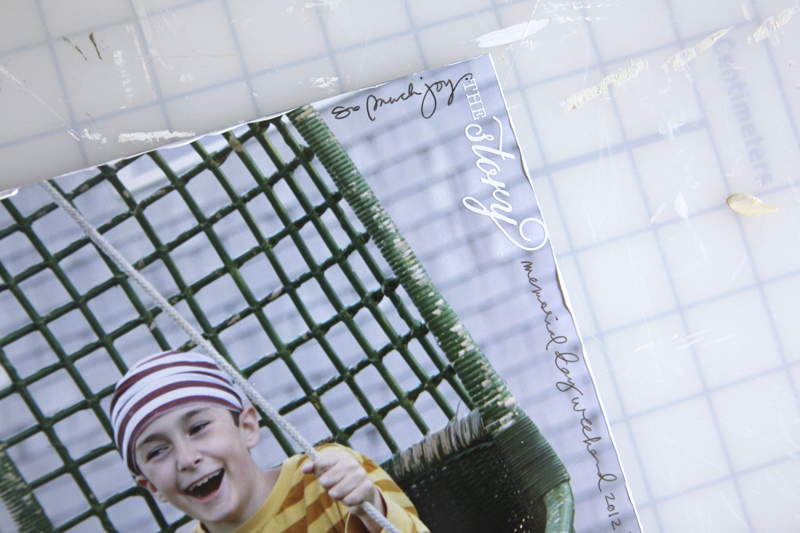
Once the paint was dry I added journaling with a black pen, beginning right after "the story" rub on.
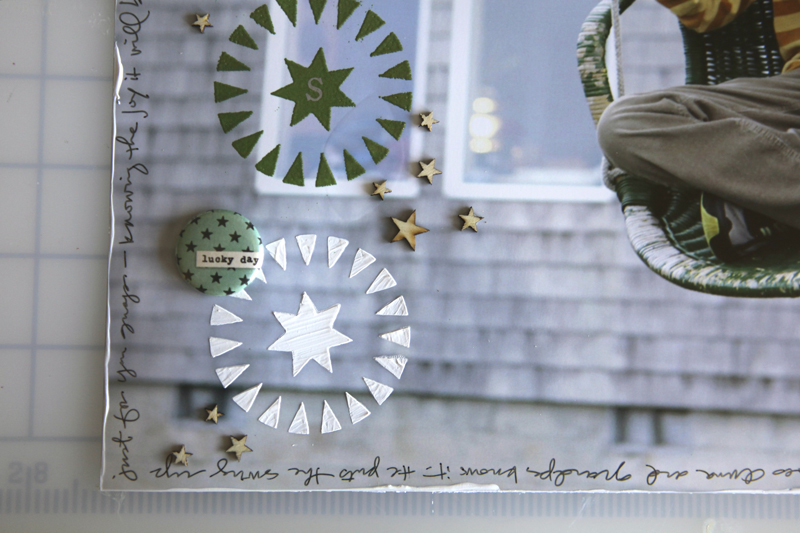
Found this button in my stash from October Afternoon's 5 & Dime.

Here's another look at the completed page:

SUPPLIES
Click on the images to link to the products.
Check out the other people participating in this month's blog hop:
Check out all the spring stencil hops here using Julie's different designs.


Comments
Sign in or sign up to comment.
49 comments
Wow, that is really cool! Love it - everything about this layout is great! Thanks for sharing, Ali!
Replies
Sign in or sign up to reply.
Just wonderful! I'd be nervous to use this on photos, but I LOVE how it turned out!
Replies
Sign in or sign up to reply.
I love when you share your traditional scrapbooking!
I love this picture of Simon!
I love the way you used the stencils!
I love your creativity!
Thank you for you!
Replies
Sign in or sign up to reply.
Love this!!!
Replies
Sign in or sign up to reply.
Thanks for sharing all your wonderful techniques!
Replies
Sign in or sign up to reply.
Love it! I've been wanting to pick up some of those wood veneer items but I am worried about putting them on photos (or even on layouts) - they aren't acid free, right? Ali, is that even a factor for you? Or do you just think that they will be attached to a digital pic which could be reprinted if necessary??
Replies
Sign in or sign up to reply.
Great page. I'm loving these stencil hops, it makes me go and buy each and every one in both sizes.
Replies
Sign in or sign up to reply.
Jennifer Olson
when are you doing project life
Replies
Sign in or sign up to reply.
Simply brilliant!
Replies
Sign in or sign up to reply.
I always the little details or the big details that make your layouts so outstanding! Thanks Ali for the chance to win!
Replies
Sign in or sign up to reply.
Wow, really like the looks of the stenciling right on a photo. That white just pops right out!
Replies
Sign in or sign up to reply.
love the JOY on Simon's face ... such a awesome capture. Thanks for sharing!
Replies
Sign in or sign up to reply.
Love the look of the stencil right on the photo! What a great photo. Thanx for sharing and for the inspiration. :)
Replies
Sign in or sign up to reply.
love love love the full size picture. i just clicked on the link to amazon and picked up the printer and paper and ink! a special treat for me today. thanks so much. i love your blog.
Replies
Sign in or sign up to reply.
I love this layout. I have a question on your journaling. How do you get it spaced correctly? Do you do a test journal first before you write on the photo? I always want to try this, but am afraid I will mess it up!
Replies
Sign in or sign up to reply.
I love everything about this layout Ali, he is soooo happy in this photo. Great job on all of it, what a cool stencil to play with.
Replies
Sign in or sign up to reply.
Simply fabulous...from top to bottom...love love love this!!
Replies
Sign in or sign up to reply.
I absolutely love all the green and how you used the thick paint with the stencil! TFS!!!
P.S. Your picture reminds me about the weather. It was 46 here today, about 50 degrees cooler than on Monday and raining (which was good and bad because some 5th graders I know had a cold wet scavenger hunt in Chicago today! Mine thankfully opted not to go! He's so smart:-)
Replies
Sign in or sign up to reply.
Love this. Love how versatile these templates are.
Replies
Sign in or sign up to reply.
I love your layout, Ali! A couple of questions though... What pens do you use to write on your photos? Also, what printer do you use? I'm contemplating getting a wide format printer, but I'm unsure about what to try, and you seem to really like yours. Thanks Ali!
Replies
Sign in or sign up to reply.