Day In The Life™ 2020 | March Documenting Day
Tags: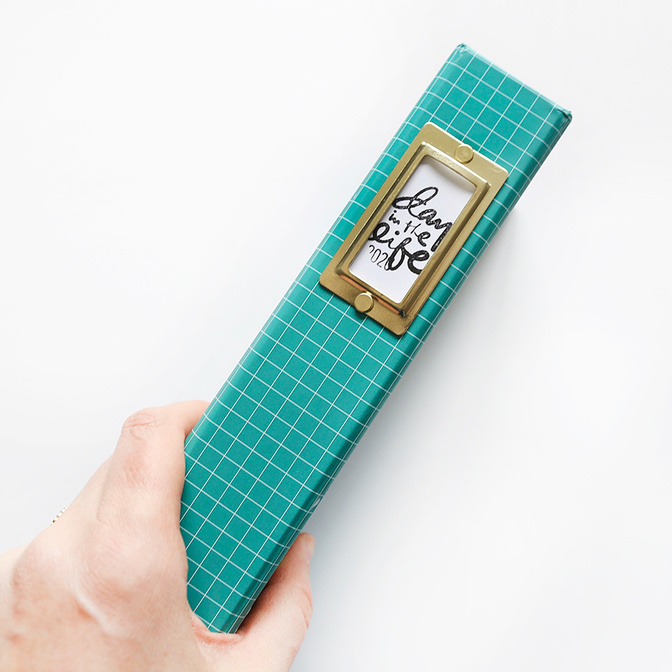
Today I'm sharing how I added my first Day In The Life™ 2020 documenting day stories into my 3x8 album.
The first documenting day for this year was held back on March 5th, but you can do this project anytime that works for your schedule! For this first day of storytelling I used -ing as the jumping off point for my stories. The second documenting day will be later this year - most likely in the fall - and I'll use this album to hold those stories as well. We've got a few kits + album bundles left in the shop if you want to grab one to support your Day In The Life™ stories this year.
I used the "Day In The Life™" stamp from the kit for the spine of 3x8 my album.
Check out my full process video at the bottom of this post for how-to details.
Here's a look at what's inside:
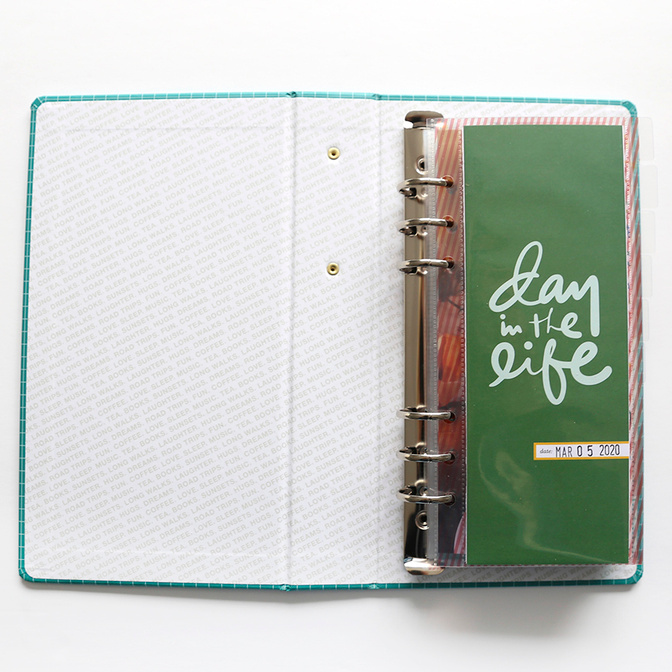
For this project I'm using the 2020 Day In The Life™ kit paired with the Day In The Life™ album bundle along with a few other things.
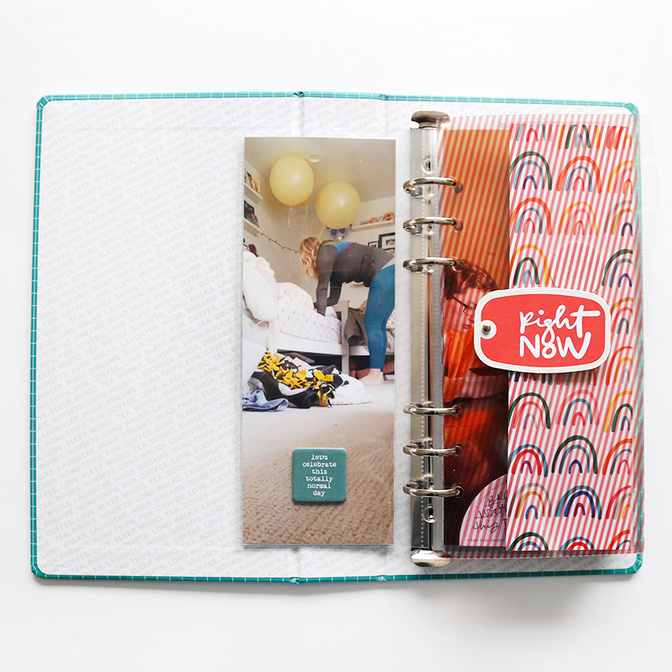
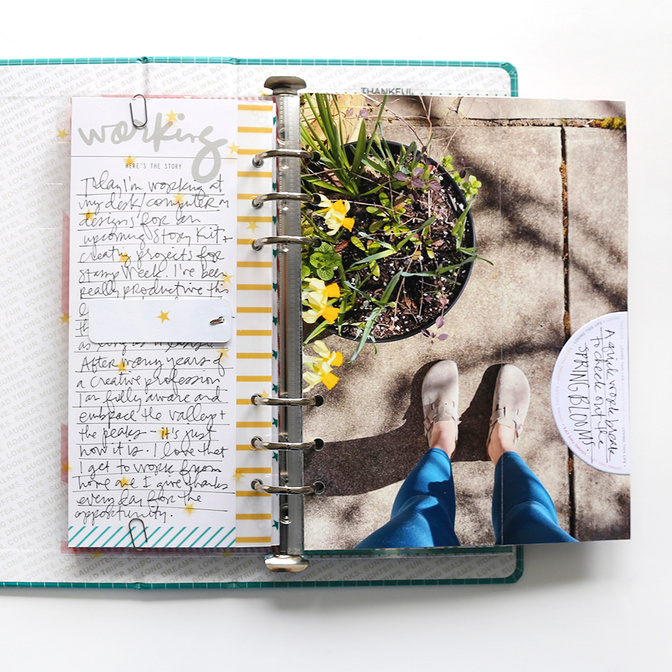
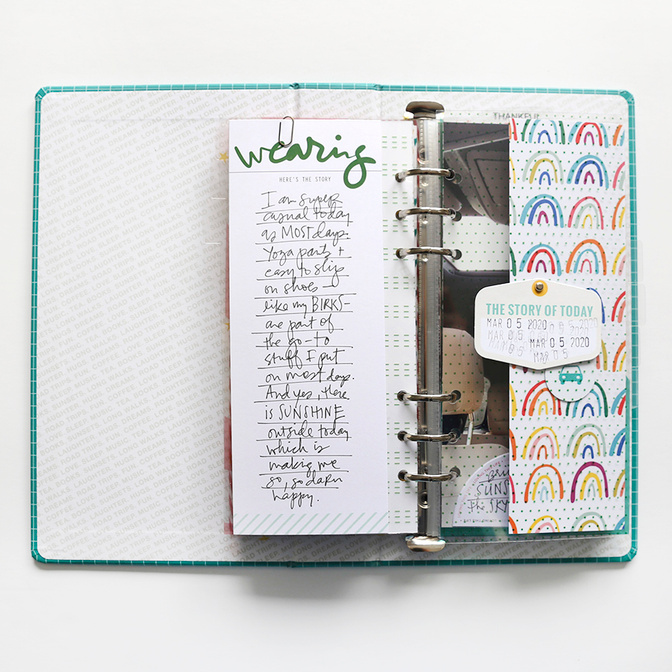
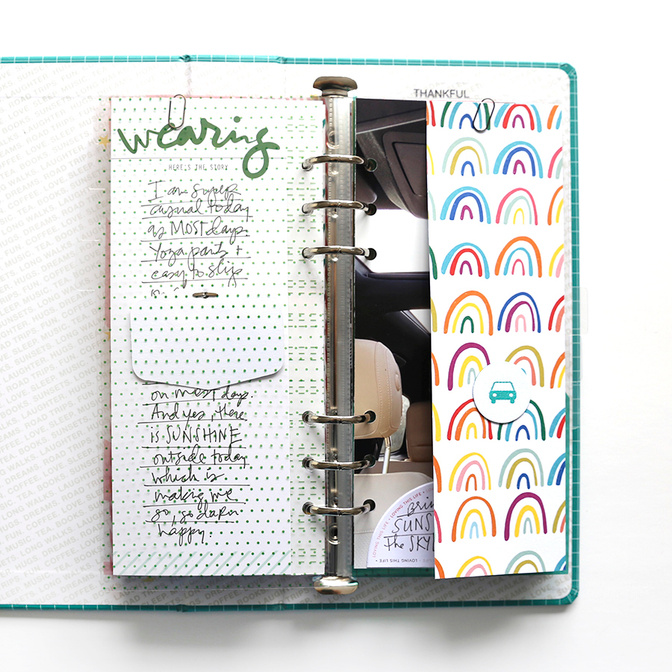
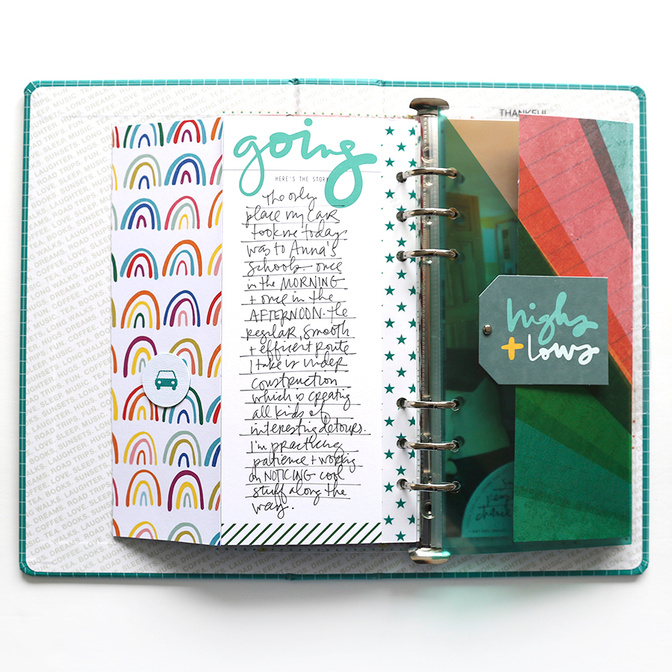
As I often do with projects like this one, I created a design formula that I followed for all my content from this documenting day.
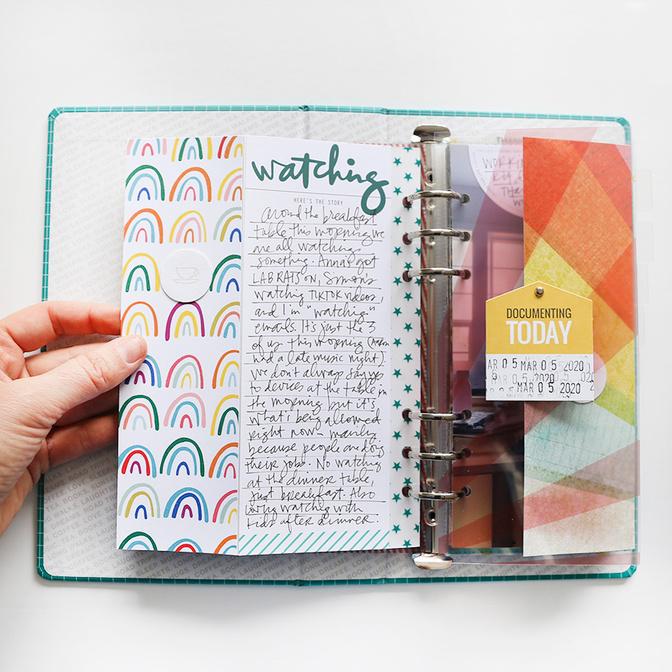
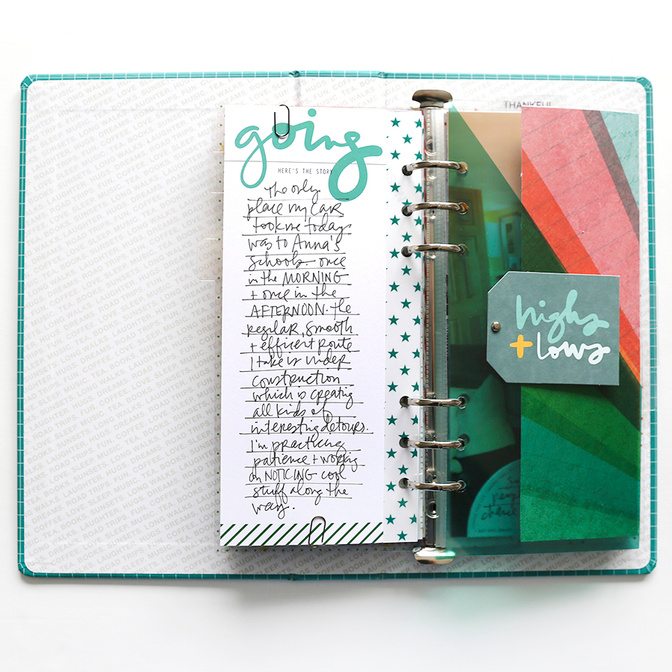
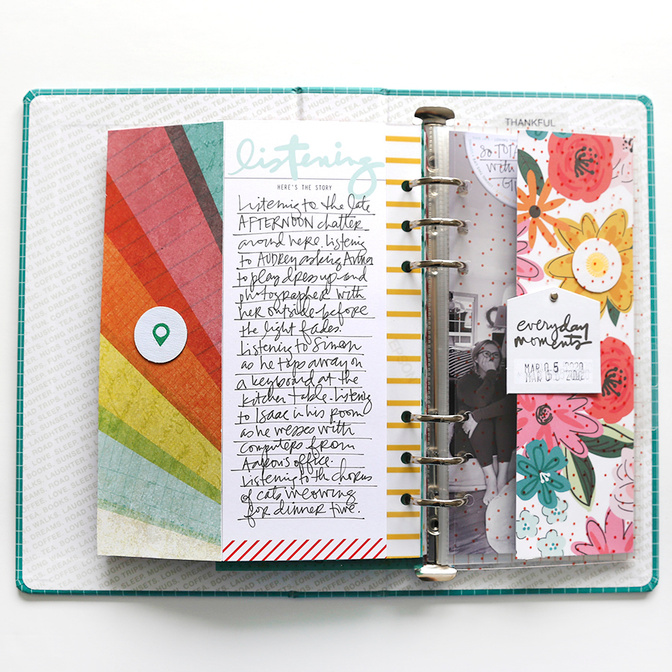
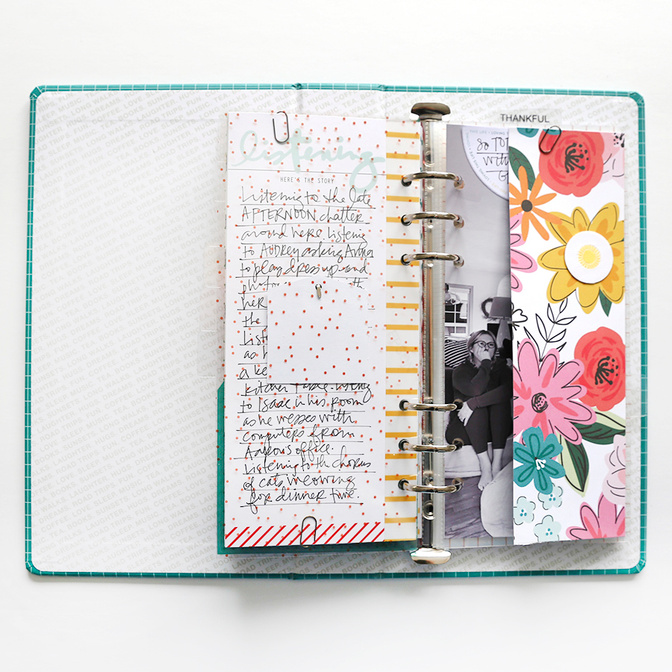
On top of each of the plastic dividers (these come with the album) I added a tag from the Shipping Tag Set.
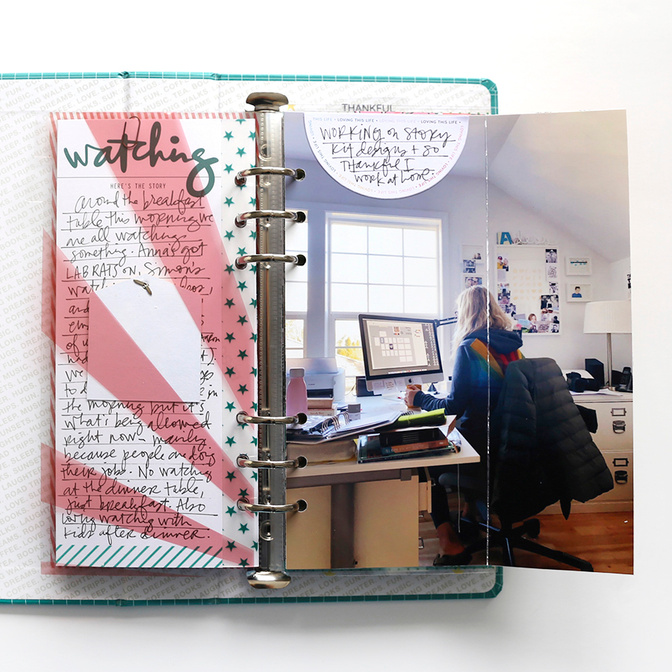
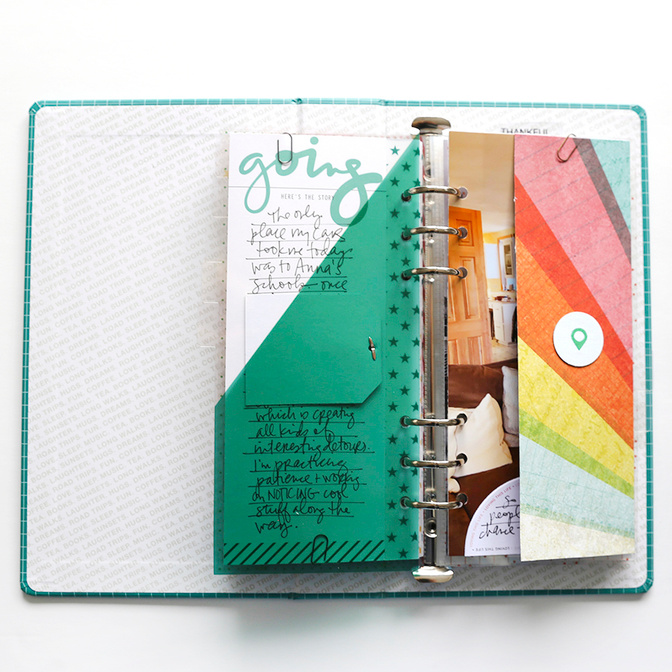
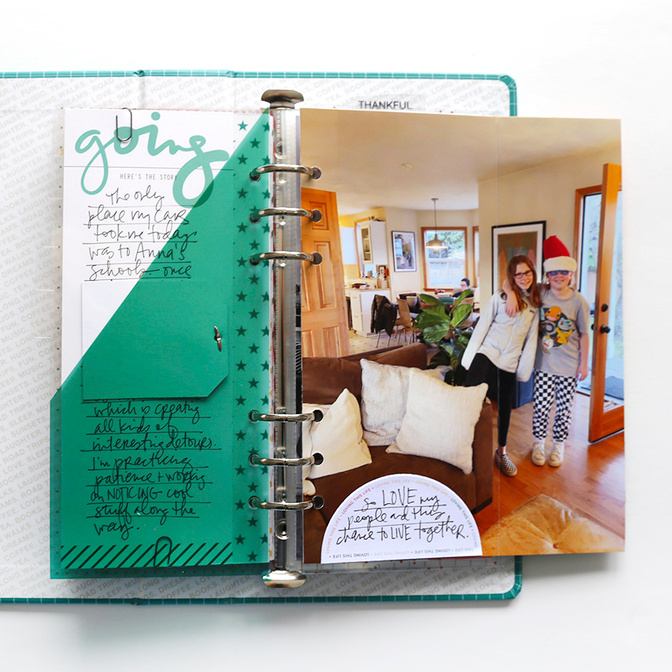
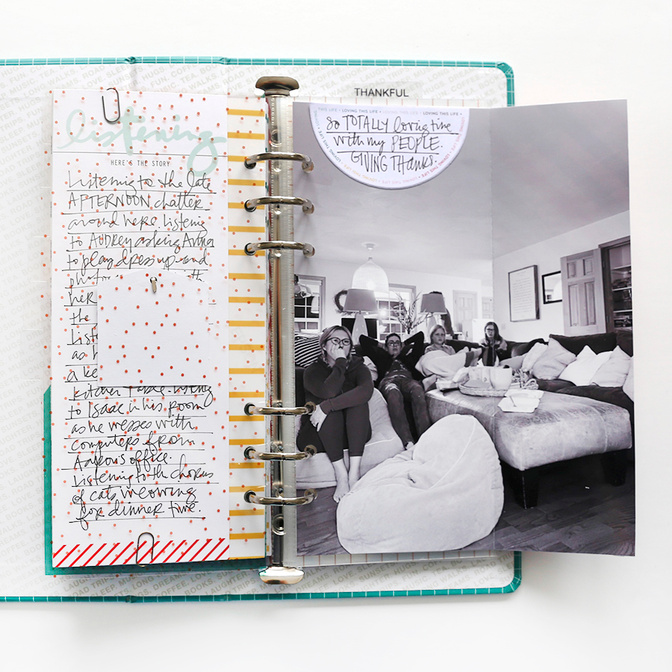
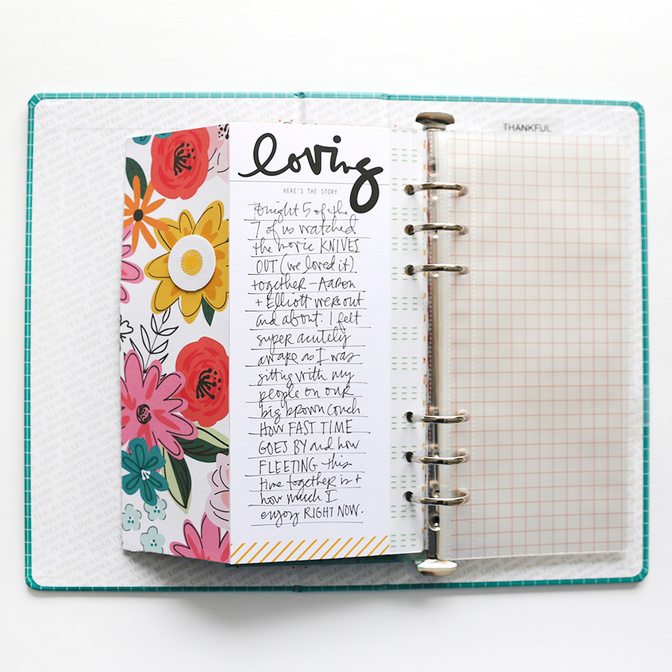
I decided to print my photos to 6 inch x 8 inches and use that photo as the base for my story. I used a bone folder to fold my photo (the fold is about 2.5 inches wide) and adhered a strip of pattern paper to the flap. On top of the pattern paper I added one of the Adhesive Fabric Icons.
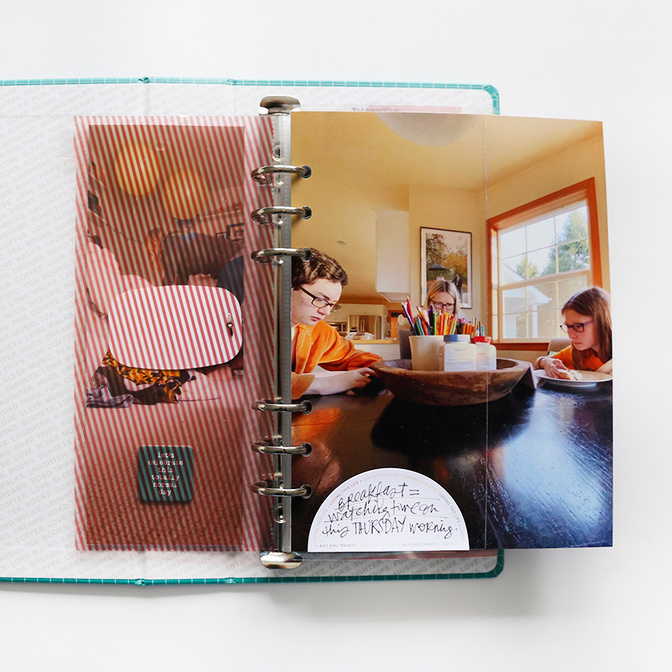
On top of each of the folded photos I added one of the 1/2 circles from the 1/2 circle pad in the kit.
On the back side of the photo I adhered two things. First I cut up the extra transparencies from the album bundle (I didn't use all of them - if you did just add pattern paper on top of the holes) and used a strip to cover the holes. Second I adhered the 3x8 journal card (adhere this first so you can cover up the extra part of the transparency). Use a 6-hole punch for the album holes.
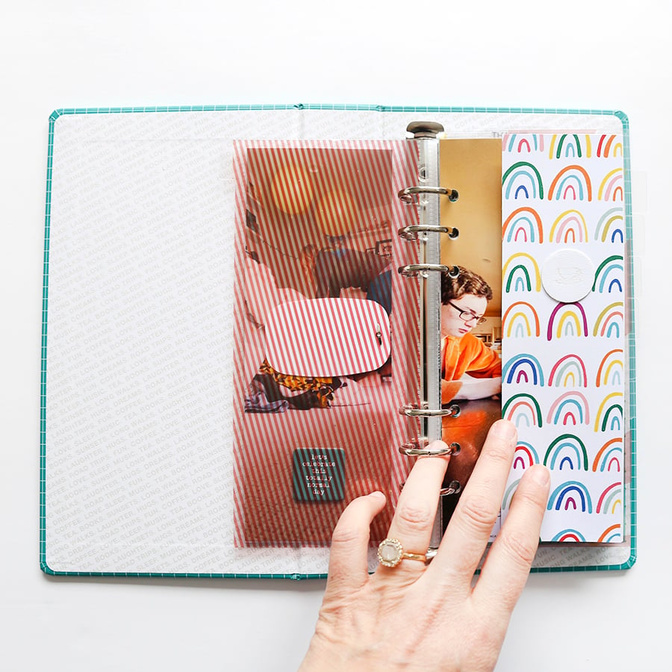
And repeat - starting all over again with the transparent divider and a shipping tag!
The next pattern paper I included is from Vicki Boutin.
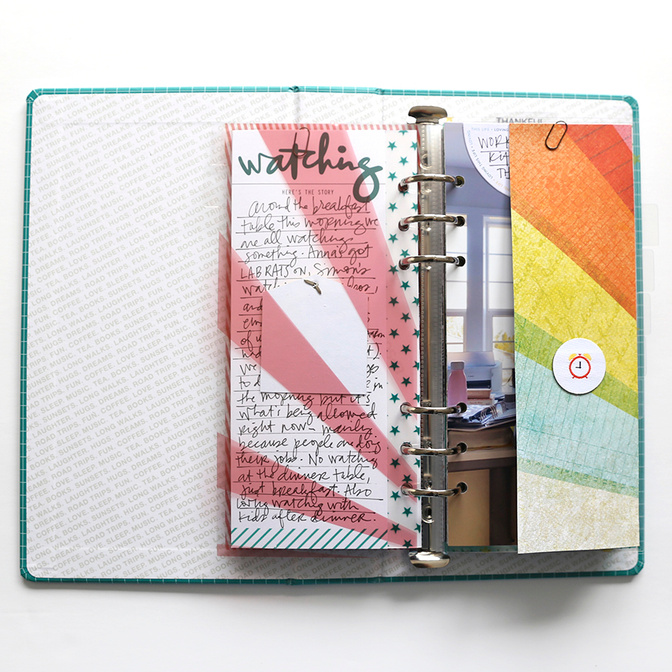
I learned that it's better to use the bone folder on the outside of the photo (you can see this in the video as well).
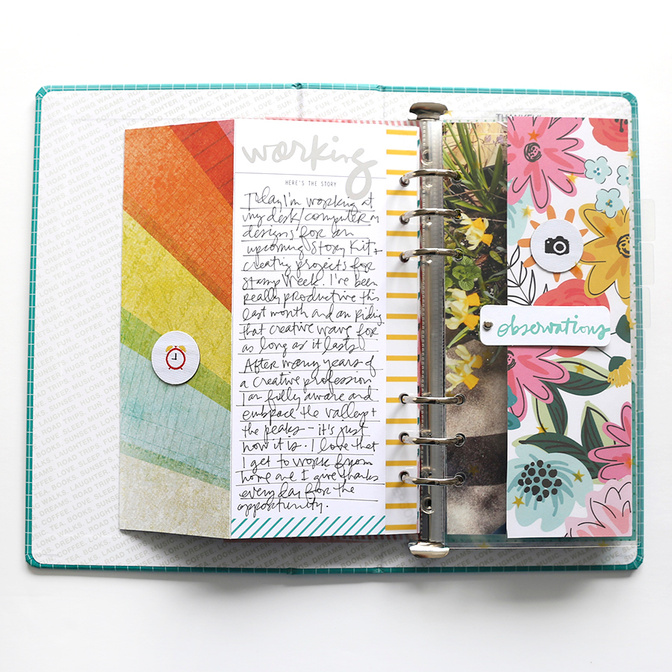
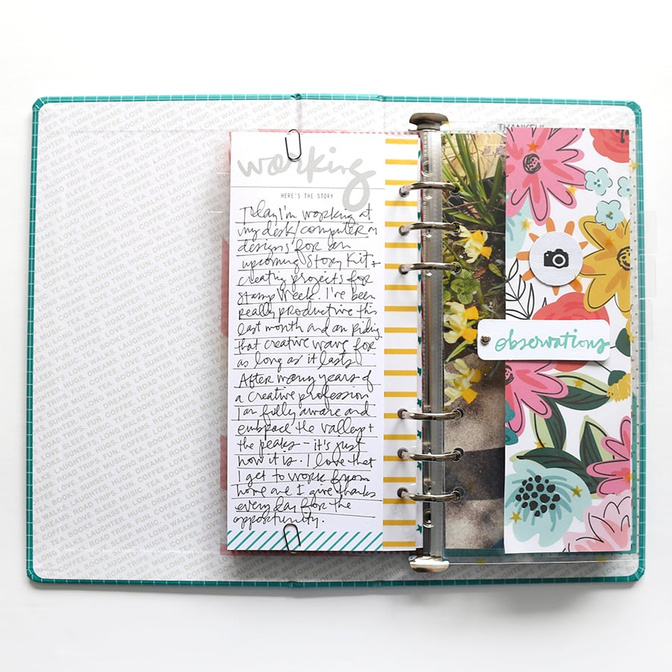
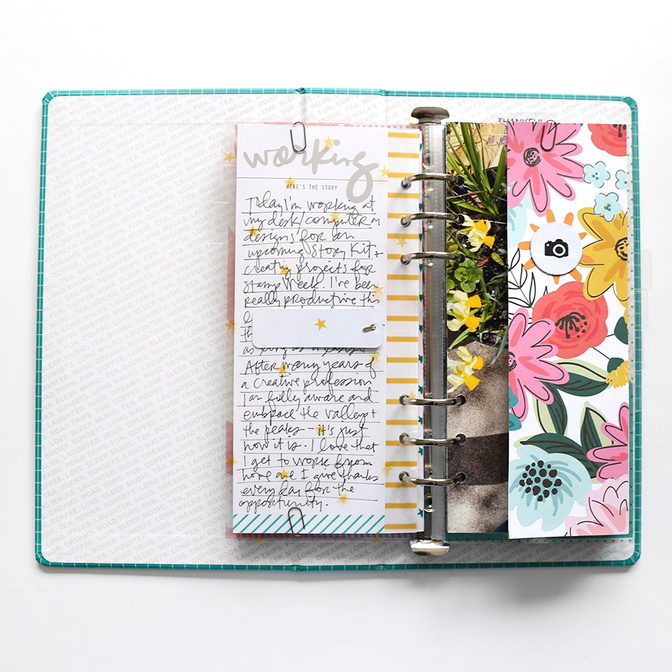
Floral pattern paper is from Jen Hadfield. I used three pattern papers and repeated them each twice.

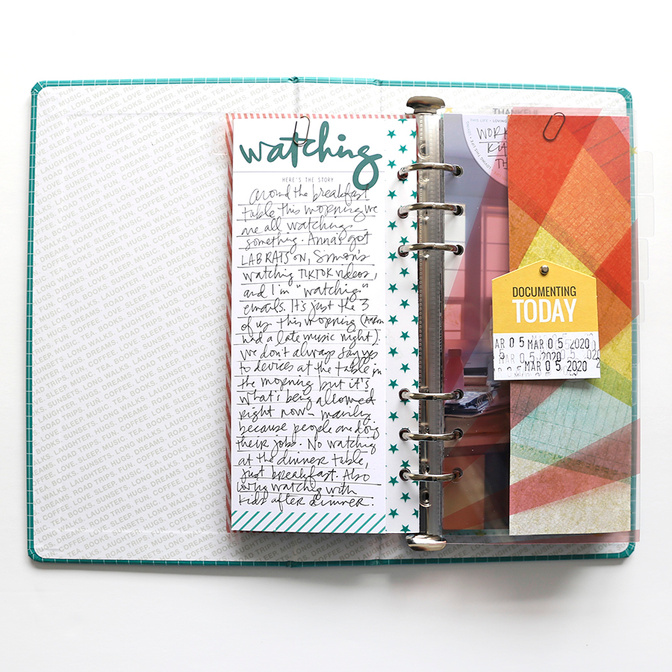
The Tim Holtz Mini Clips work great for keeping the folded part folded.
Repeating the pattern papers.


Here's a look at how this all came together at my table:
Thanks so much for joining me for this day of documenting!
If you like this kind of memory keeping check out the new Week In The Life™ collection which will be available on March 24th.


Comments
Sign in or sign up to comment.
5 comments
LOVE! That fold-over idea is SO cool! I also just bought all of that patterned paper you used. All of those colors totally make me happy! Thank you for inspiring me ... AGAIN! XO!
Replies to KProffitt
Sign in or sign up to reply.
Awesome! The colors are so pretty. I loved all the pattern paper that you used.
Replies to christyj
Sign in or sign up to reply.
Love all of this!! I use the 3x8 album size for PL and love how you used the folded 6x8 photos within this album. I am always inspired by your work and so thankful for all your products and this amazing community.
Replies to cjflynn09
Sign in or sign up to reply.
Love it - the fold over, the pattern paper, the details - happy vibes!
Replies to kbledsoe
Sign in or sign up to reply.
Hey Ali, do you teach a class on developing album formulas? I generally start by analizing the pictures I want to use for the album to determine album size and color scheme, Then I crop and print my pictures based on the previous decision. Many times I will want title/text/journaling directly on the photo, or I may want some photos to be black and white, so all that I do first. I may also do stitching on some photos now. Then I select the 3 to 6 papers, depending on album size. Embellishments are last and I may ad stamping to photos at that point. I would like to see how YOU think thru the process of creating a cohesive album. Think of teaching a class if you dont already do so. Be safe, be creative - always.
Replies to ViannaM
Sign in or sign up to reply.