Parade For Pops | Scrapbook Layout Celebrating Dads
Tags: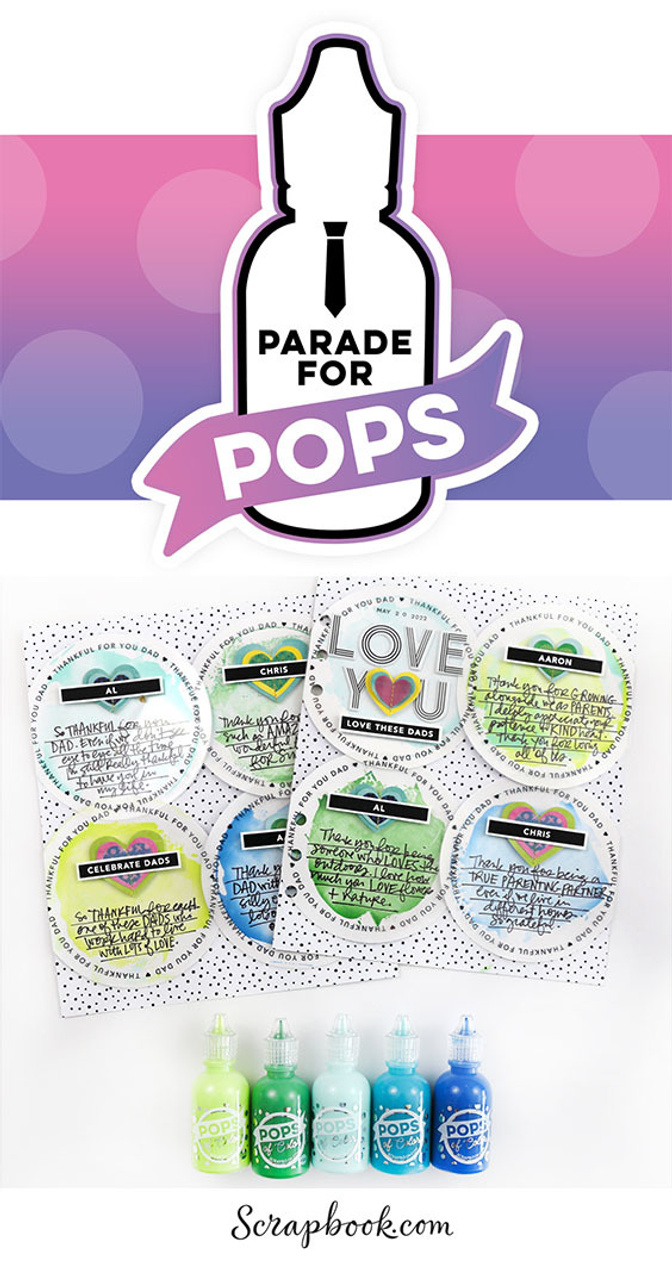
Today's project is coming to you in partnership with Scrapbook.com and their Parade For Pops event. Big thanks to them for the invitation + for sending me a section of their Pops Of Color liquid embellishment to play with and create a project celebrating the Dad's in my life.
Here's a process video that takes you though the steps of creating this project:
Here are some additional images of the process + completed project:
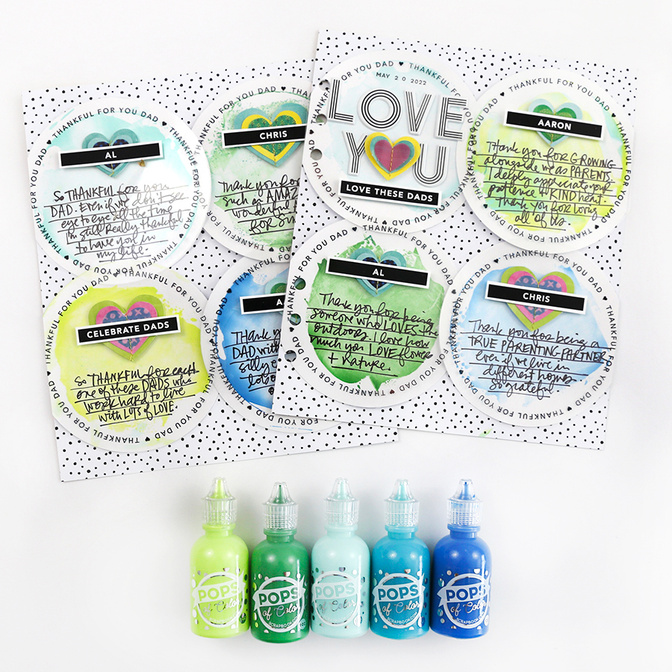
Pops Of Color are fun little bottles of liquid embellishments. You can use them like paint to create backgrounds (like I'll show below) or you can squeeze out a bit, let them dry, and have your own custom colorful dots (dries with dimension).
For my project I decided to document a couple things I'm thankful for about each of the Dad's in my life. I decided to use the Pops Of Color to create watercolor-ish circle backgrounds that become homes for my story and additional embellishments.
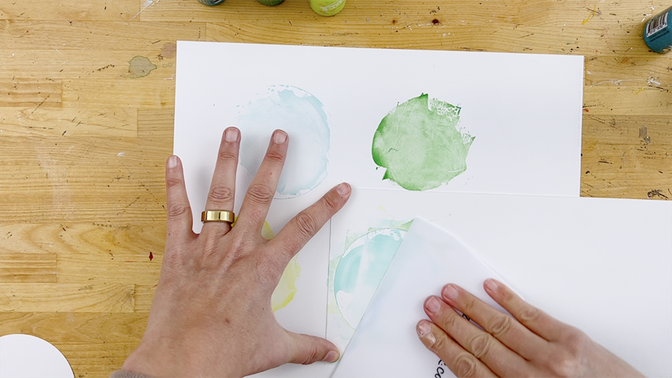
I started by using a 3.5 inch Circle Punch to create a template from a sheet of cardstock. I laid that template on white cardstock, added a few dots from the Pops Of Color bottles and then used the Scrapbook.com scraper in a circular manner to create my backgrounds (see video for more detail). After they dried I used a 4 inch Circle Punch to cut them out.
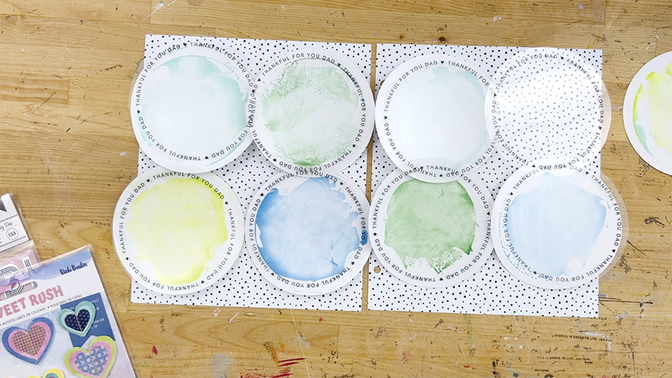
I seriously love how these turned out.
At first I contemplated using one of the new 12x12 pattern papers from the Black + White Scrapbook Kit as my background but pivoted and grabbed a couple sheets of this Heidi Swapp pattern paper and cut it down to 7 inches wide x 8.25 inches tall.
I designed a text circle and printed that on ink jet transparencies. I cut those out by hand using a circle punched using the 4 inch Circle Punch. You can read more about printing on transparencies here.
Download the printable circle PDF here.
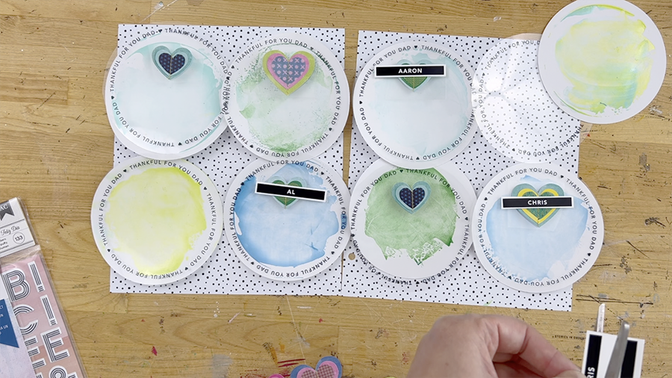
After cutting out the transparent circles I added layered heart stickers on top and create custom 2-inch labels for each of the Dad's in my life.
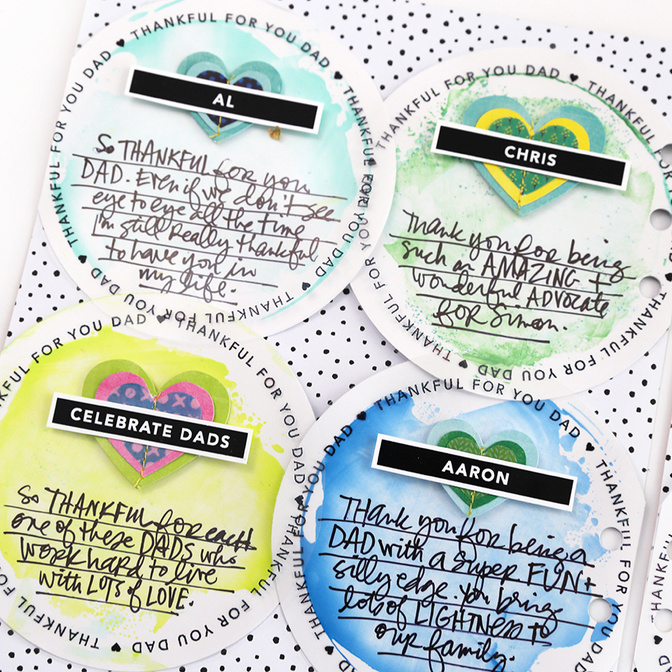
After getting all that in order I used a Slick Writer to add a few things I'm thankful about for each Dad (on the painted circle). The transparent circles were adhered using rolling adhesive under the hearts.
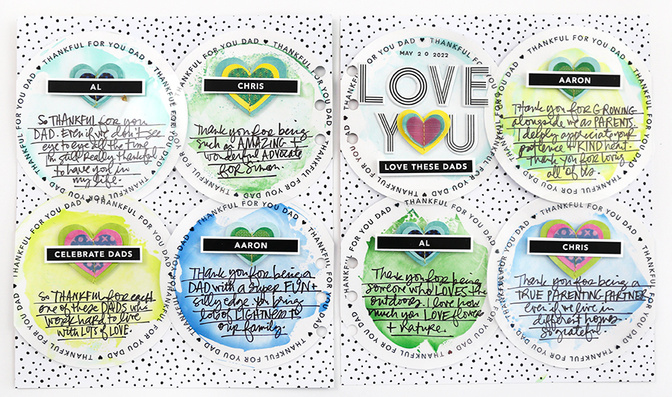
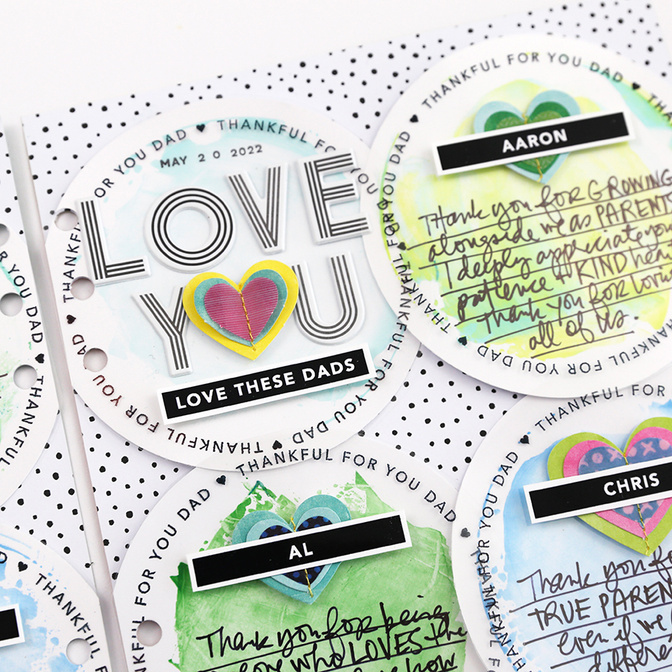
For the title circle I used this fun puffy alpha sticker set from Heidi Swapp. I switched out the "O" in YOU and added a layered heart in it's place.
Here are a couple close up images:
You can also check out my project in my Scrapbook.com gallery here.
Again, big thanks to Scrapbook.com for inviting me to participate! I loved using Pops Of Color as a jumping off point for this project.
SUPPLIES
Black + White Scrapbook Kit (shown but not used in finished project)


Comments
Sign in or sign up to comment.
4 comments
Question: How did you adhere the transparency?
Replies to dpowersfabian
Rolling adhesive under the heart stickers.
Sign in or sign up to reply.
Beautiful!
Replies to ScrappinMyHeartOut
Sign in or sign up to reply.
I have been following you for years. You are so vibrant and real. Always, always learn something new. You encourage us all to just try and have fun. Thank you once again.
Replies to jkbroyles
Sign in or sign up to reply.