Weekend Creative : Love MiniBook/Card
Tags: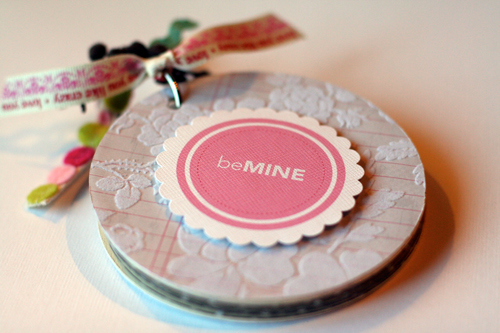
[ Jenni Bowlin Circle 4 inch Minibook; Creative Cafe Clear Sheet Dots; Little Yellow Bicycle Flocked Grey with White Floral Paper; Ali Edwards Love Circles; Ribbon: Narratives, random other pieces ]
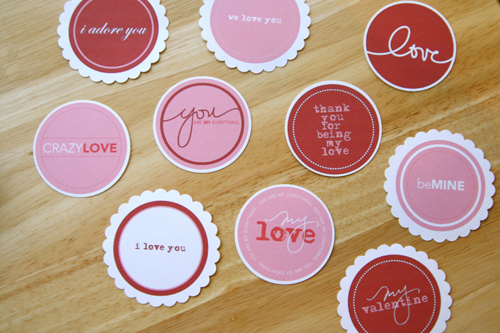
Part card, part minibook this little circle creation is a great way to celebrate someone you love this Valentine's Day (or any day of course). This project uses my new Love Circle embellishments from Designer Digitals that you simply download and print (or use on digital projects). I showed a simple card idea with them last week here.
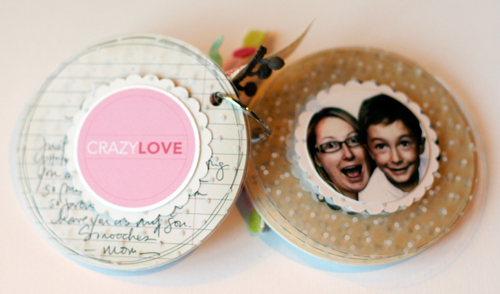
Here's a look at the interior:

A short note opens the card/minibook with the following pages cut (using a Creative Memories circle template) from a thick transparency from Creative Cafe. Each transparent page has a photo on one side and one of my printed Love Circles from Designer Digitals on the other side.

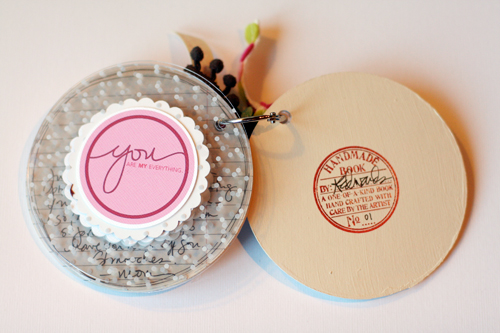
The great little "handmade book" stamp is from Cats Life Press. Ink is from StazOn.

 • Cover the Jenni Bowlin 4 inch circle chipboard minibook with Little Yellow Bicycle textured patterned paper on the front cover and the back cover and painted the interior chipboard covers with cream paint. I love the flocked texture paper for the covers of little books like this - gives it a nice soft feel (fabric would also be a great cover). I ended up not using the interior circle lined-pages for the minibook itself but will hang on to them to use them in a future project.
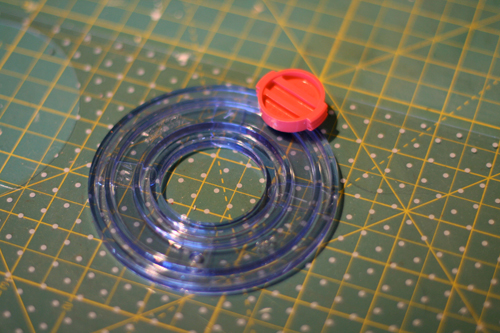
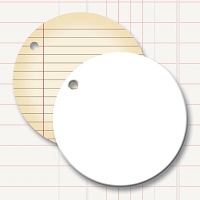
• Cut out 5 circles (or as many interior pages as you want for your book) from the Creative Cafe white dot transparency (I used this Creative Memories circle cutter). This is a very thick transparency which works great for interior pages of a minibook. I also love to use Hambly overlays for projects that really need a thicker sheet.
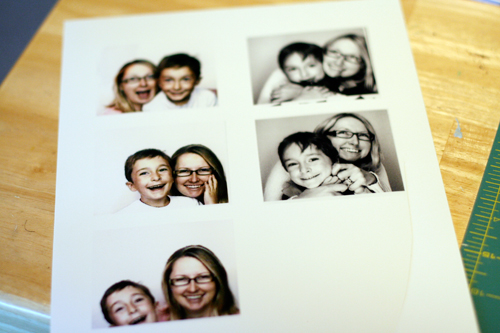
• Choose, scan, and print your photos. I scanned in some of my favorite photo booth pictures (I have used these in projects in the past) and organized them to print on one 8.5x11 sheet of photo paper. The photos were scanned (and enlarged) to be about 2.5 inches wide.
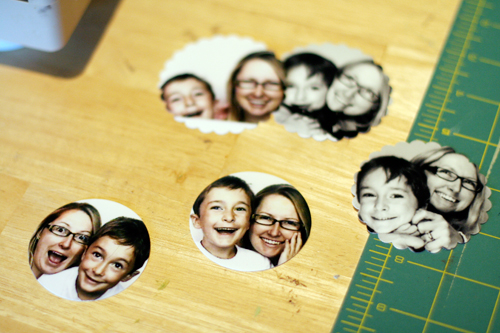
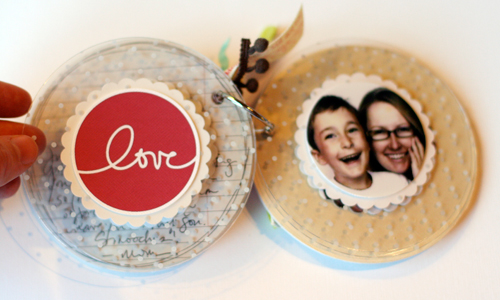
• Punch the photos using the Marvy Giga Scallop Circle Punch and a McGill circle punch. I wanted both regular and scalloped circles to work back to back with the Love Circles (available here):
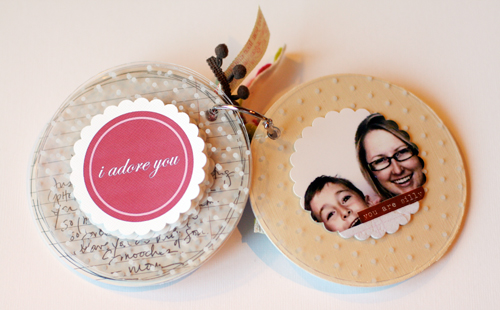
• After punching out my photos and the Love Circles I simply adhered them back to back on each of the interior pages. I chose to do photo on the front, Love Circle on the back. Very simple and quick to put together. I am planning to give this to Simon on Valentine's morning at breakfast with a couple other little goodies.
To finish off the book I added one circle to the cover and a gathering of ribbons on the metal ring that holds it all together.
Enjoy your weekend!

[ Past weekend creative projects can be found here. ]


Comments
Sign in or sign up to comment.
93 comments
Great idea. Thank you.
Replies
Sign in or sign up to reply.
Hey Ali! I finally got a chance to catch up on your blog. So much going on with you girly! Great baby room. We're still waiting to find out what we're having. I'll be hitting the antique stores to find some great things for our room too. So glad to see NieNie blogging again. Gob bless that girl and her family! Happy belated b-day to Simon! 7 is awesome I'm sure.
I just really wanted to say hi! You look great and you're carrying all out front just like me hon. Love every moment.
Replies
Sign in or sign up to reply.
Hi Ali
Your mini is so cute! Last week, I too created a mini using Jenni Bowlin album.
Check it out here:
http://captureeachmoment.blogspot.com/2009/01/valentines-day-mini-album-for-yss.html
Replies
Sign in or sign up to reply.
How did you do the 'photo booth' photos. Were they really done in a photo booth :)?
Replies
Sign in or sign up to reply.
hmmmm not sure if my last comment was posted.
If it was sorry for being bothersome!
I love this little mini book, but would love to know how you got the 'photo booth' look, did you really have photo booth pics?
Replies
Sign in or sign up to reply.
Greeeeeeeeeeeeeeeeeeeeeat!!!
Love from Spain
Replies
Sign in or sign up to reply.
Absolutely great!!
Replies
Sign in or sign up to reply.
I downloaded your LOVE CIrcles on a whim and how glad am I ?!
I haven't plucked up courage for digital pages yet so I printed them off and used a couple on a LO for a scrapping forum in the UK called UK Scrappers for a challenge ( you can see it on my blog here I think..http://neverkeptadiarybutmightmanageablog.blogspot.com/)
They are So versatile and delicious - I almost want to eat them !! Thank you for making these available - I can see myself using them again and again )
Replies
Sign in or sign up to reply.
Such a cute little album! I'm going to make something simular for my boyfriend, thank you for the inspiration:)
But won't your husband be jelous that Simon gets a Valentine album and he doesn't?:)
Replies
Sign in or sign up to reply.
OMG, they're so sweet. Great howto!
Replies
Sign in or sign up to reply.
SO adorable!!!
Replies
Sign in or sign up to reply.
Love this! Thanks for sharing
Replies
Sign in or sign up to reply.
so so wonderful!
Replies
Sign in or sign up to reply.