Weekend Creative | Valentine Initial Bags (+ Silhouette Video Tutorial)
Tags: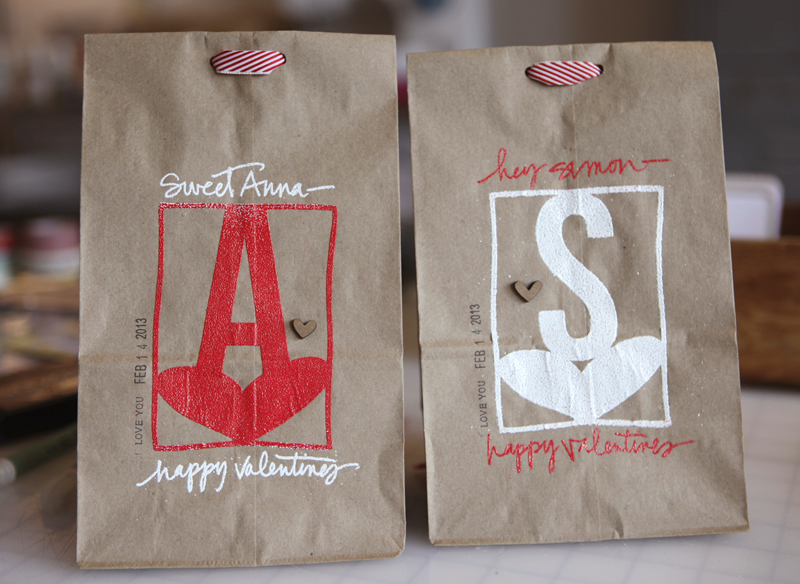
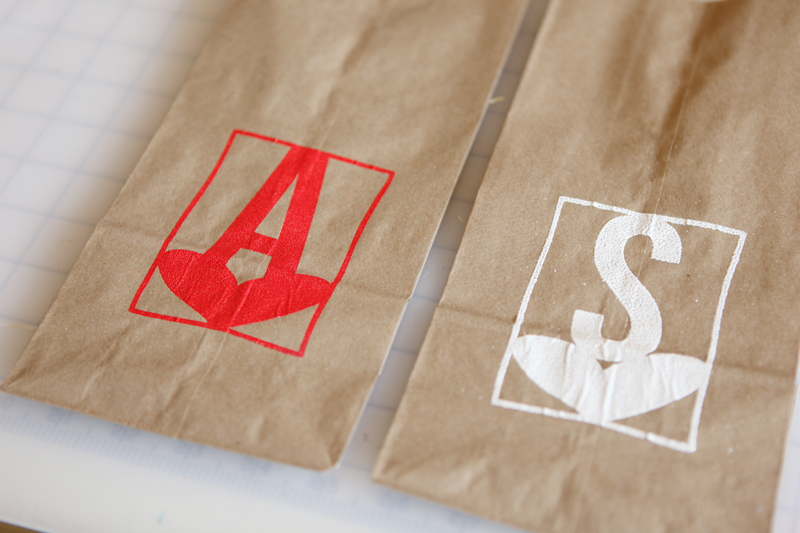
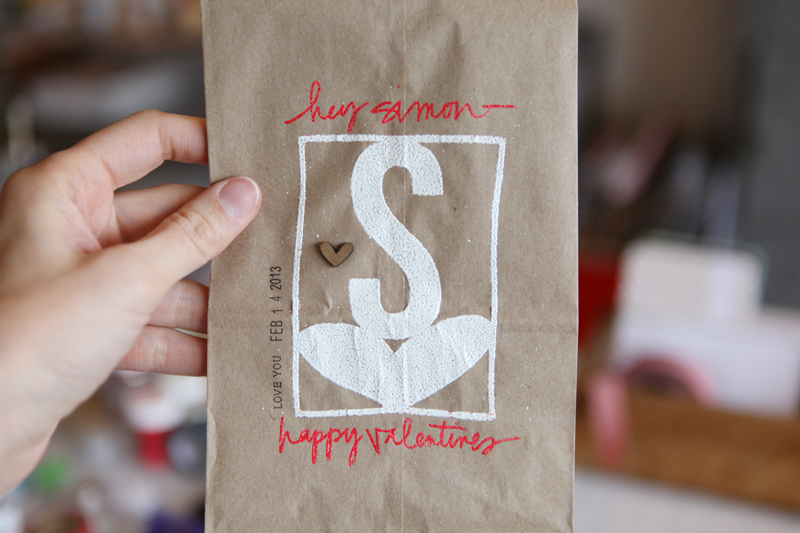
To go along with the Silhouette Portrait™ Giveaway over on my blog today I put together a fun little project and tutorial that walks you through the process of creating Valentine bags using Silhouette's Double-Sided Adhesive. I made one for Simon and one for Anna and will be adding some treats and goodies and giving them to them on the 14th.
SPECIAL PROMOTION |When you use the code "EDWARDS" between February 1st-February 14th you will be able to get 1 Silhouette Portrait™ and 1 double-sided adhesive starter kit for $179.99.
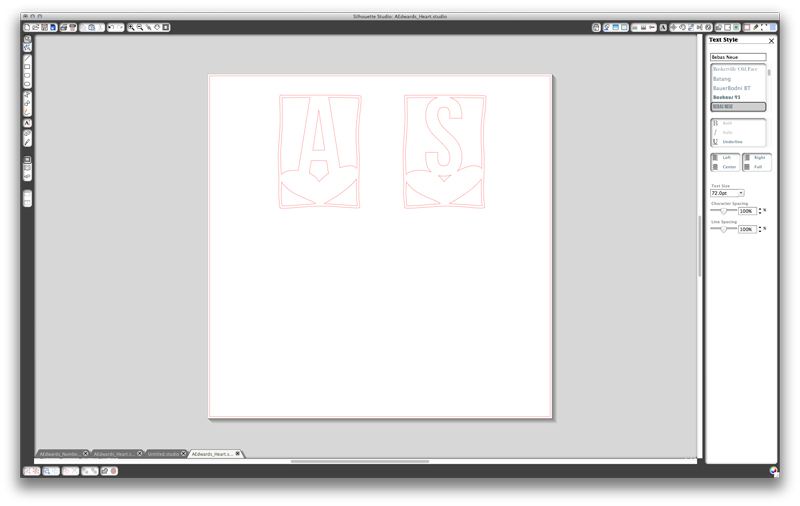
To begin I wanted to share a video tutorial on how to trace and weld shapes together using the Silhouette Studio software.
AE Tutorial | Tracing And Welding With The Silhouette from Ali Edwards on Vimeo.
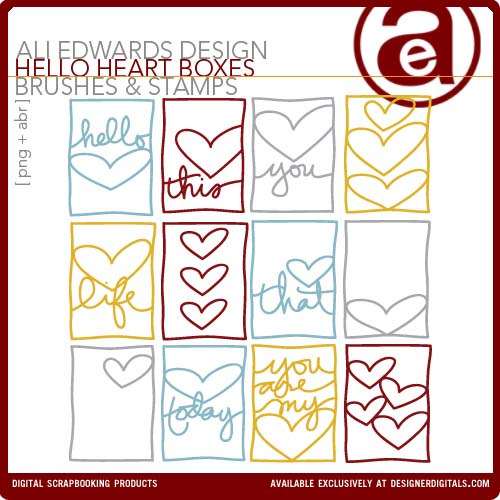
For this project I used my Hello Heart 3x4 Boxes and the font Bebas Neue.
For the cut settings I just chose Double-Sided Adhesive and changed my blade setting to 6 (following what it said on the screen).

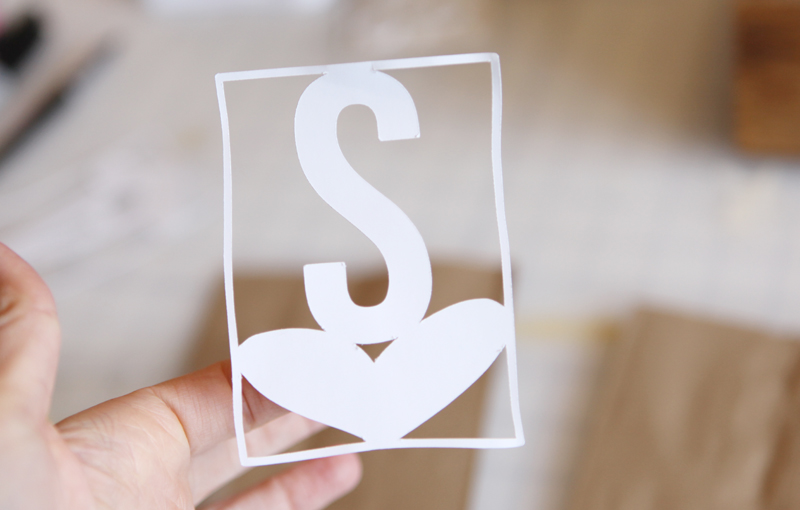
That's what it looked like when it came out of the Silhouette.

Make sure you are peeling all pieces of the adhesive back paper from the mat.
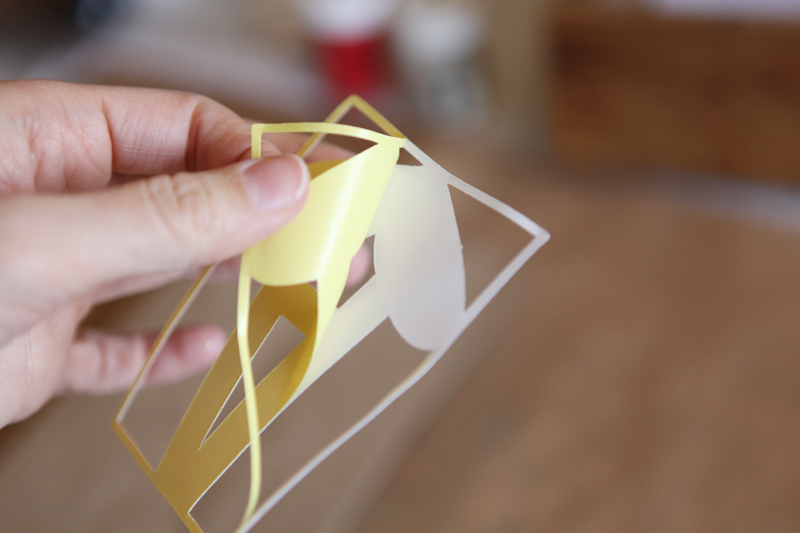
Next pull off the yellow backing so you have one sticky side. Make sure that the sticky part stays on the piece you want to adhere.

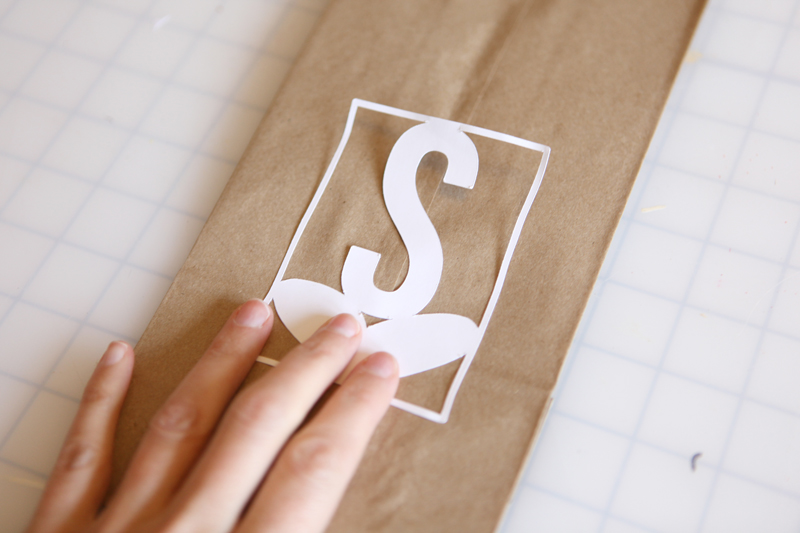
Adhere your design to the lunch bag.
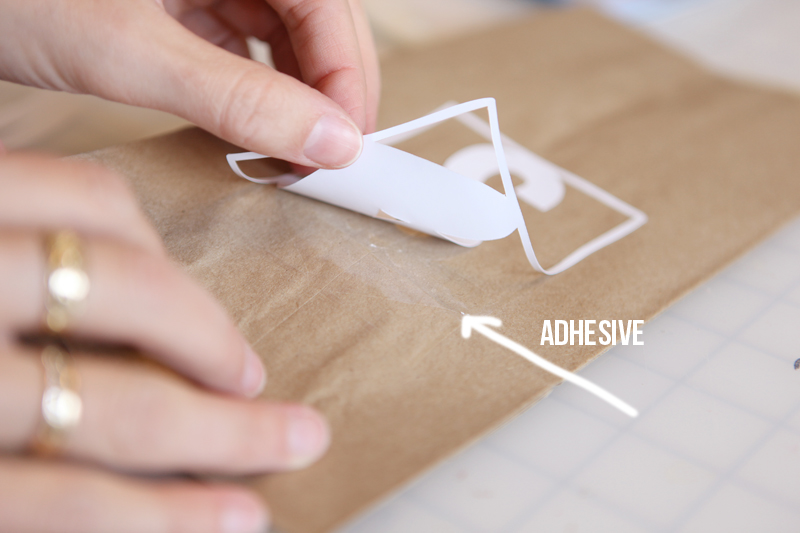
Gently lift the paper up off the adhesive. It's hard to see in the shot above but there's adhesive left on the bag - this is what the glitter or flocking or embossing powder is going to stick to.

I decided to emboss because it's what I love. I embossed one with White Zing Opaque.

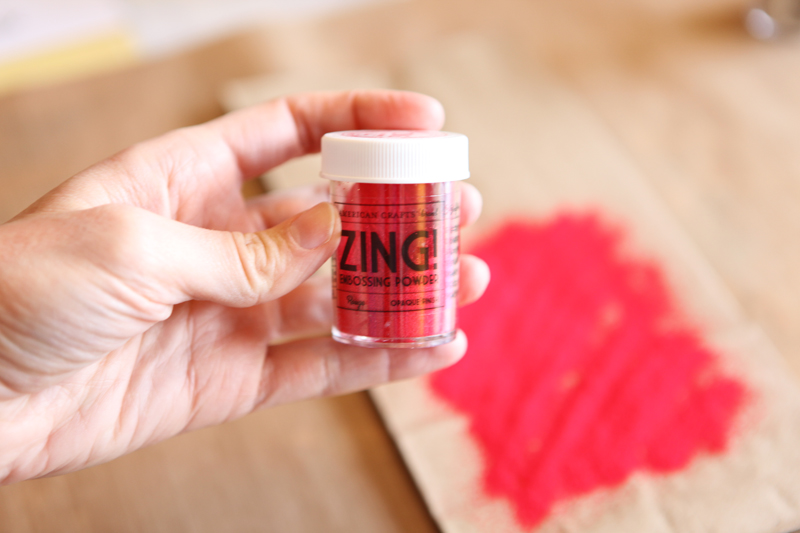
And the other with Rouge Zing Opaque.
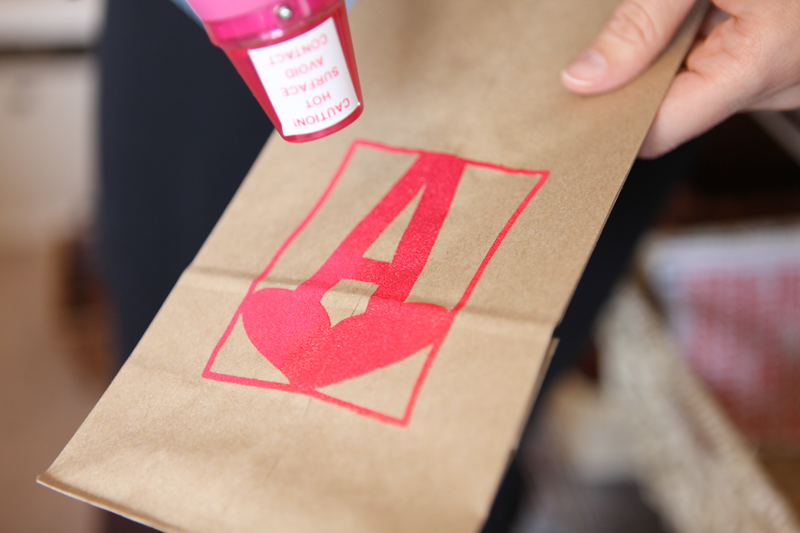
That's both of them after they've been hit with the heat gun.

From there I used a Zig Emboss Writer to add a little something to each bag above and below the "S" and the "A." This pen is an awesome tool for being able to write and then heat emboss.
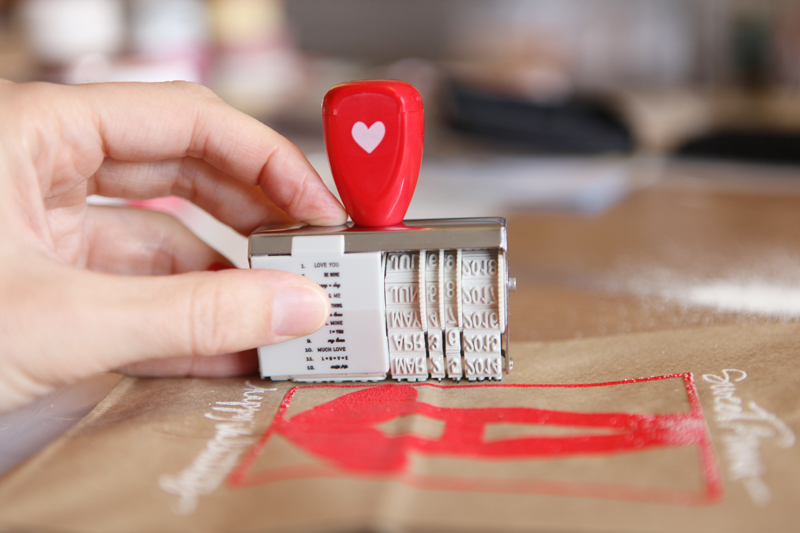
This adorable little love-themed date stamp is from American Crafts and is available at Target. Big thanks to Janice who brought this to me at CHA.
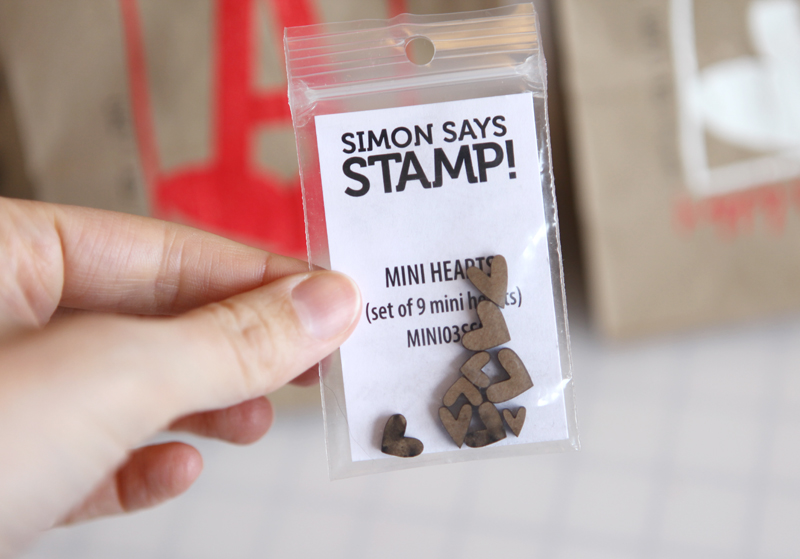
These cute little wood mini hearts are from Simon Says February Card Kit called Style Of Love. I adhered one to each bag using Glossy Accents.
Ribbon used on the top is a Red White Twill from Paper Source that I cut in half the long way to create two long pieces of ribbon.
SUPPLIES | VALENTINE BAGS
Click on the images to link to the products.


Comments
Sign in or sign up to comment.
59 comments
[...] to see how I used the double-sided adhesive? Check out my Projects Blog today for a easy and fun Valentine bag tutorial that includes a video tutorial on how to trace and weld shapes [...]
Replies
Sign in or sign up to reply.
Thanks, Ali. You always make "new" ideas doable. And what an awesome giveaway.
Replies
Sign in or sign up to reply.
oh, these are awesome!
Replies
Sign in or sign up to reply.
I love these, Ali! Thanks so much for sharing the entire process.
Replies
Sign in or sign up to reply.
I love that you can emboss shapes with this! This makes me want the silhouette more than ever.
Replies
Sign in or sign up to reply.
What a cool product! Thanks for the chance to win.
Replies
Sign in or sign up to reply.
Love this! So creative! thank you! <3
Replies
Sign in or sign up to reply.
So cool! I will try this with my middle school students - not with a machine but by hand using stamps and embellishments. They'll love the little bags.
Thanks for the giveaway!
Replies
Sign in or sign up to reply.
Those bags are adorable - I love the letter/heart design you used. I don't have the ability to use digital files, so I think I might have to try this technique using die cut shapes from double-sided tape. Thanks for the inspiration!
Replies
Sign in or sign up to reply.
great idea! the kids will love them! will have to do something like that for my grandkids for Valentine's day! would love to have a Cameo!
Replies
Sign in or sign up to reply.
Love this!!!
Replies
Sign in or sign up to reply.
I love it!!
Replies
Sign in or sign up to reply.
Thanks for sharing this project, def pushing me towards a silhouette... Love that stamp too! Def need one of them.
Replies
Sign in or sign up to reply.
This is amazing! What will they think of next?
Replies
Sign in or sign up to reply.
Love the hearts. I wanted to share a product I ran across looking for stuff for my son, the Lego Lover; but I really don't know any other way:
http://www.amazon.com/Lay-n-Go-Original-Activity-Mat-Blue/dp/B007BO5OAY
Replies
Sign in or sign up to reply.
Thank you for the Silhouette tutorial. I'm thinking of purchasing one, but hadn't seen the software in action. Thank you!
Replies
Sign in or sign up to reply.
keeping my fingers crossed for the silhouette. Been wanting one for some time. I love all your ideas...thanks for sharing!
Replies
Sign in or sign up to reply.
So cute - I love them!
Replies
Sign in or sign up to reply.
Wow, so cute! HAd no idea you could do that with the silhouette and transfer adhesive like that. I always though it was more like those DIY thickers for microbeads. Thanks for the tips!
Replies
Sign in or sign up to reply.
Love this idea Ali. Every example of you using the silhouette makes me one step closer to making that BIG purchase. Not knowing everything about how one uses the machine, I do have a question that I often have....
Q: Do you waste a lot of paper or in this case adhesive, when using the silhouette? I'm just thinking if I only need one design cut out, can you reuse (feed) the paper/adhesive through the machine?
Thanks for your continued inspiration!!
Replies
Hi - you can definitely run the paper through again if you make just one cut. Many people will do a bunch of cuts at once to maximize the space on the cutting mat.
Sign in or sign up to reply.