Week In The Life™ 2021 | Special Guest Tazhiana Gordon
Tags: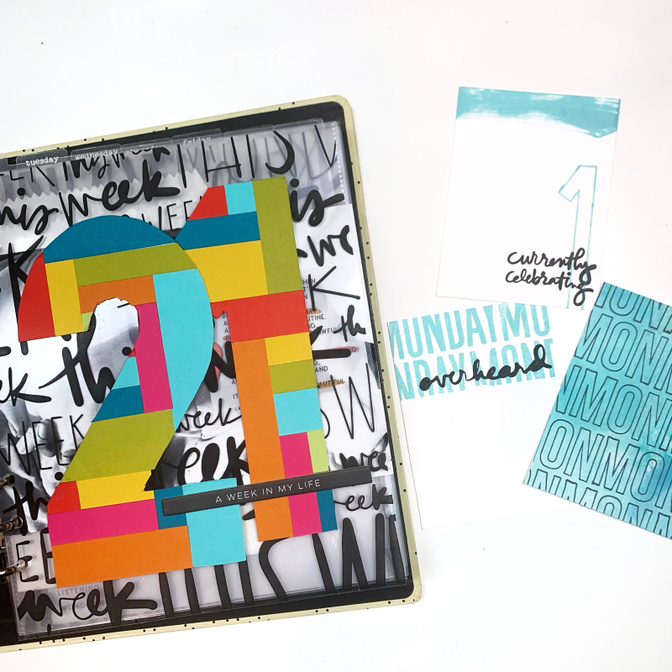
Hello crafty friends! Tazhi here with a few tips and tricks to set you up for success as you work through the second phase of Week In The Life – the documenting phase.
Before the week even started, I made a game plan with the sizes of photos I wanted to take as well as the journaling lenses I planned on using and the bits of life I wanted to remember to document. This helped me be more intentional about the week and ensure I actually had something to work with once it came down to creating the actual album.
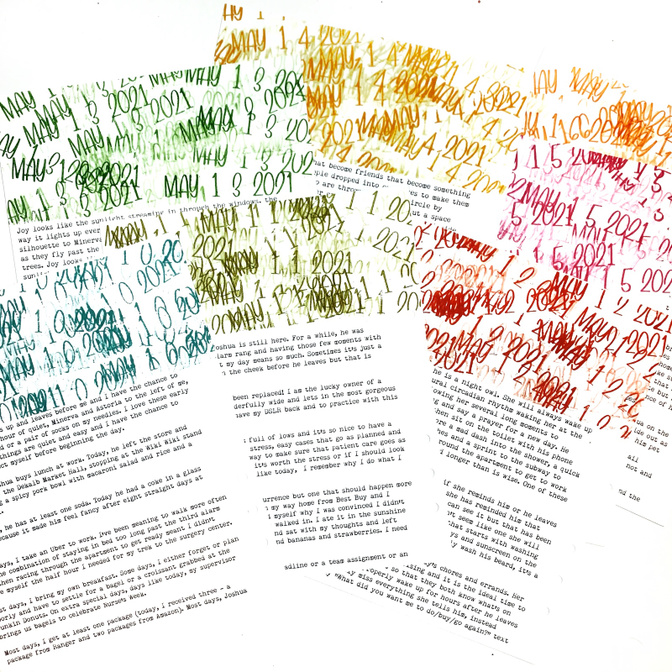
I found that what was the most successful for me was to break the project up into short and actionable tasks and to batch process the work. I know that some people have had success working on it one day at a time but I found that really daunting and so I broke it up into words, photos and the extra. I went with words first because I did my journaling every night in the Day One app and it was very easy to copy the text straight from my journals there and paste it into the templates I created in photoshop. That whole process took me less than a half hour and then it took me another 20 minutes to stamp the dates in the corresponding colors and then the words were in the album! It was a small task that I could cross off and that gave me the momentum to keep going.
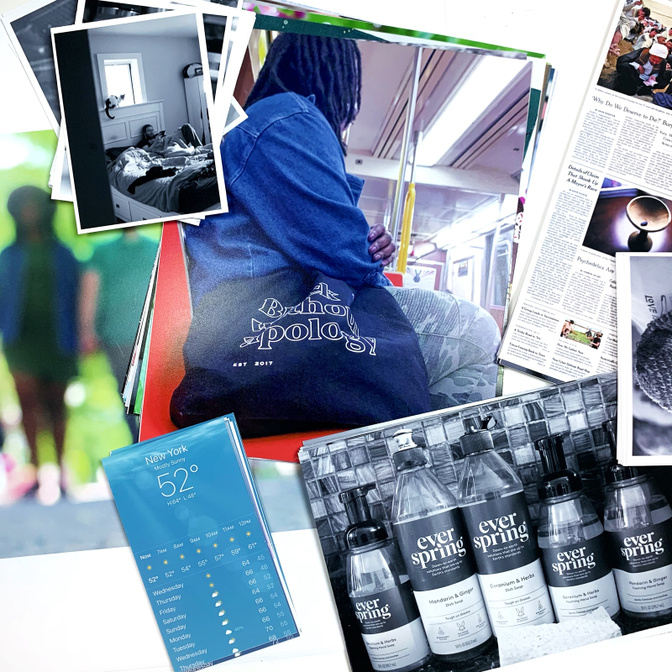
Next, I tackled the photos aspect. I used Lightroom and Amy Gretchen’s tutorials to take my 700+ photos down to the 100 or so I decided to edit and print for the album. She has a ton of videos on using Lightroom to make a project like this more manageable and I worked on my photos in batches as well – first selecting the photos I wanted to use, then creating buckets of the various sizes I wanted to print in, then printing (I print at home using the Canon Pixma Pro 100 series) and finally trimming all of the photos down to size and arranging them into the order they would live in. I made the phone cards during this step as well as it required photos and it just made sense to get it done at this moment. This took me about a week of working on it a bit every night but once this step was done, it felt like a bulk of the work was finished and I was sailing on to the end. I find that crossing off steps like this gives me a lot of energy for the project, the closer to the finish line I get, the more I want to get there.
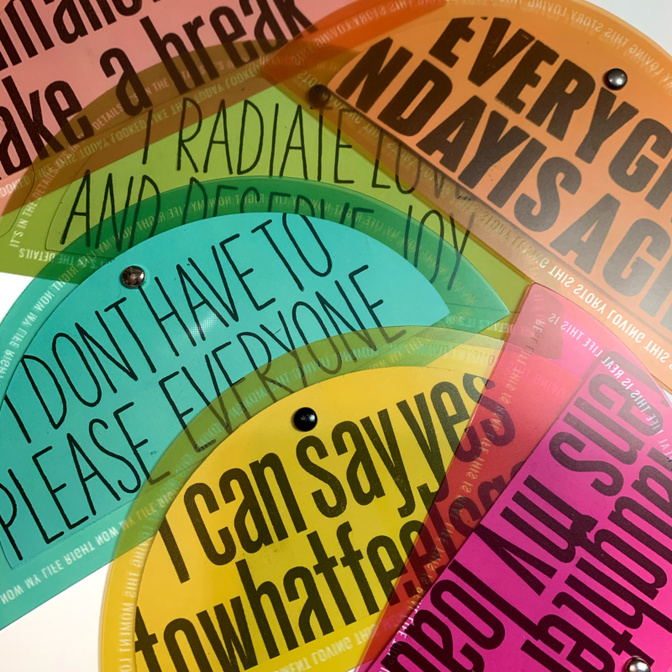
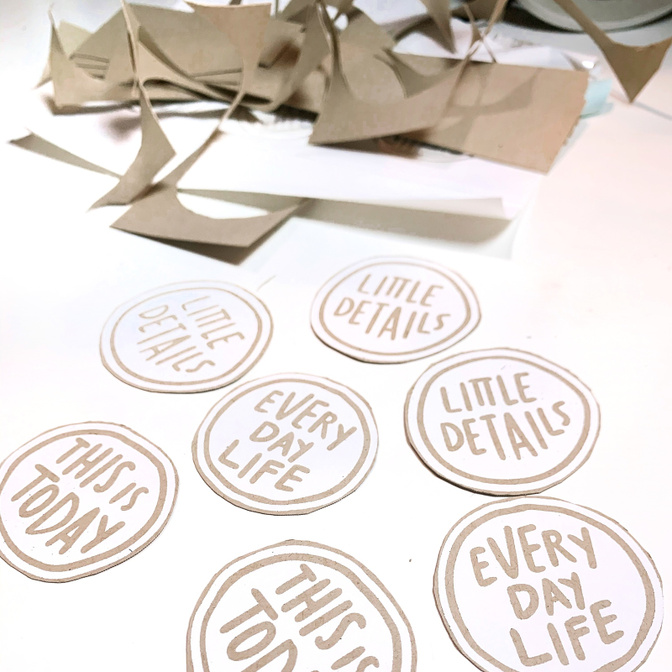
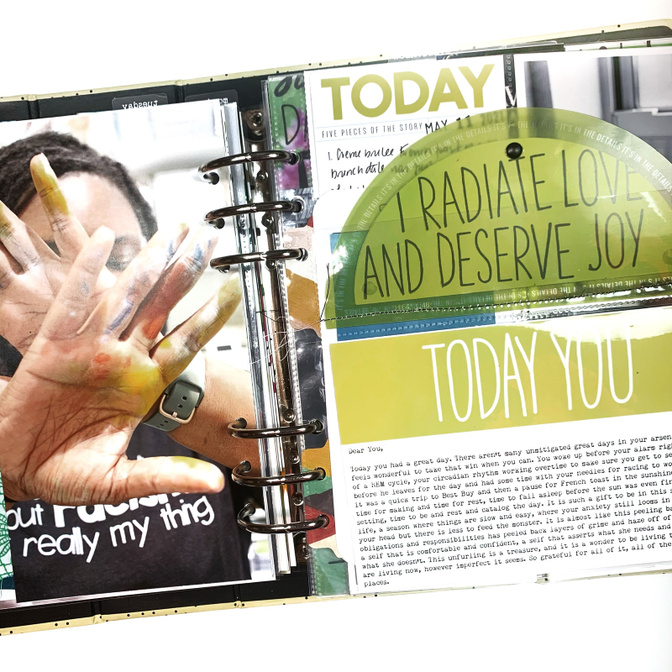
Finally, we made it to the fun stuff which is making it look good! Even that, I broke down into smaller steps. First, I worked on the plastic semi circles, opting to stamp a mantra on white cardstock I cut down using the free template Ali had on offer on her blog and then stamping the day of the week and attaching the semi circles to the plastic with a brad. This took me one day in front of a show on Hulu and went into the pocket, which I came back to a few days later and stitched down with my sewing machine. On a different day, I tackled how I wanted to fill in my 2x2 pockets so I spent one day creating seven alcohol ink panels and a different day die cutting them down to spell the different days. On a different occasion, I foiled some kraft circles and popped them into the 2x2 page protector. What I learned was that even if I had an idea for a page or embellishment, there was no need to make all seven of them on the same day – rather, I broke it down into actionable steps and chipped at it a bit each day until I had a final product that could go into the album.
By the time I got to this step, the album was 90% finished and all it needed was the icing on the cake. At this point, all of the words, photos and miscellaneous bits were in the album and that made it really easy to see where embellishments were necessary where it would add to the overall flow of the album or where it would detract from it. It only took me two hours for this last step as most of the choices were made already and all I needed to do was add a tiny phrase sticker here or a piece of chipboard.
At the end of my first successful Week In The Life album, I’ve learned that the recipe for success is to touch the album a million times but only for a small bit of the process each time. I made a list of all the things I wanted to get done and then worked on the whole album each time, crossing off one step at a time. This project is way too big to work on in one sitting and I am very happy with my two week turnover. Even if it had taken me longer, it would have been easily accessible by working off of my plan. I hope this gave you some tips and strategies to approach your own project and future memory keeping endeavors!
We're so excited to have Tazhiana sharing her album today! For a more detailed look at her album and process, check out the links below:
https://youtu.be/NccyCT7uHzs - WITL Flipthrough
https://youtu.be/mE1EEZvMAR8 - WITL Prep Video
https://preciselytazhi.com/2021-witl-flipthrough/ - Blog Post With Week’s Stories


Comments
Sign in or sign up to comment.
4 comments
Your album is gorgeous! What are the little tabs you've used to add pages to your album, and is the "phone" page a template?
Replies to Donna_Clements
Sign in or sign up to reply.
What a beautiful album. I love the two page photos. I'll have to try that next year. You had so many good ideas. Thanks for sharing.
Replies to Untiedt
Sign in or sign up to reply.
Loved watching your flick though and your album. Thanks for sharing. Am planning on following your idea for the quotes & the semi circles. Perfect.
Replies to delia
Sign in or sign up to reply.
I love, love the colors and words throughout your album!! Great inspiration :).
Replies to Eljay86
Sign in or sign up to reply.