Week In The Life™ 2022 | Ali's Album Progress Report
Tags:I'm knee deep in Week In The Life™ album creation over here and decided to share a progress report with you today.
I've got my intro page, reason why page, and all my Monday photos + journaling printed. I'll be adding more embellishments onto my photos but wanted to get this post up so you could see where I'm heading with my album in case you are looking for some ideas for working in your album.
Here's a look at where my album is at right now via photos:
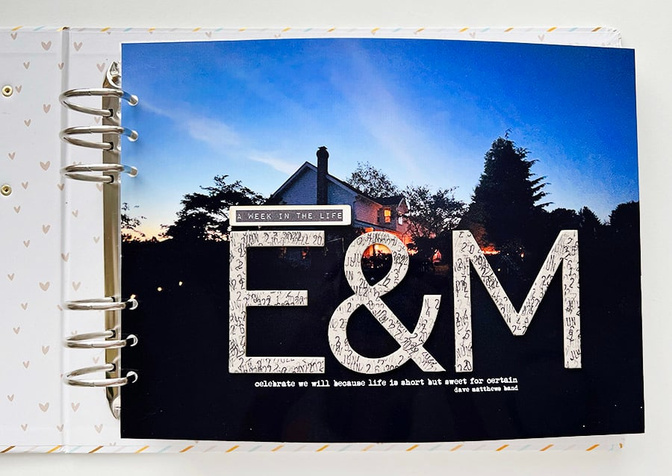
I'm starting my album with a full page photo (sized to the outside of the page protector). On top of the photo I added a Dave Matthews Band lyric in Photoshop before printing and also included raw chipboard letters with the dates for this project repeat stamped on top. I also added the "week in the life" wood veneer piece from the Main Kit.
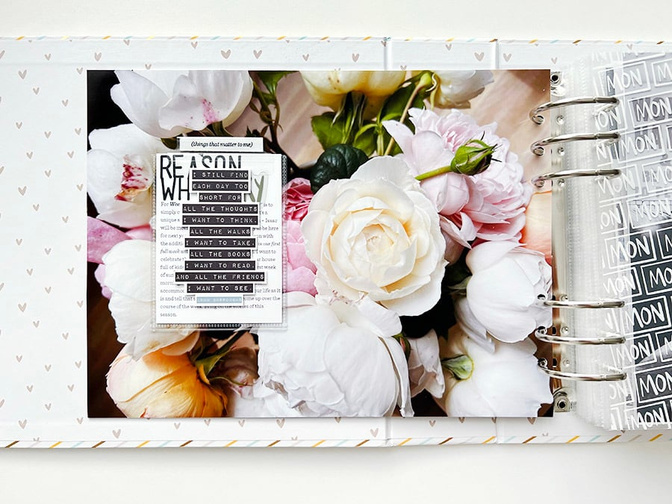
On the back of my intro page I added another full page photo of some of the roses from my yard. On top of the photo I added a cut-up 3x4 pocket (cut from a page protector), a "reason why" journal card with stamping using wood block stamps and the plastic word "story" from the Mini Kit. On the outside of the pocket I adhered the quote which was cut from a 3x4 journal card in the Main Kit.
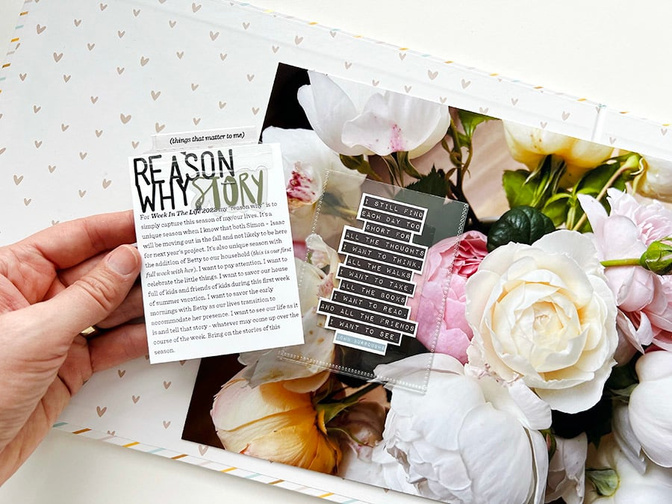
The plastic pocket was adhered to the photo using red line tape.
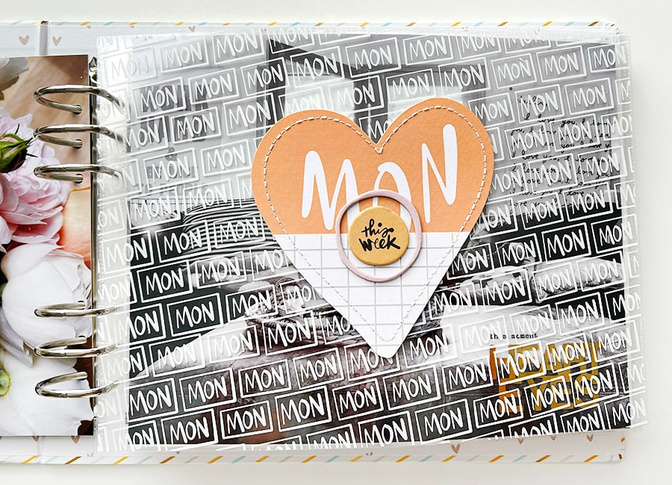
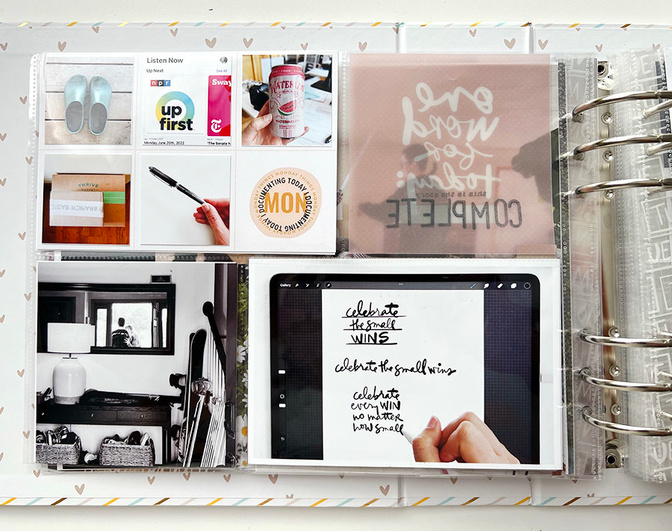
This is the formula you'll see at the start of each day. I added a stitched heart + a chipboard circle + chipboard outline circle (from the Main Kit) to the transparency.
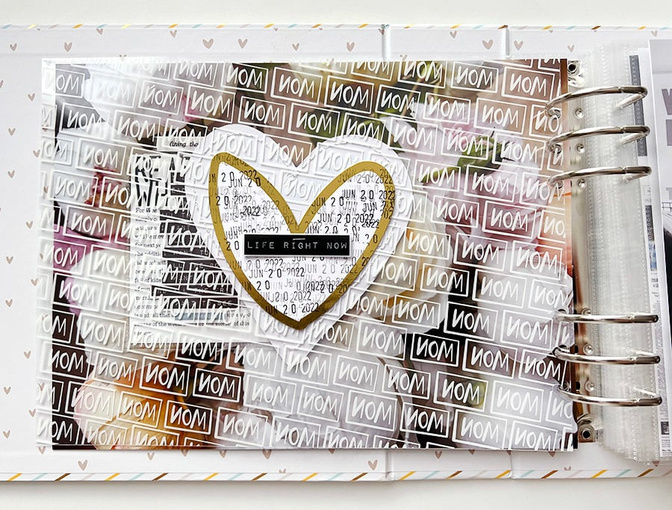
On the back side I'm added a repeat-date-stamped gold outline heart + a plastic phrase from the Main Kit.
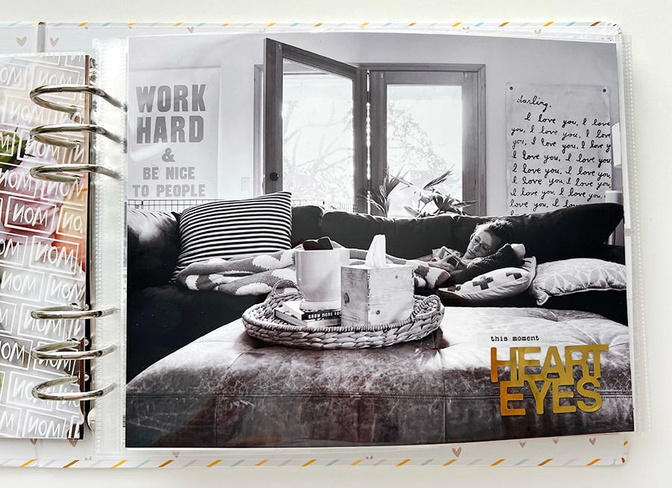
My content for Monday begins with a 10x8 photo. On top I added a gold die cut word from the recent Senses Story Kit and a word phrase sticker from the Unexpected Story Kit. I'm having fun diving into my stash for additional embellishments to add to my photos.
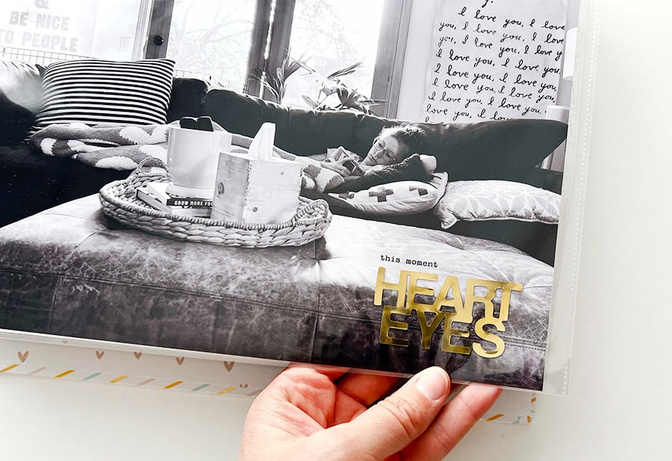
My plan is to simply add embellishments when it feels good.
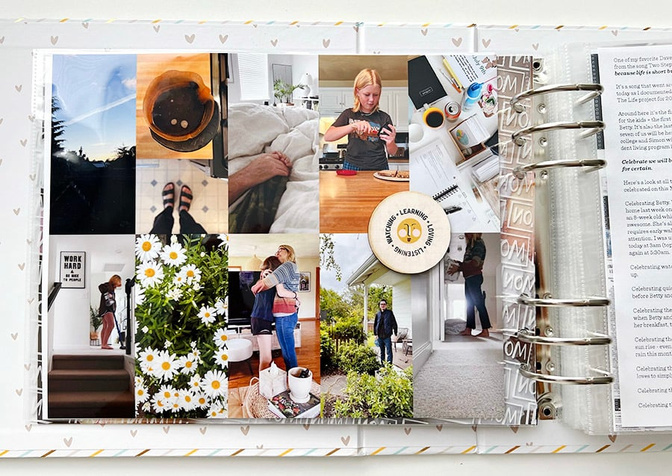
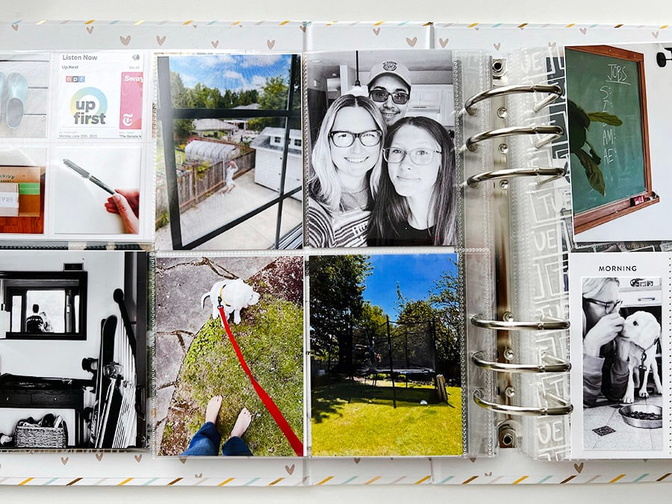
Behind the full page photo I added a photo collage of 2 inch x 4 inch photos (brought together in Photoshop). On top of the collage I added a wood veneer circle from the Main Kit and I added a circle stamp using StazOn ink on top.
In the coming days I'll adapt this page depending on the number of photos I have for the day. Monday's are almost always the day with the most photos.
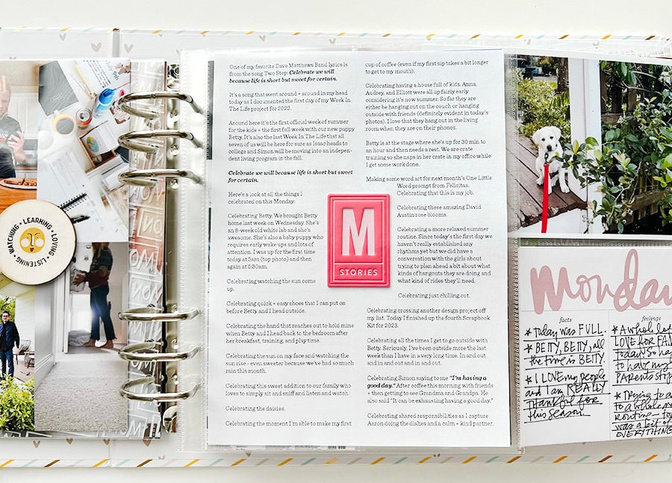
For my journaling this year (copied and pasted from my blog posts Turin gate documenting week) I'm adding them to 6 inch x 8 inch pages which means I'm adding a page protector to my album. I set up my text in Illustrator and wrapped the text around a box (measured the pleather embellishment first and left space for that). I had three pages of journaling for Monday. I'll likely add an Avery Index Tab along the outside edge.
On the back of the 6x8 journaling page is more journaling.
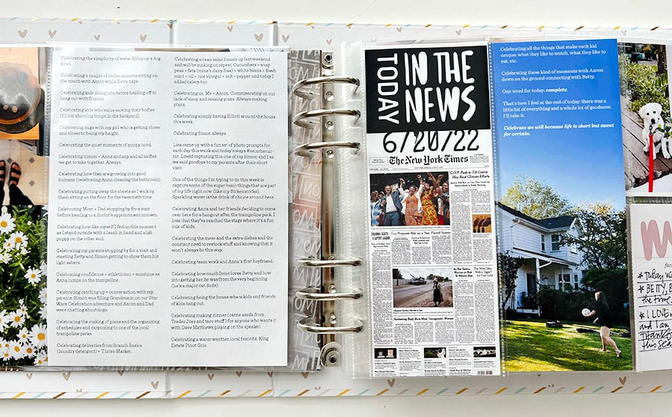
During the documenting week this year I used an app called Today's Front Pages to collect the front page of the New York Times each day. I added those images to a 3x8 template that's included in the Digital Variety Pack. Between the top part of the design and the paper image I used the wood block stamp set to add the date (I followed this same formula for each day).

On the back of the In The News page I'm adding a photo. On top of this photo I added a fabric circle embellishment from my stash.
My journaling continued onto a third page and instead of having it just be white I picked one of my photos from the day and added my text on top.
I love that I can added in page protectors when I need more. On the back of the photo I added another photo from my day and will add embellishments later in the process.
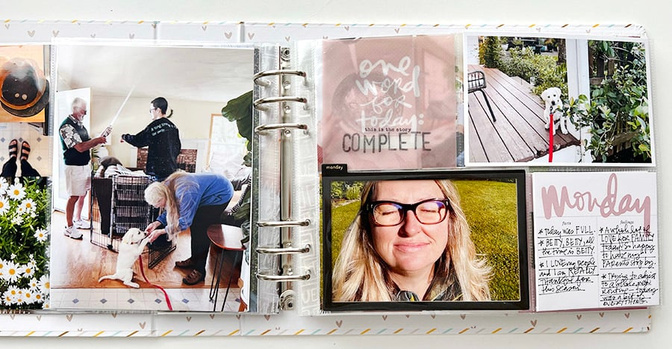
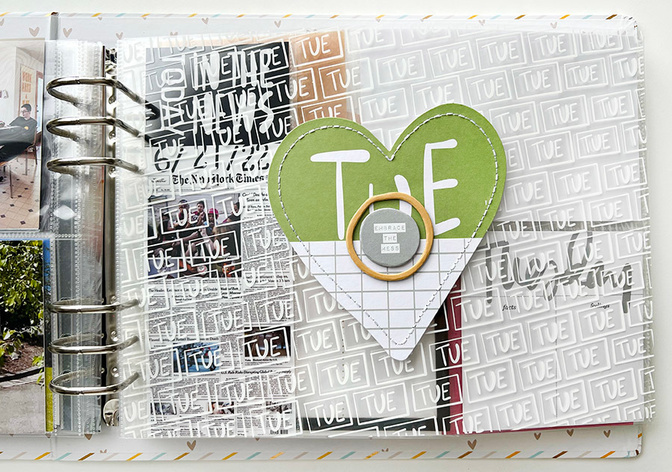
On the next page you can see where I've placed the vellum word for today card, the Monday frame from the Mini Kit, and I added some handwritten words to the facts + feelings card.
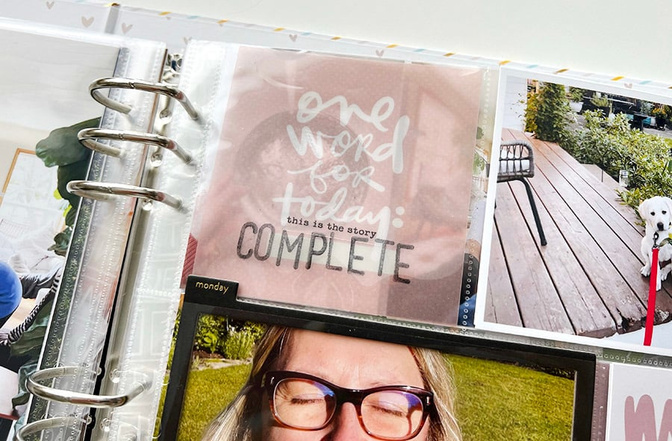
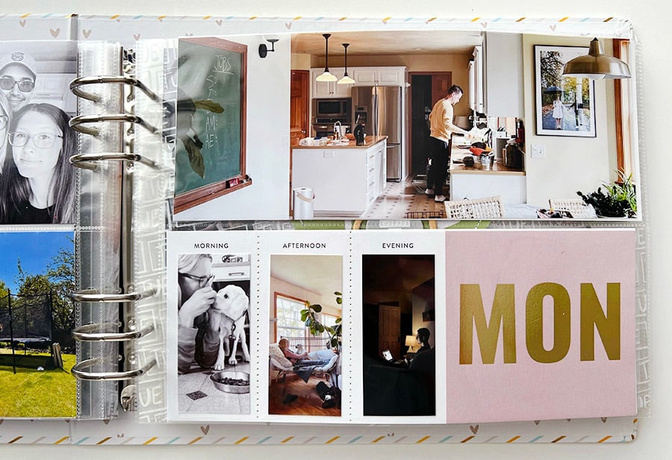
I used the wood block stamp set again for my daily word.
On the next page I added 1.75 square photos to the Monday card and used one of the circle stamps on top of the printed card. I love how this turned out with just adding some basics from my day.
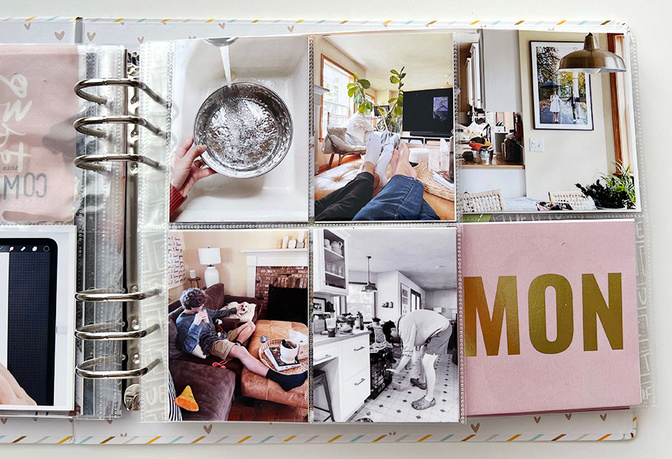
Because I had so many photos I wanted to include for Monday I decided to add in a 6x8 page protector with 4, 3x4 pockets. I'll add embellishments later.
I love how the 10 inch x 4 inch photos look in this album. Such a fun variation.
On the bottom card I decided to add photos instead of words but might adjust that in the coming days that have fewer photos.
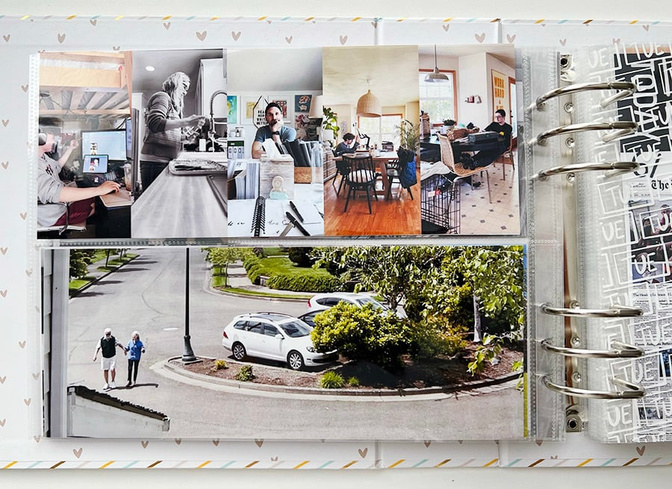
On the back of that page I did another photo collage comprised of 2 inch x 4 inch photos and another full page 10 inch x 4 inch photo of my parents.
My current plan is to now go in and add embellishments to complete Monday and then move on to Tuesday. I loved getting some of the main things completed that are repeated within the album (as you'll see in the video above) such as the stitched hearts, the stamped hearts, and the "in the news" pages.
I still love this project so much and looking back at my photos from Monday makes me so, so happy that I took the time to document.
I'll share another progress report as I keep working in my album coming soon.
SUPPLIES
Week In The Life Digital Template Variety Pack (includes “in the news”)
Senses Story Kit (gold words)
Word Phrase Stickers from stash


Comments
Sign in or sign up to comment.
5 comments
ahhh! this was perfect timing thank you! I was stumped on how to incorporate my reason why, and kicking myself for taking too many vertical photos and left with the long 4x10 spots... a photo collage! genius! 😁 now I'm ready to get back on it! thanks again for the inspiration!
Replies to totteacher
Sign in or sign up to reply.
It looks fabulous, Ali! I love this project so much! I have enjoyed using the journal this year and I only have Sunday left! But I am looking forward to next year’s project.
Replies to Mpasquini12
Sign in or sign up to reply.
Thank you for sharing so much detail! Super helpful!
Replies to Momany
Sign in or sign up to reply.
Love the large chipboard alpha and was wondering where you got them?
Replies to mitchmac
Hi! They were a recent add on for Story Kit/Story Stamp/Stories By The Month subscribers.
Sign in or sign up to reply.