Week In The Life™ 2017 | Getting The Words Into My Album
Tags: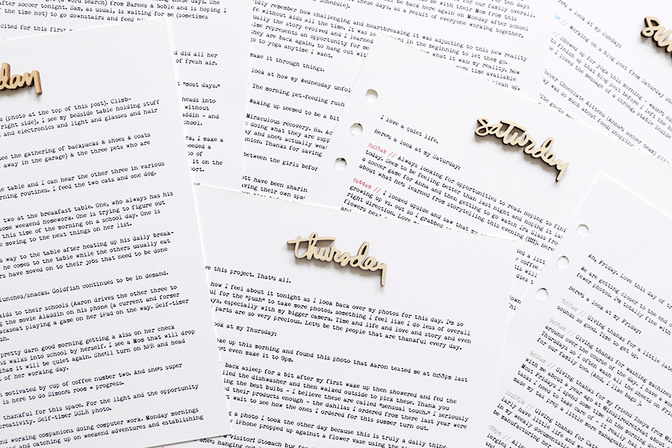
If step one in this process of creating a Week In The Life™ album is "just start" then the next step is most likely "do the work."
Yep, do the work.
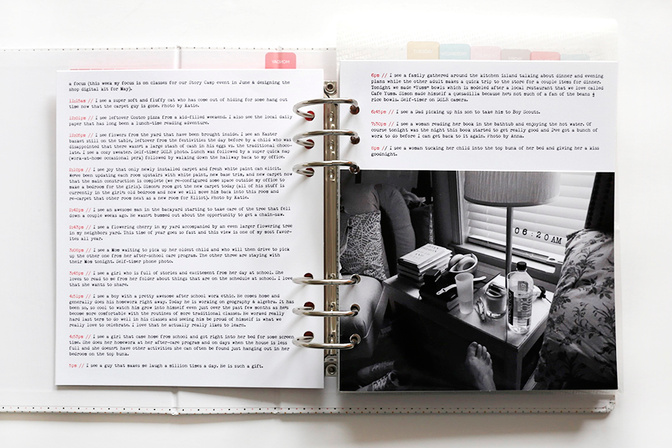
Today I did the work of getting all my journaling printed (prioritizing the words) for each of my days. This year I decided to just printmy journaling for each day all together on one or more "journaling pages" rather than adding words directly to photos. I might still add some handwritten words to my photos when I get to that phase.
My stories are copied directly from my blog posts last week. One of the reasons I take the time to blog during the documentation portion of Week In The Life™ is to make this next phase of the process that much easier. Copy + paste is my friend and it can be your friend too.
Here's a run-down of my process (also check out my video below that talks about all of this as well):
ONE // Create a canvas that is 7 inches x 8.25 inches - this is essentially the size of the outside of the page protectors from edge to edge. If you have extra full size 6x8 pocket page protectors you could totally do your journaling pages at that size - I just decided to go with the full size measurement of the outside of the page protectors. I created my canvas in Illustrator but you can also do it in Photoshop.
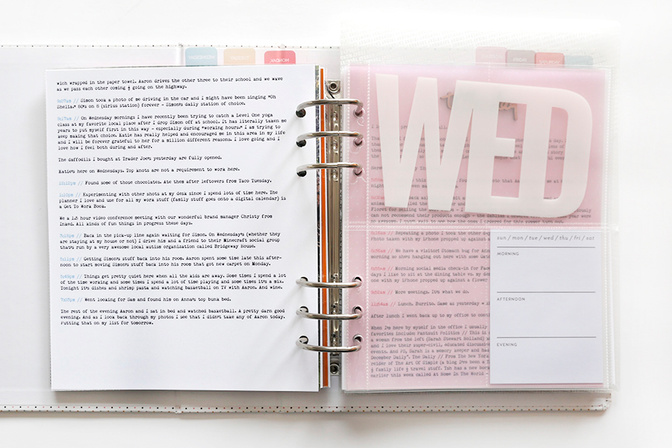
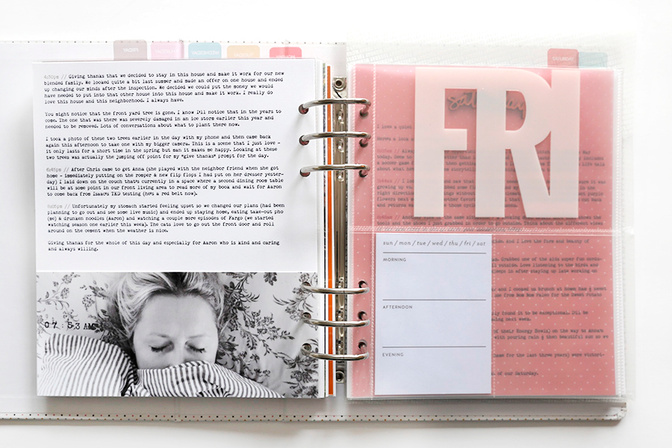
TWO // Set a guide at .75 inches from the left edge and create your text box. Remember that if you are going to be adhering journaling pages back to back that you will need to adjust your guides to the other side of your page (the right side) so as not to have your text box be where the holes are for the rings.
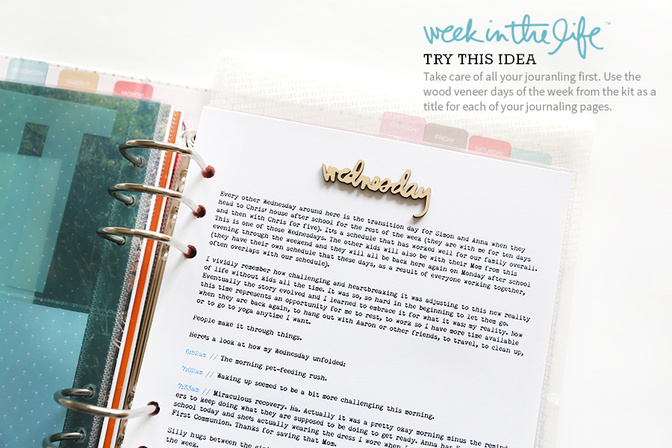
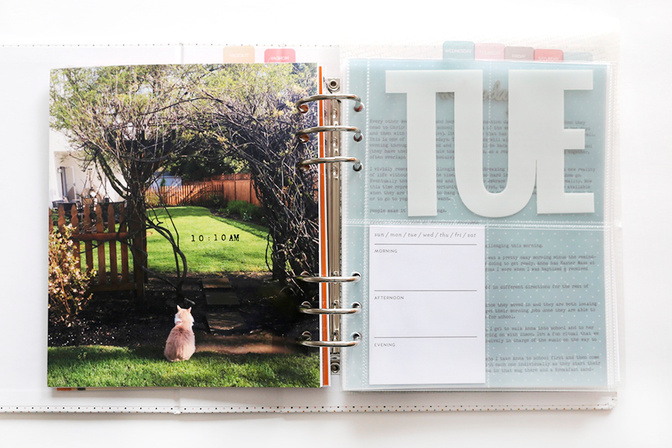
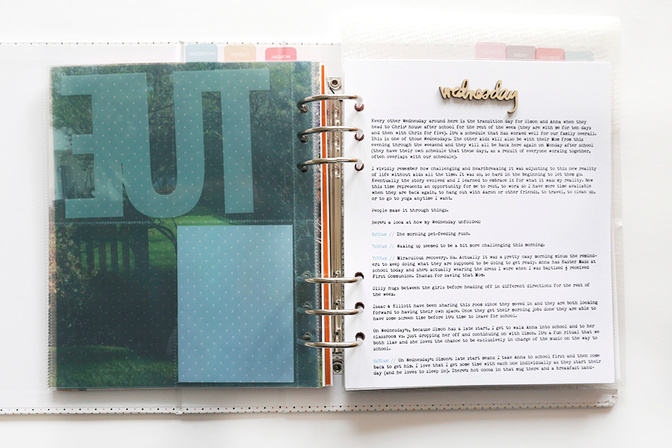
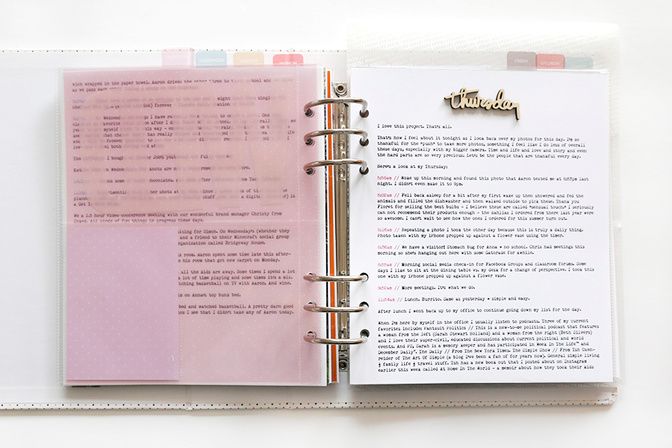
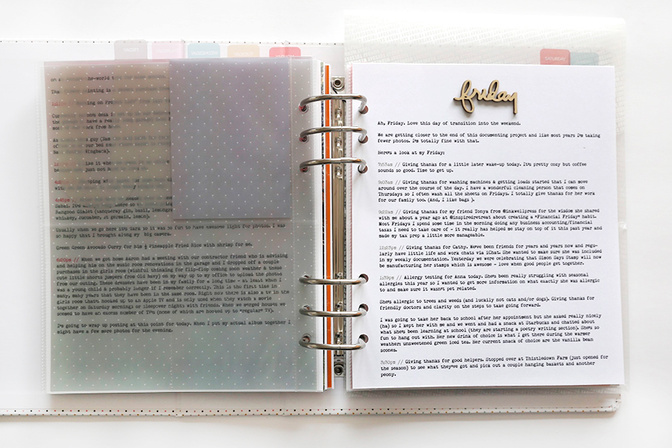
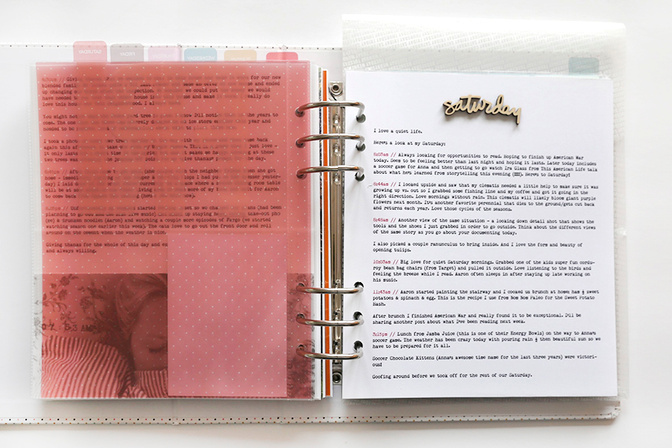
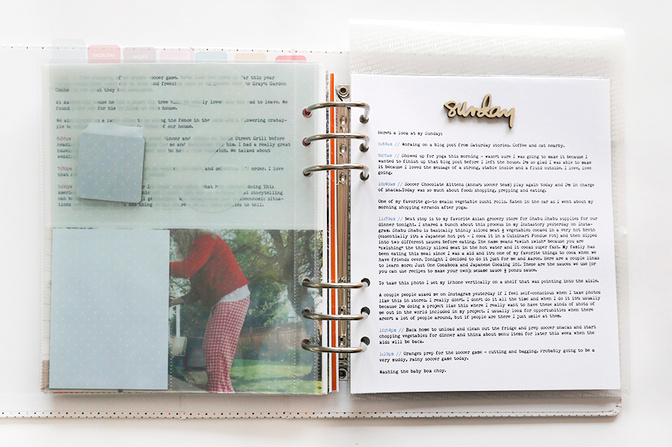
THREE // Copy and paste the text from my blog posts and add them to my canvases. The font I'm using is Remington Noiseless 9pt type. To accentuate the times on my journaling pages I changed the color the colors each day to be similar to the transparent dividers.
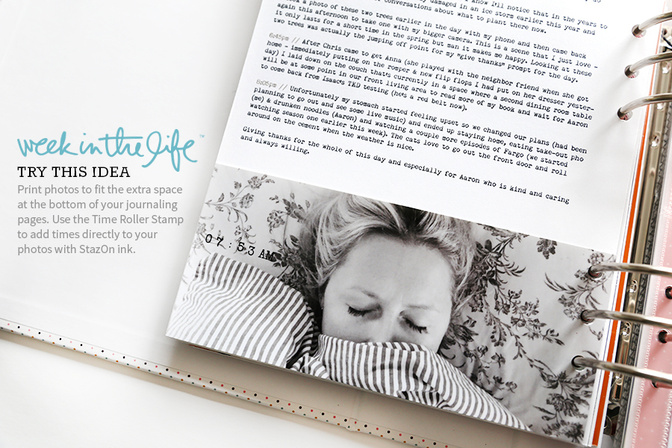
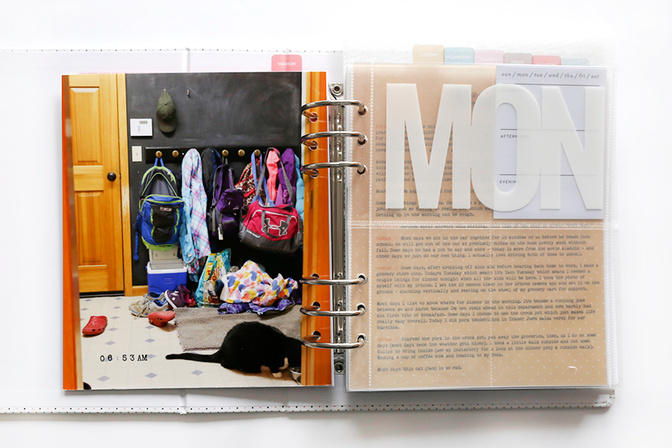
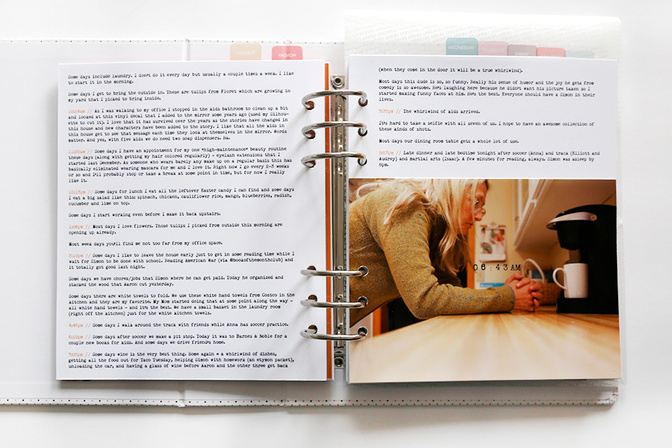
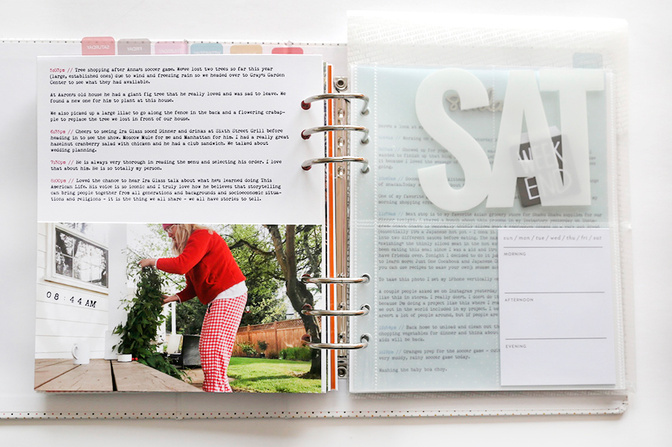
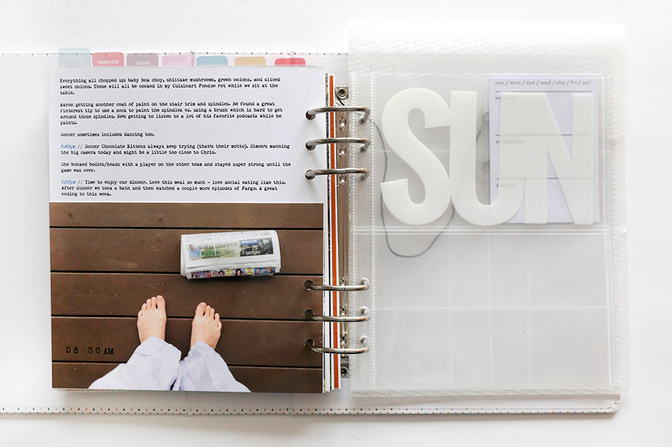
FOUR // After printing out my journaling pages I measured and then cropped and printed photos to fit in the space that was left at the bottom. I also used my Time Roller Stamp and StazOn to add the time directly onto my photos. I'm planning to do this on all my photos in the album this year - using my journaling pages as a guide for the times.

One thing that made it easier for me at this stage was measuring each of the spaces where I wanted photos on the journaling pages and making a list for myself. I was then able to just take that list over to my computer to select, crop and print all my photos.
Remember, there isn't a "perfect" photo for any of these pages or pockets. There are just photos that help move your overall story along.
Here's a 21-minute video that takes a closer look at my process and the outcome:
And here's a look at each day's journaling pages:
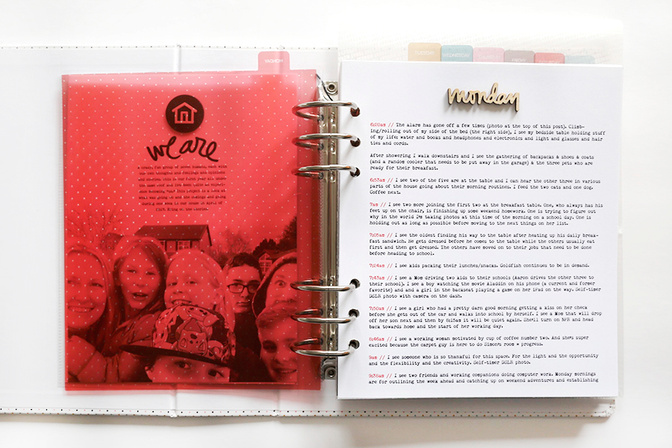
MONDAY
TUESDAY
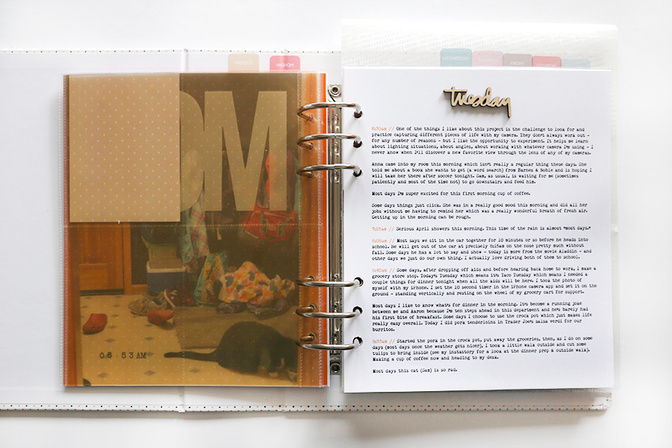
WEDNESDAY
THURSDAY

FRIDAY
SATURDAY
SUNDAY
SUPPLIES
Neenah Bright White Cardstock (great for printing journaling + digital products)
We R Memory Keepers Power Punch // A little bit bigger hole than the Crop A Dile which is great for matching the hole size in page protectors.
AED Time Roller Stamp // I'll be using this to add the times to my photos.
Canon MG7720 Printer // Using this for both journaling and photos.
Epson Ultra Premium Photo Paper Glossy // Using this for photos.


Comments
Sign in or sign up to comment.
26 comments
Hey Ali thank you for taking the time to blog all the steps you go through to complete your album. My plan is to follow along with you to keep me motivated and to break it down into manageable tasks to just get it done! Feels so good to make a start!! Thanks so much! :-)
Replies to Carynleerhodes
Sign in or sign up to reply.
What a wonderful idea Ali. Thanks. I didn't journal during the witl week. Life just happened, and I wasn't feeling like journaling. To me that is okay. My week was so typical as can be. This morning I began to tackle all my journaling. Just looking at the photos, it just came right back to me, I remembered how cold I was during my sons football game. How my daughter wasn't into getting her picture taken at all, how all we all complained about the cold.. Funny how things work like that. I'm okay with it being a more reflective approach this year. I will not care about it, in 6, 12 or 36 months from now. I'm going to do the rest of my journaling this evening. I'm following along i bite size pieces.
Replies to maiken
Sounds like an awesome approach!
Sign in or sign up to reply.
❤️❤️
Replies to Mpasquini12
Sign in or sign up to reply.
This is amazing as always! Now I can get started on mine too! Thanks for your inspiration.
Replies to Bellaa75
Sign in or sign up to reply.
One word... Fabulous!!!! Love the journaling concept!! Thanks (again) Ali, you are such an inspiration!
Replies to spedsue
Sign in or sign up to reply.
Hello Ali!
What do you use to adhere the wood days of the week to your journal pages?
Thank you!
Replies to gailgk
I just used rolling adhesive.
Thank you!
Sign in or sign up to reply.
Love the detailed journaling. The white space between "events" makes it easy on the eye and simple to read. I decided to use the digi template with morning/afternoon/evening as the starting point for journaling but found that wasn't enough space some days. You have inspired me to continue onto the back page, add more white space and fill in with an appropriate photo or embellishment if needed. Thank you! Hoping I can spend time on this after work tonight and possibly finish up this weekend.
Replies to paminsc
Sign in or sign up to reply.
Thank you for the explanation video! My plan has been to do a journal insert card like this and not do any journaling on photos (save for some handwriting on some, and possibly the 6 x 8s). I haven't finished your Hybrid class yet, so I'm not sure how to do it! hah!
I think you are definitely right to keep moving forward on it. I really like the moments I have spent working on it, even though I am trying to use techniques that fit within my skill set right now. I'm also in your Type class, and love that the class this week was about longer journaling and longer stories. I feel that fits right in with where I am at with WITL. (I don't know if you planned it that way or if it was serendipity, but it is working for me!)
Replies to SewKaren
Love when things work out like that!
Sign in or sign up to reply.
Hi Ali! You are always an inspiration. Although I have been watching you for a couple of years, it has finally sunk in - you are writing a "book". A "book" of your life. I have always been so overwhelmed by the project, and yet underwhelmed by my life's content that I easily get frustrated and stop feeling my life stories are important. Thank you for your constant inspiration, realism, candor, and motivation. You are a great blessing.
Replies to Hockeymom210
Sign in or sign up to reply.
Interesting approach - love that the colours of the times match the dividers!
Replies to barefootscrapbooker
Sign in or sign up to reply.
I really love this! You are always inspiring.
Replies to prueger6
Sign in or sign up to reply.
I love that you are showing your process step by step. Funny, I happened to finish all my journal printing yesterday. My plan is similar, except I'm using 3x8 protectors (love those things). Front side has the story of the day, plus the little plastic numbers + wood word at the top to embellish. Backside is the 3x8 schedule card. I'll post a pic tonight on SC if anyone's interested.
Tonight - finish editing pix and maybe print a few!
Thanks for this project, Ali!
Replies to KarineC
Sign in or sign up to reply.
Thank you so much for this. Detente for post-production, when my words and photos are always fighting for space! Glad to give each their due.
Replies to ktber
Sign in or sign up to reply.
Thank you for that video. It is always interesting to see how you are approaching the album. A question for you. You have a lot of journaling there and not nearly enough pockets to print a photo for each part of your journaling, I think. So you are not planning on including a photo for each but of journaling. You are just choosing favorites or stories you want to tell. Is that your plan?
I have so much journaling and I do have photos for each bit of journaling but if I included them all my book would be huge!
Replies to Lynnek
Sign in or sign up to reply.
Wow, you are so awesome! You have inspired me to get going, I finished my 2 title pages and printed them and am working on my journaling pages. Thanks for the inspiration, it's totally working for me this year!!!
What model is your paper cutter? I think mine is the same brand, but the pullout section to measure larger items is orange and the numbers are orange! I can't see the numbers at all, I love the one you have!! Can you link us to it??
Replies to fortlady
Sign in or sign up to reply.
I didn't blog every day during the process-I did share a lot on instagram. I did blog tonight over my review of the project and how I'm working on it now. You inspire me all the time. With every project. You keep me motivated and have encouraged me to start blogging again. You can read my post here: http://stiglets.blogspot.com/ Thank you Ali!
Replies to argirl
Sign in or sign up to reply.
So grateful for this.
Replies to Ratthouse
Sign in or sign up to reply.
Man. Love this. x
Replies to tinawo
Sign in or sign up to reply.
This works so well, with the repetition and the colour code for each day! I journaled a bit but since it's already on my blog posts I don't know if I want to print it out as well. I may just take some bits and pieces and see at the end if I want to have a journal part or not. I love the words but I think I prefer the graphic style and the focus on the details :)
Replies to luciebythesea
Sign in or sign up to reply.
Love it Ali... as always! I'm just starting to work on mine and love how you added the wood veneer days of the week. I was wondering what margin you left at the top?
Replies to paperjunkie
I think it's about 2 inches.
Sign in or sign up to reply.