Day In The Life™ | Special Guest Pam Baldwin
Tags:Hey friends, this is Pam! I am delighted to be here today, sharing my first completed “Day in the Life” documentation day of 2022! Putting this project together is definitely a “process”; first living the day, then compiling and organizing the content, and finally bringing it all together. Here’s how I approached my first “Day in the Life” day for 2022.
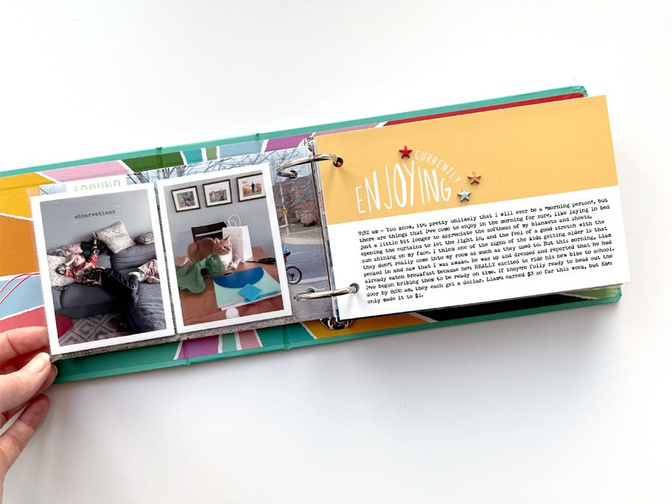
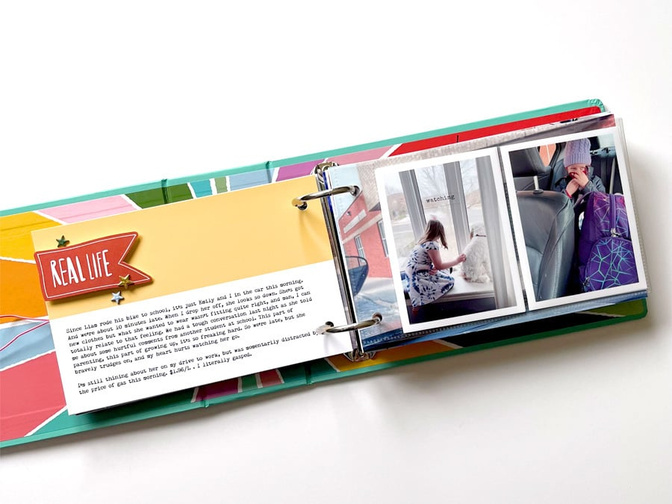
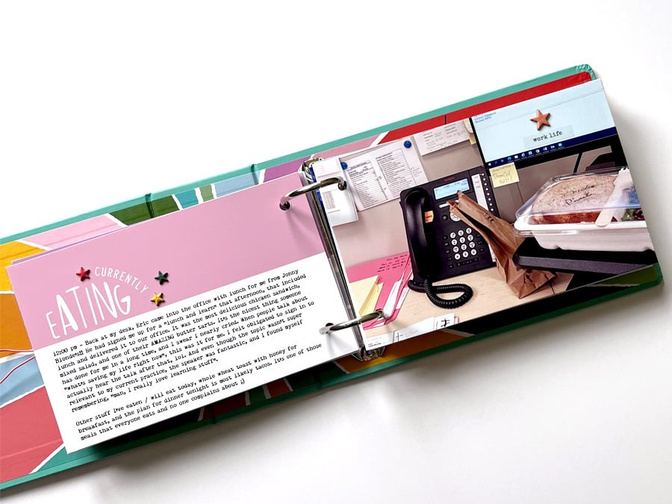
March 10th was a pretty ordinary day around here, and I did what I could to capture it by taking photos throughout the day with my phone. A few days later, I did the journaling in a Word document, using the time stamps from my photos and the images to jog my memory. As I wrote chronologically, I found myself identifying the “-ing” words that worked to categorize large sections of journaling. (It felt like a puzzle to solve, and honestly, that was really satisfying!). The “-ing” guided storytelling was a fantastic way to prompt stories that hadn’t necessarily been captured in my photos and made for a more “complete” story. I should also mention, I didn’t stress at all about having the journaling fit exclusively within an “-ing” category. It was a guide, but I was flexible to include the stories I wanted to tell, even if they didn’t fit in a specific category or seemed like the exact opposite (“enjoying” definitely held some “not enjoying” moments).
I’ve done this project in a variety of different formats over the years, but this is the first time I’ve completed my documentation in a 4x6 album. My preferred method of scrapbooking is with a hybrid approach, so I used the 4x6 album, the 2022 Day in the Life Main Kit, the 2022 Day in the Life Digital kit, the digital Day in the Life 2022 Half Circle Phrases Stamp Set, and the Digital Day in the Life 2022 Chipboard Dividers and album art. I’ve got lots leftover to use for the next documenting day, and the products are definitely a great fit for everyday storytelling that I can sprinkle into other projects throughout the year! I used a plain old notebook and pen to plan my pages, then headed over to my computer to piece them together in Photoshop Elements.
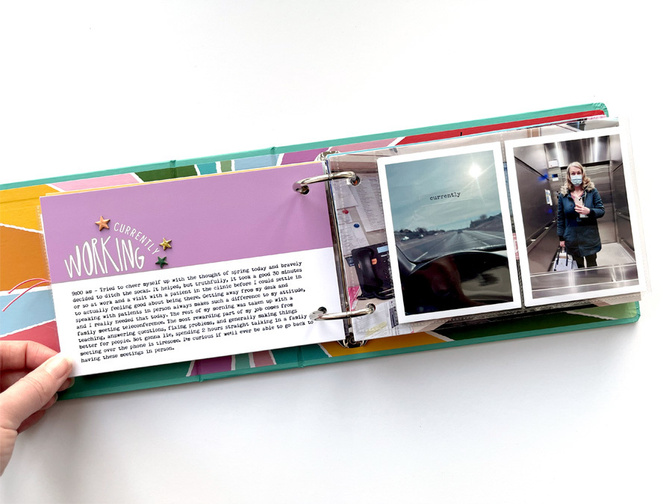
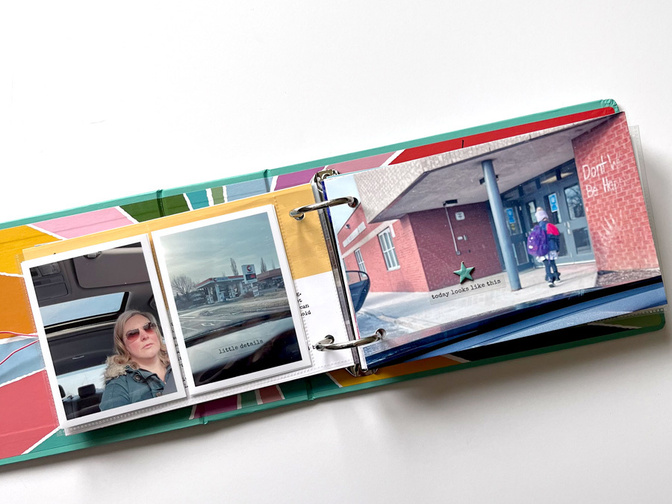
Most of the photos I take with my phone are vertically or “portrait” oriented. I knew I wanted to include several full page photos, so I went through what I had and picked out ones that would work well cropped to a horizontal or landscape orientation. The full page photos in my album are sized to 7” x 4.5”.
I used the digital kit and stamp set to create a set of journaling cards that are also sized to fit outside the page protectors at 7” x 4.5”. I copied and pasted the journaling from my word document right onto the journaling cards and printed them out.
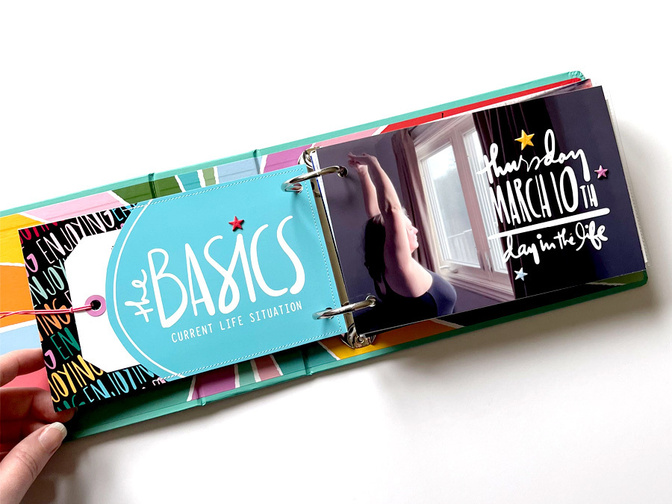
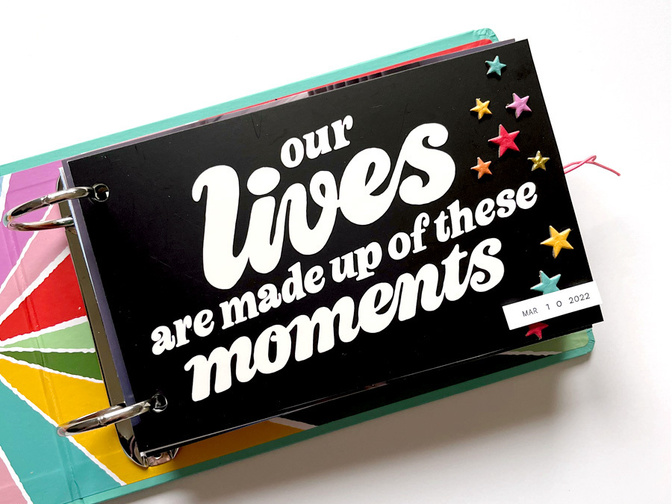
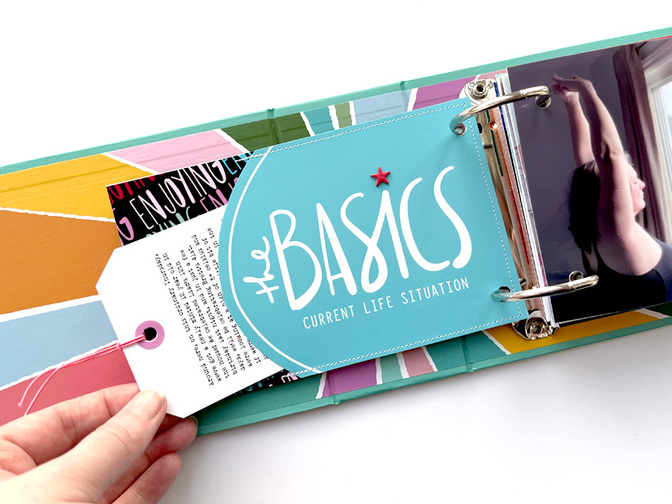
I knew I wanted to start off my album with the coated cardstock divider that came with the album. I already had my photo set-up pretty much figured out, so I needed to come up with something else for the back. I decided to create a custom pocket with the digital “enjoying” design from the chipboard dividers collection (the background has been recoloured from white to black), and an enlarged digital die cut. I printed the elements, trimmed them down to size, stitched on the pocket, then adhered it to the back of the cardstock divider. This pocket holds journaling on a tag that’s a little contextual round up of life right now for our family.
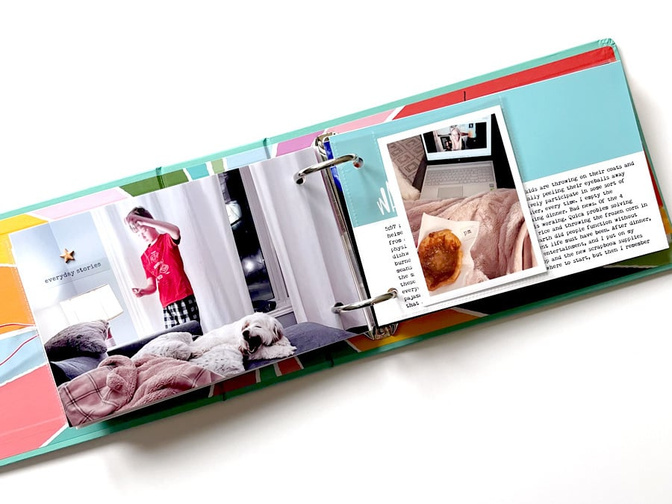
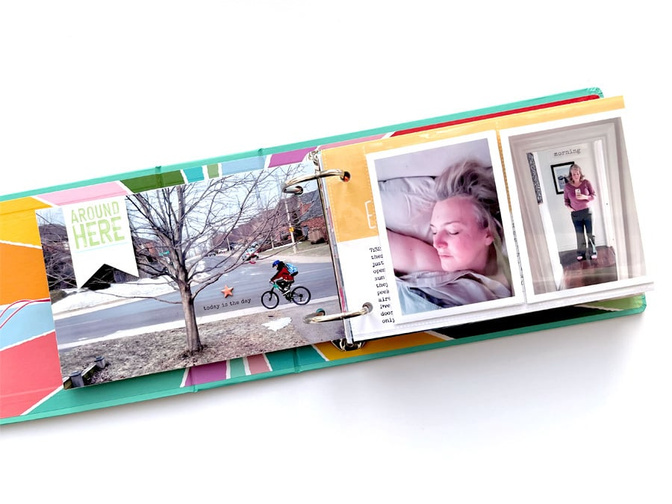
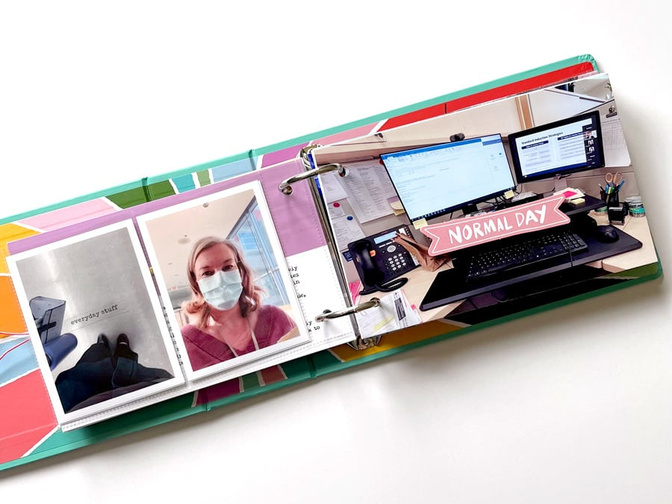
After that, I followed a pretty simple formula to put my pages together. Each spread has a full page photo, a journaling card, and a page protector that holds 4 – 3x4 photos sandwiched in between.
There are at least 2 spreads in my album where I didn’t have enough 3x4 photos to add a page protector, so I left it out, OR I cut the page protector down to hold just 2 photos. I don’t think it negatively impacts the flow of the album at all!
My top 3 favourite elements from the main kit were the chipboard stars (I used every single one!), the clear label stickers (love this extra detail on top of the photos!), and the die cuts pieces (also a fantastic addition right on top of photos or journaling card headers with some dimensional foam).
The photos here are just a sampling of my completed project. If you’d like to see more, you can see a video flip-through of the completed project on my Instagram account! Thanks so much for stopping by today!


Comments
Sign in or sign up to comment.
2 comments
What paper did you print your embellishments on? Love your album.
Replies to nicolett22
Thanks so much! I print all my embellishments and journal cards on matte photo paper. (Staples brand- It's a nice, heavy weight, bright white and printable on both sides!)
Sign in or sign up to reply.