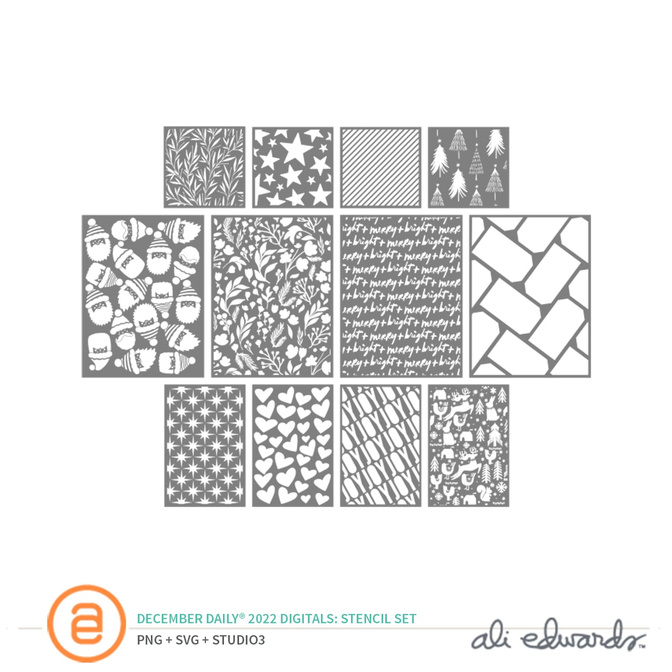
December Daily® DIY Stencils Tutorial
Tags:Hello everyone. It's Kelly Ishmael here, and I am excited to share a couple of options for creating DIY versions of the December Daily® stencils using the digital versions of the stencils which are now available in the shop.
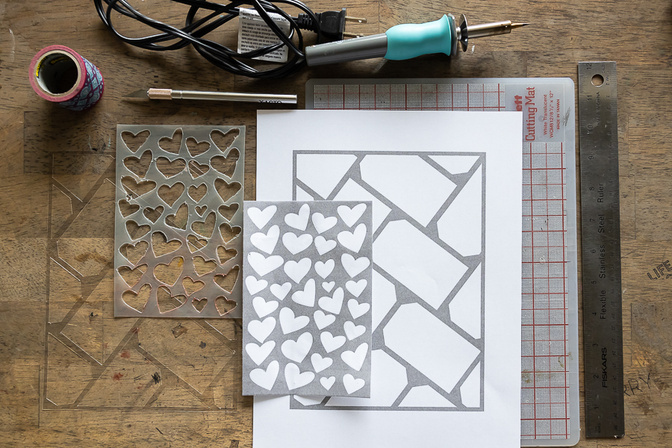
When it comes to creating your own stencils, you basically have two options - the first option is to use an electronic cutting machine and the other method is to cut out the stencil designs manually using either an Exacto knife or stencil cutting tool. For more information and step-by-step instructions, please check out the process video at the bottom of this blog post.

Whether you are using a cutting machine or a manual method, you will need some type of stencil material to create your stencils with. For this demonstration I will be using two different types of stencil material:
There are other options available but these were the two that came up the most in my research and I found them both to be really good options.
Electronic Cutting Method
The first option for creating your own stencils is to use an electronic cutting machine such as a Silhouette or Cricut. This is by far the fastest and easiest way to go, and it creates the cleanest cuts with excellent detail.
Note: For Cricut users, I realize that the settings I reference might be a little a different, but I believe the overall process is basically the same.
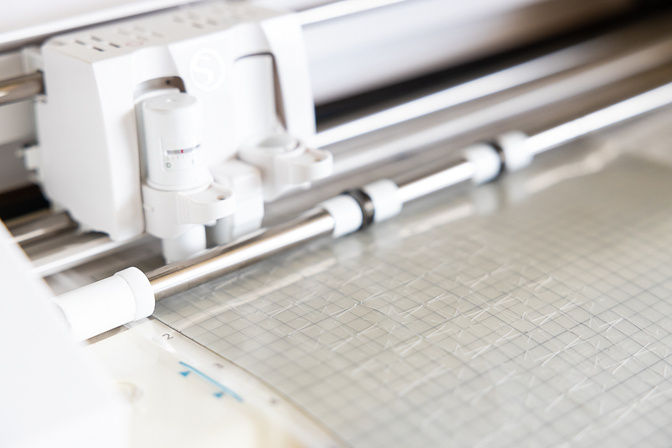
To get started, it's important to have a very clean and sticky cutting mat. Because of the smaller, more intricate designs in many of the stencils, it's important that the cut areas stay stuck to the mat during the cutting process so that they don't lift up and get caught in the cutting blade. If (like me) you are using a mat that is a bit older or not as sticky, you can restore it by washing it in the sink with warm water and a small amount of dish soap, then rinsing it well and letting it air dry.
Next, I placed my material on my mat and smoothed it out to make sure I had good adhesion and that there were no pockets or air bubbles. After loading my mat into my Silhouette I opened up my Silhouette Studio software. We have provided .studio3 versions of the digital stencils so that you are able to simply drag and drop the file directly onto your page design window. For Cricut users, we have provided .SVG versions of the files as well.
Here are the cut settings I used for both types of stencil materials:
Silhouette Stencil Material Settings
Blade - 3
Speed - 2
Force - 33
Passes - 1
Zicoto Acetate Stencil Material Settings
Blace - 2
Speed - 1
Force - 33
Passes - 1
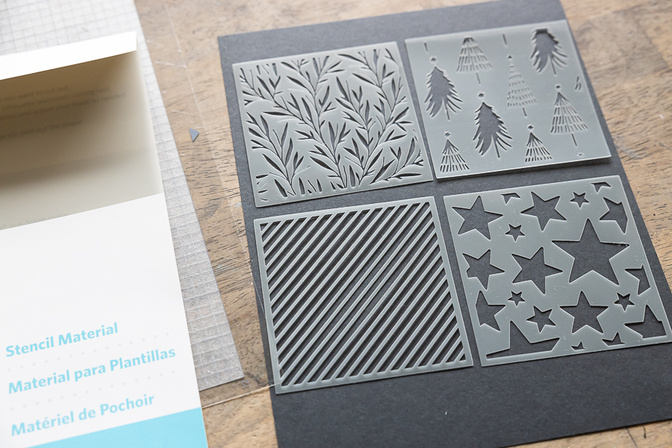
Both of these stencil materials resulted in precise, clean cuts that will work really well in your projects, however since the Silhouette stencil material is a little bit thicker, I think it might hold up to repeated use a little better.
Manual Cutting Methods
The second option for creating your own stencils is to use a manual cutting method using either an Exacto knife or stencil cutting tool. In the spirit of full disclosure, both of these methods are extremely tedious and time-consuming, but we wanted to provide an option for those of you who might not have an electronic cutting machine. Also, these options definitely lend themselves to the less intricate stencil designs.
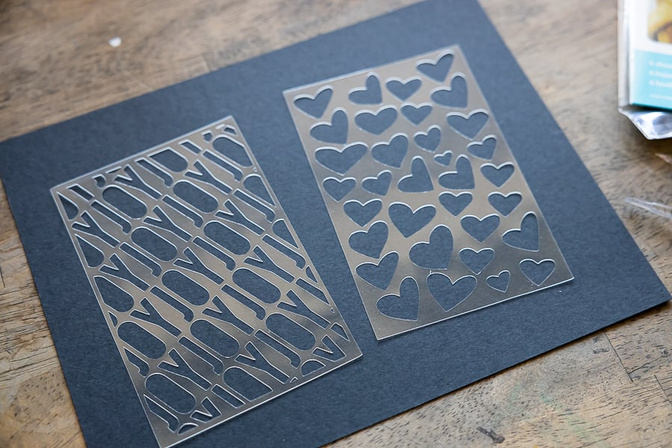
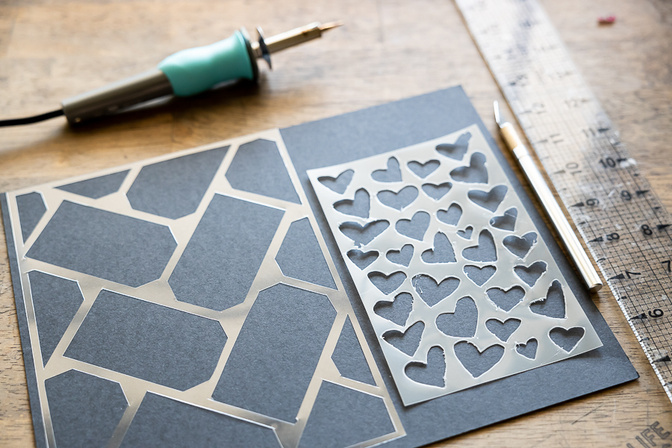
For the Exacto knife technique, I printed out the gray and white version of the tag stencil onto plain copy paper. I then placed the mylar stencil material on top of the design and secured it to the paper with strips of washi tape. Using a cutting mat, I traced around the tag shapes (with extreme caution) using a clear ruler to create straight cut lines. A new, sharp blade was extremely helpful here and I was pleasantly surprised at how well the final stencil came out.
The next option for manual cutting is to use a stencil cutting tool. When I was researching ways of cutting stencils without a machine, I found that there are two basic types of tools - those that use rotating steel blades for smooth, precise cuts and those that use heat to melt through the plastic or mylar material. Here are the two options I found on Amazon:
As I read more about the heated tip of the Plaid Stencil Tool, I remembered that my Fuse tool came with a small, pointed tip so I decided to give that a try. Once again, for this manual method I chose a less-intricate design and printed out the heart stencil on copy paper. I placed a piece of the Silhouette stencil material over the top and secured it with washi tap. Next I set my paper on top of a piece of glass (from an old picture frame) and traced around the designs with my Fuse too. From my previous experience, I found that the Fuse tool worked best when I let it heat up for at least 10 minutes before using it.
Obviously, as with anything made by hand, both of these methods are going to offer less than perfect results. It's also possible that using one of the "official" stencil tools mentioned above might have resulted in cleaner, more precise cuts. But even so, I believe that, like any kind of mixed-media art technique, stenciling is already an imprecise, imperfect way of adding dimension and texture to our projects, so I'm not sure that really matters in the end.
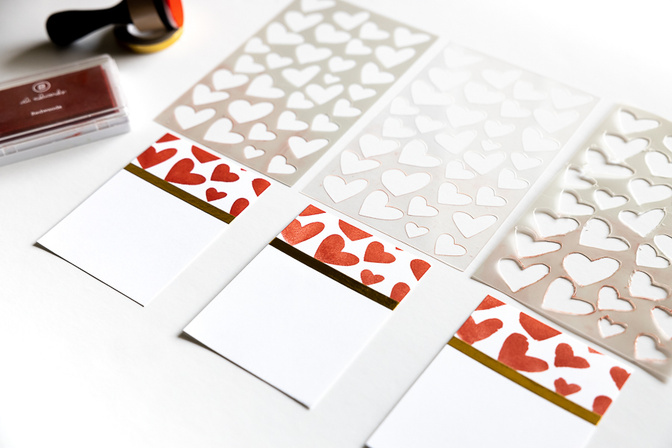
To test my theory, I created these simple journal cards using all three version of the heart stencil.
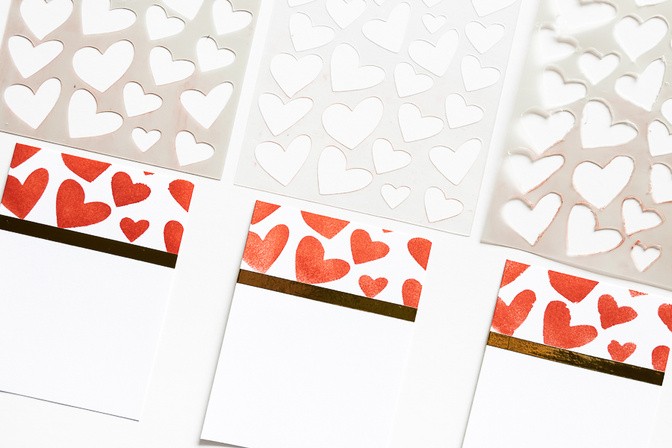
The manually cut version definitely isn't as sharp as those I cut with my Silhouette, but I think the overall vibe is the same.
For step-by-step instructions and more detailed information, you can check out my process video where I am demonstrating both electronic and manual stencil cutting options.
For those of you who are uncomfortable with using digitals or creating DIY versions, we wanted to provide you with an alternative so that you can join in with all the crafty, messy, fun play that so many of us love about this project. We have done some research and found that our friends at Scrapbook.com have a wide variety of stencils in their shop, and we have curated a list that we think echoes the look and feel of the stencils we released in our collection.
For ideas and inspiration for using your stencils in your projects, be sure to check out our December Daily® 2022 Product Play class. We will have three contributors showing three different levels of use for creating projects that help support your December storytelling.
Finally, if you are interested in learning more about using digital products in your projects, we invite you to check out our hybrid scrapbooking classes. And to celebrate the December Daily® 2022 digital release we are offering them for only $10 each!
(Offer ends Sunday, October 16th at 11:59pm ET).
We hope sharing these resources gives you some alternatives and helps you tell your December stories. As always, thank you for being a member of this special community. We are so grateful for you.


Comments
Sign in or sign up to comment.
8 comments
What an awesome post. So clear and so many options. Thank you. I’m sure it took quite a bit of extra time.
Replies to jkbroyles
Thank you! I'm so happy to know you found it helpful.
Sign in or sign up to reply.
Has anyone tried with a cricket?
Replies to Pamsmiles
I found this resource from the Cricut website > https://help.cricut.com/hc/en-us/articles/360009504773-Which-materials-can-I-cut-with-my-Cricut-Explore-and-Cricut-Maker-machine-
Hope this helps!
Sign in or sign up to reply.
This is wonderful, you're definitely going that extra mile! I almost like the look of the manual cut stencil most - as you say, with a stencil I want a little more of an imperfect look!
Thanks a lot!
Love, Birgit
Replies to Birgitreizer
Thank you!
Sign in or sign up to reply.
Can you alter the size of the digital stencil to a larger size in the program?
Replies to TinaS71
Hi there. You can!
Sign in or sign up to reply.