Tip For Catching Up On Project Life® + Thoughts On The Process
Tags: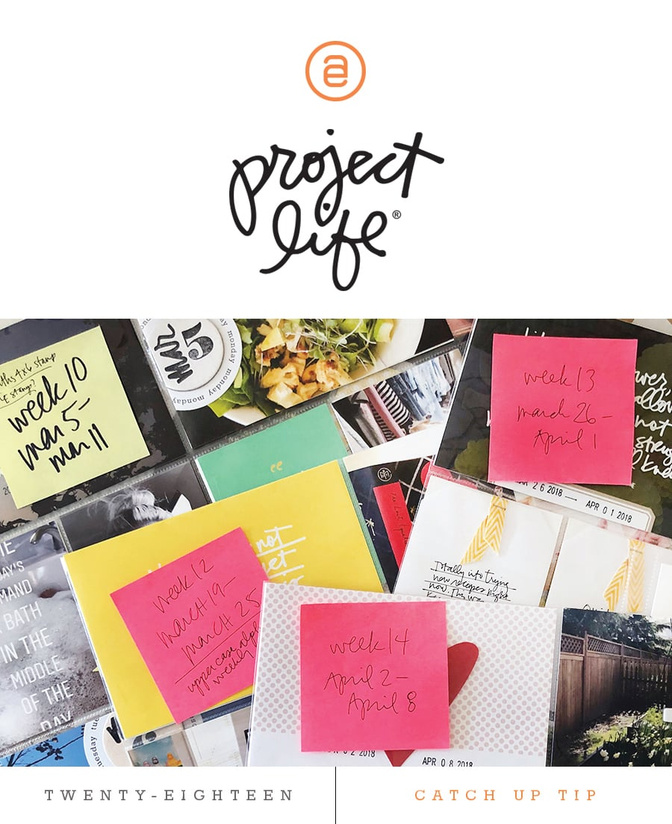
Last week after finishing up all the content for the Stories Of Travel workshop I took a couple days to tell some stories in my Project Life® album for this year. Over the course of two days I finished up 6 weekly spreads that I'll be sharing via blog posts over the next few days. I didn't record process videos for these spreads this time because I just wanted to be able to focus on getting the spreads done.
As I was working on the spreads I found myself using a specific + no-nonsense technique to move these spreads along.
Here's a look at my basic process:
I print my photos first. I often have weeks of photos printed in advance of actually working on/completing a week. Over the years I've followed a variety of different processes (including filling pockets each day) but over the last two years this method has really worked for me. I also love breaking down the tasks for getting projects like this done - printing photos is simply one of the tasks. I generally fill all the 4x6 pockets with photos and then 1-3 of the 3x4 with photos (sometimes more and sometimes less depending on the week. For all my 4x6 photos I print at home using an Epson PictureMate PM400 printer (others in this community who have purchased this printer often call it a "game changer"). I generally print 7, 4x6 photos and then 1-3, 3x4 images for each week.
Identify a simple design formula. One of the things I know to be true for myself is that I like repetition and I actually like having less choices when it comes time to telling my stories. Having access to all your products can be a hinderance because it just means we have to think more about which ones to use and sometimes this is where people get stuck because they think they must have the "perfect" product to tell this story (so they spend all their time looking through or organizing products vs. just making stuff). Knowing this about myself, . My design formulas are super simple and generally consist of 1-4 products that then get repeated on all the 4x6 photos on my spread or in most of the 3x4 pockets. Each of the six spreads I put together include a different design formula for part of the spread. A design formula could be as simple as deciding you are going to add one style of chipboard to each of your photos or it might include 3-4 products that include a stamp set, a chipboard set, a die cut circle set, etc. Giving all your 4x6 photos or all your 3x4 pockets the same design treatment takes the guess work out of how to work with each pocket.
Fill in the pockets. Add 3x4 cards with quotes, add written stories onto 3x4 journaling cards, and then add just a few more embellishments on top.
Remember that the real beauty in this project is all the weeks coming together vs. any individual week. That knowledge should help you to let go of any of the perfection that might be holding you back or fear that you aren't telling your stories "right." There is no right or wrong way to tell your stories. Remember that what's working for you right now is simply that - it's working right now. If you've been struggling with your storytelling recently maybe it's time to try something different - that might be going simpler or it might be going more complex. Listen to what you need and do that.
For me right now this idea of simplifying my process by establishing a design formula is totally working.
I put together a short video showing the spreads I completed and talking about this idea of using a design formula to get spreads completed. I'll be sharing each of these full spreads on my blog this week.
SUPPLIES FROM THE VIDEO
Story Thoughts Pad (from the Story Planner Notepad Bundle)
Week In The Life™ Loving The Story Stamp Set (upper case days of the week initials)
One Little Word® The Time 4x6 Stamp Set (numbers)
Months 4x6 Stamp Set (monthly abbreviations)
Daily Phrases Stamp Set (half-circles)
You can see all my past Project Life® blog posts here. For more information about my overall process make sure to check out my self-paced Storytelling With Project Life® workshop.
BEHIND THE SCENES
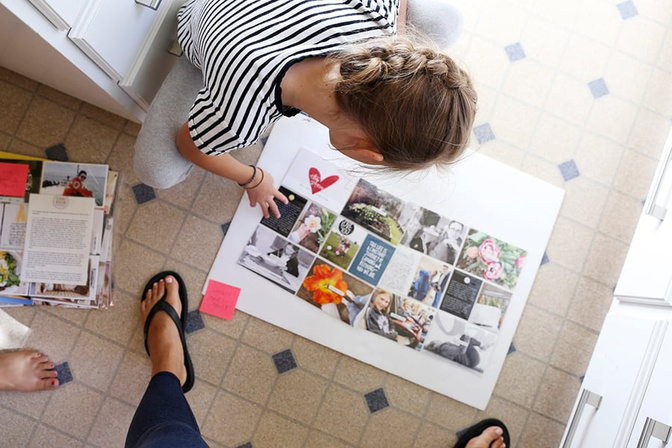
Photographing projects in the summer is a little more challenging around here because all the awesome sunshine makes for a lot of "blue" cast. When I was photographing these spreads I ended up taking my white foam board downstairs to the kitchen because the light was less blue than it was in my office. I loved how Anna and her friend Colbie immediately wanted to take a look at all the photos.


Comments
Sign in or sign up to comment.
14 comments
I just started a PL catch up yesterday so this post is great motivation, thanks!
Replies to ginny
Sign in or sign up to reply.
Ali, perfect timing for this post. I have my cover page done for my 2018 PL album - that's it. I still intend to go back and complete each week. It's been a very important year for us - a big move after 41 years, our daughter got married and so many other life events I want to capture in my album but have not had one spare minute to work on it. But I will. I have taken the photos and have documented on my phone so I think I can still get this done/caught up. This post is exactly what I needed to read! Thank you, always, for your guidance & inspiration.
Replies to jstock17
Sign in or sign up to reply.
The PL class is brilliant and since taking it I'm moving from a double spread each month (which I did January 18 to July 18) to a page (single) per week for August, as a tester. Time is a factor and paper crafting isn't my only hobby so I'm keen to make it work for me. I get the stories by the month kit and it's perfect for me. Very limited supplies and repetitive design elements. Thanks for this video Ali, it's really inspired and motivated me!
Replies to CarolineMcD
Sign in or sign up to reply.
Love hearing the new baby kitten in the background!
Replies to doodle010101
Me too. I loved hearing him give his 2 cents.
Sign in or sign up to reply.
This is so helpful Ali you have no Idea! I love the idea of PL and have done several spreads over the years, but dang they can be overwhelming! ....so I give up. This approach simplifies things a TON in my brain...can't wait to get started again! - ps....I always thought PL had to be done in "Real time". It was such an AH-HA moment when I see how you BACKTRACK to weeks that happened months prior. Ahhhh....permission to be behind! 😌😏😁 as always...thank you for your inspiration!
Replies to totteacher
Sign in or sign up to reply.
Life has gotten in the way this year and this is a much needed motivator right now. Thank you and as always such great tips!
Replies to amorton63
Sign in or sign up to reply.
I appreciate this more that I can say! I have been in a state of overwhelm that I've allowed to completely stall my creating. Just last night I sat down with my albums to get a true sense of where I am, which was kind of like facing finances when you've had your head in the sand. I haven't started 2018, I'm up to July in 2017 and have Jan-April 2016 done. WOW. *Enter anxious feelings about how behind I am. Will never get caught up. Why even bother.*
But then I started flipping through the freaking pages and THEY. ARE. MAGIC.
So now I'm back in it with both feet. I may be behind, but that's okay. I find that being behind gives me a perspective that I wouldn't have when doing the pages real-time, so I'm going to do both -- real-time & play catch up. And I'll just enjoy whatever amazingness I'm able to end up with.
I'm so thankful for you, Ali.
Replies to MaggieR
Sign in or sign up to reply.
Ali, can you please link your “regular” pen that you use for writing? I looked back to try to find it in your posts but I can’t seem to find the right one. Thanks!!
Replies to sarajeanne12
Sign in or sign up to reply.
I sooooo needed this!!!! Thank you!!
Replies to Jennifer_P
Sign in or sign up to reply.
Hi love the blog post. Wonder what adhesive you use on the white stars? I have those and would like to use them.
Christy
Replies to Christy_westerheide_yahoo_com
Sign in or sign up to reply.
On another note. Funny you meantioned not using favorite type embellishments for the kids. I’m the same way. i’m hesitant to even use “best day” And I try not to say I love everything have you noticed in the scrapbooking world the word love is everywhere which can diminish its meaning imo if use too much!!
Christy
Replies to Christy_westerheide_yahoo_com
Sign in or sign up to reply.
Hi Ali! Thanks for the helpful blog post!
I was wondering if you have a blog post that goes into depth on how you process your photos. Do you choose them using Lightroom, photos or? I'd love to dial in this system a bit more and streamline.
Replies to SallyGriswold
Hi! I don't have a blog post for that but I do go over that in my workshop called Lens Of Joy: https://www.aliedwards.com/shop/classes/lens-of-joy-self-paced
Sign in or sign up to reply.