Pieces Of Us | How I Documented My Stories
Tags: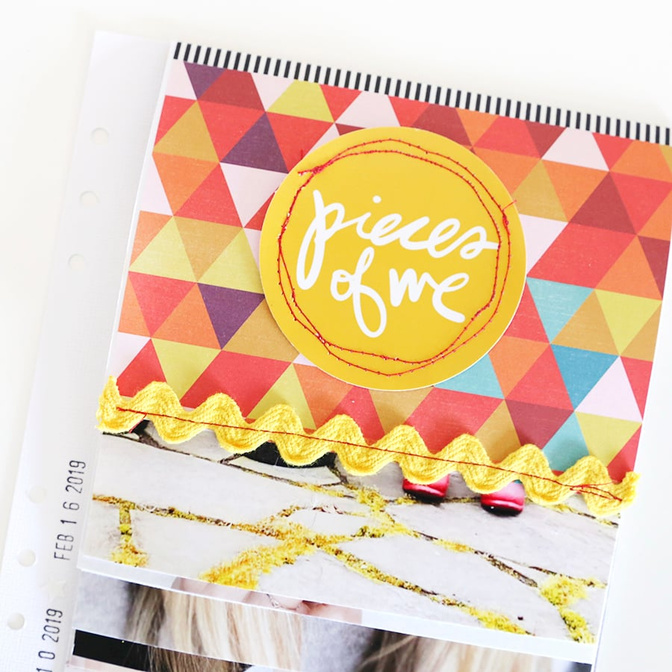
Today I wanted to share how I worked with the content from the Pieces Of Us self portrait adventure last week.
I've been loving seeing what people are creating with these stories (keep sharing + using the #aepiecesofus hashtag). I'll be featuring some of the ideas here on my blog over the coming weeks.
I had a whole lot of fun putting this together. I loved working outside of the page protectors and I loved getting messy with some paints and I loved handwriting my journaling.
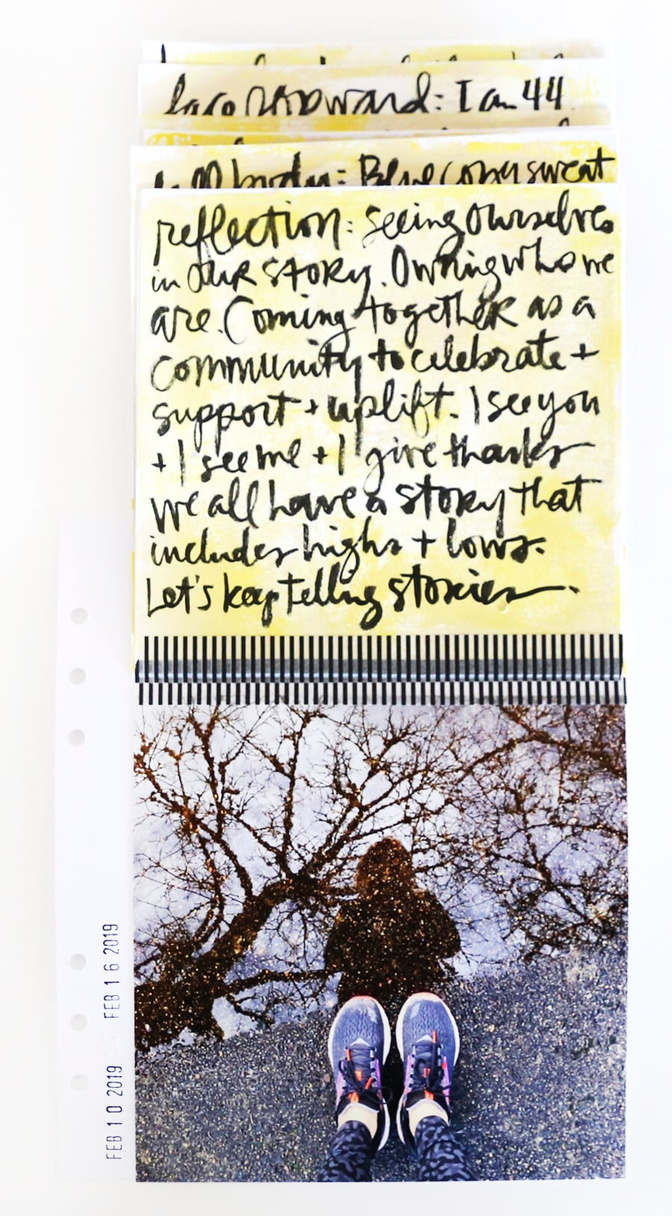
And yep, as you'll see my date is wrong on here! It happens. I'm going to re-do the background piece of cardstock with the correct date.
Here's a look at what I did for this adventure:
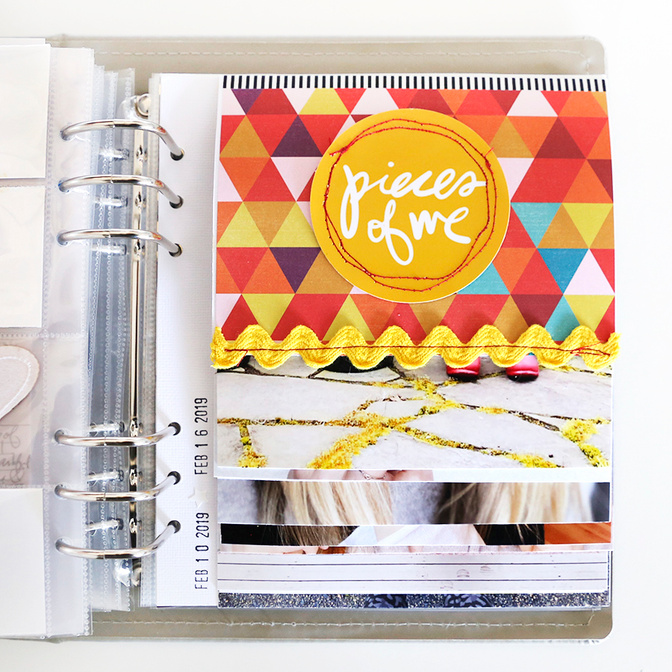
I decided I wanted to put this project into my "Me" 6x8 album that holds stories about me.
Here's a basic overview of my process - check out the video below for the full step by step as it was happening.
I used a piece of cardstock that was cut to the same as the divided page protectors for my foundation.
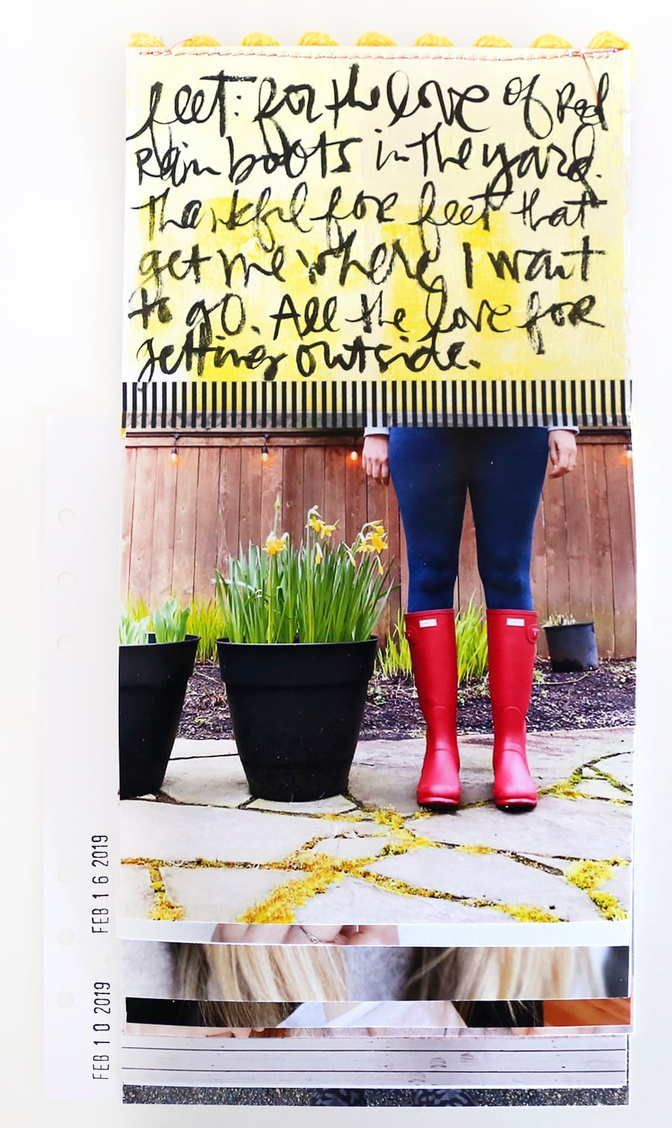
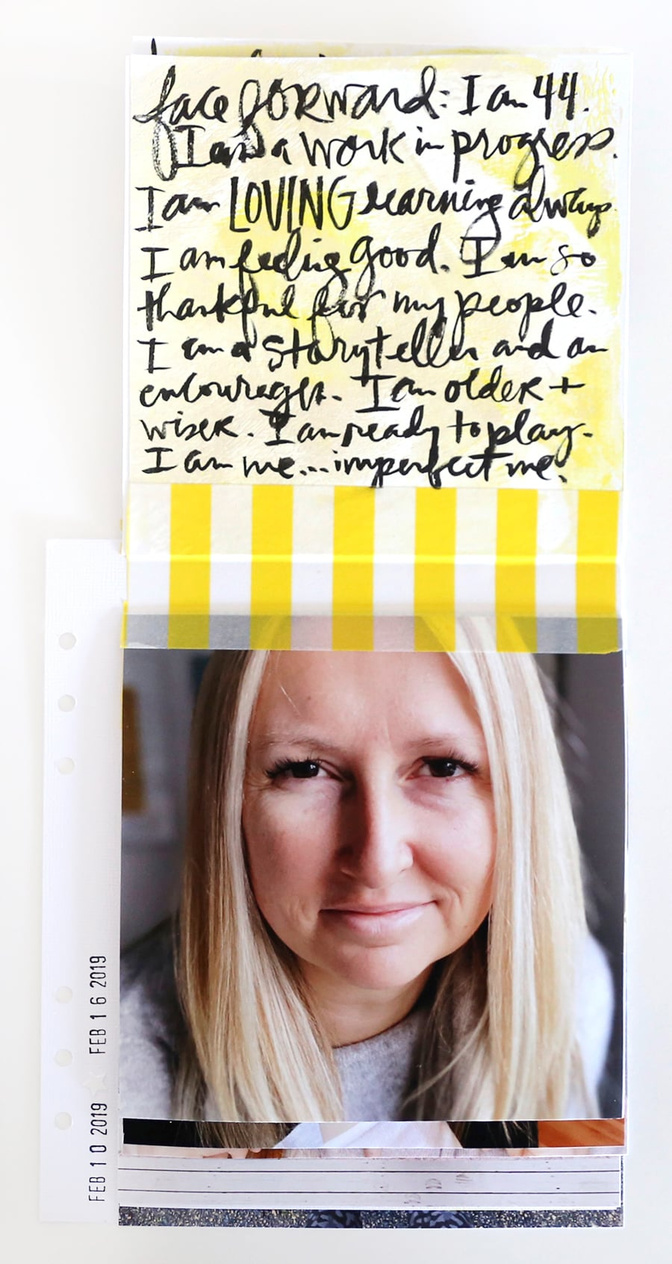
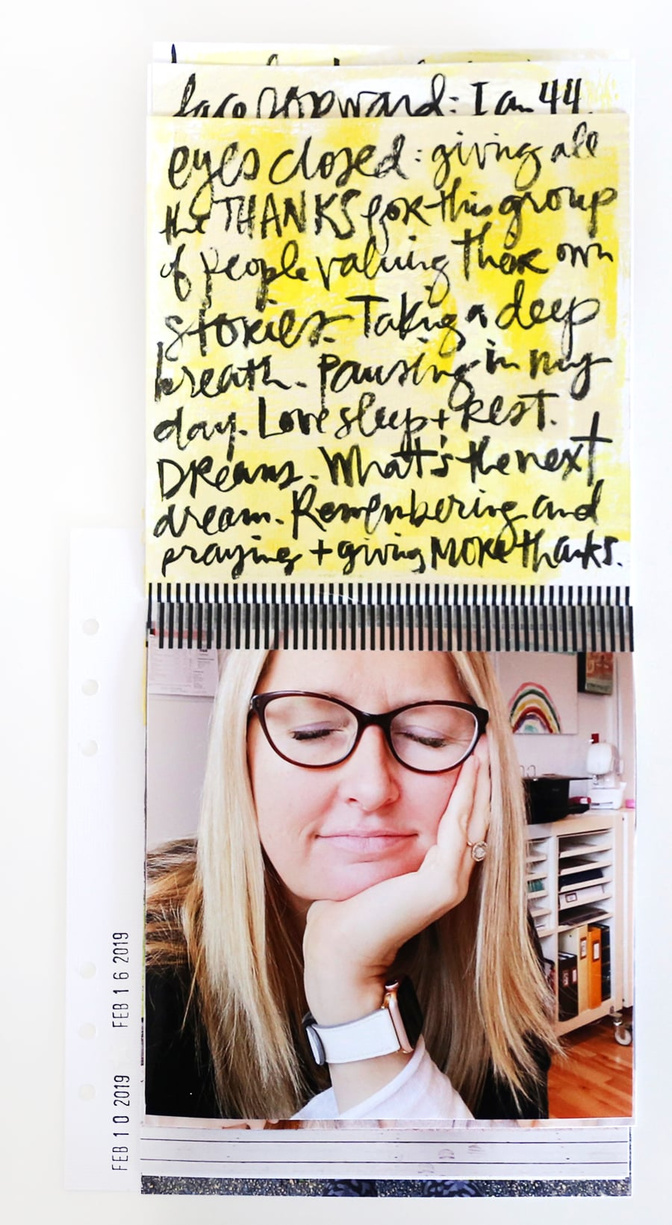
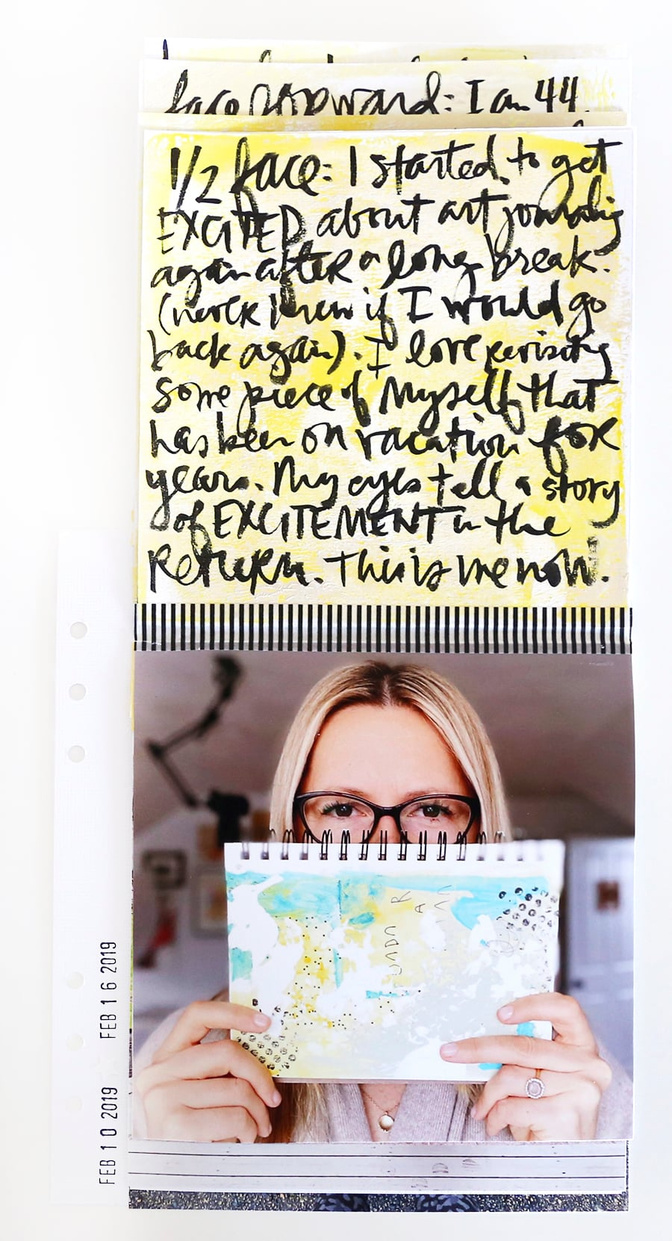
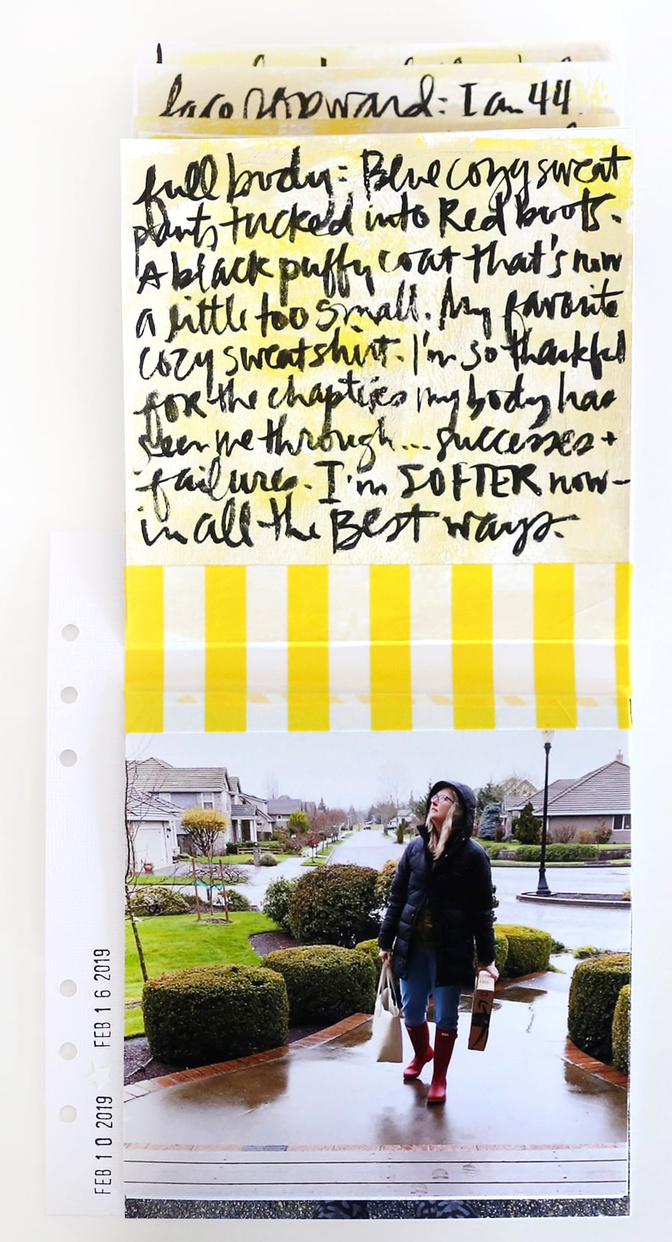
I printed my photos 6 inch x 6 inch and then created a cascade of images.
I cut out 7, 6x6 pieces of white cardstock and painted them using yellow paints (sources listed at the bottom of this post) + a gelli plate. Big thanks to Mou Saha in the Get Messy classroom for the tutorial that showed me how to play around with those.
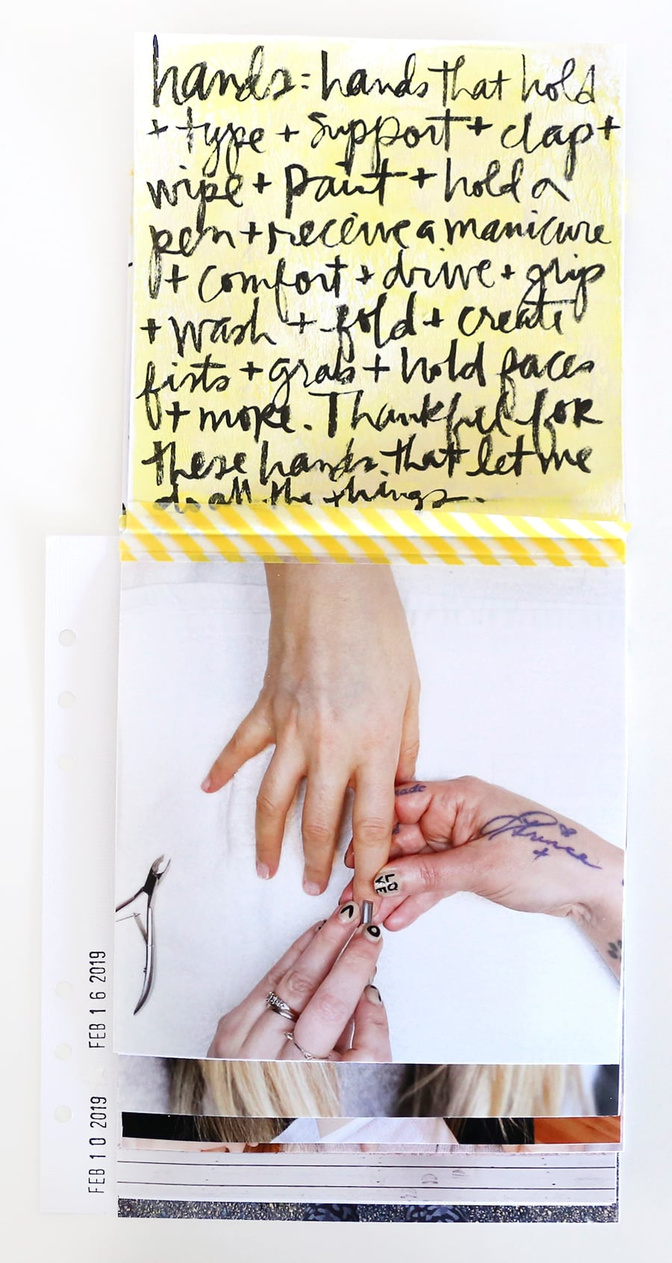
After those painted pages dried I adhered them to the back of the photos and then arranged them in place.
I used washi tape to hold my pages in place. I left a bit of "space" between the top page + the following page so that the washi sticks to the background piece of cardstock.
I used a brush pen to add my journaling for this project.
I used my sewing machine to create messy stitches around the printed + circle punched title and to keep my yellow trim in place.
Here's a look at how it all turned out.
Here's a process video to show you how this all came together:
SUPPLIES
Yellow Trim
Large Yellow + White Washi Tape


Comments
Sign in or sign up to comment.
11 comments
I LOVE how you played with this, Ali!
Replies to smultringunn
Sign in or sign up to reply.
OMG! I have to comment even before I watch this process video. First, thank you for reminding me how much fun art journaling is! Second, thank you for these projects you are coming up with—they feel (and are) doable, engrossing, creative and FUN! I love using art and scrapbooking and storytelling all at once! It’s just too much fun. I feel like a spark has been lit in me! It’s just what I needed! Thank you, thank you, thank you! (Now if I could just access the just write files!)
Replies to Laurie_Anne
Sign in or sign up to reply.
And, thank you for introducing other artists’ work and lessons! I eat them up! Thanks!
Replies to Laurie_Anne
Sign in or sign up to reply.
Ali, do you have any video of your Me album? Would you talk a bit about it—the kinds of stories you include in it?
Replies to Laurie_Anne
Oh I was looking for the “me”-project on the blog to. Love that idea and would love to see some more of it 🥰
Sign in or sign up to reply.
Thank you so much Ali for this inspiring project! I’m going to be doing this during our Springbreak and am now even more excited for this. I love how it turned out! Seriously love how you’re always mixing it up and trying new processes!
Replies to clippergirl
Sign in or sign up to reply.
LOVE it !!!! I haven't touched my paints and mixed media supplies for a while, but Laura and you have made me realize that we can do both : pockets and more "artsy" stuff mixed together, that is awesome !
Replies to AnnieCarignan
Sign in or sign up to reply.
Ali, Someone you linked me up to years ago from your blog is Julie Fei-Fan Balzer. Check out all the AWESOME things she does with the gelli plate! So many wonderful ideas that you will LOVE trying!
Replies to nightmer
Yes! Love her so much!
Sign in or sign up to reply.
Love this.
In the video you show us a 12x12" paper (vellum with dots) which you planned to use as an overlay. Could you please let me know from which brand it is? I like it :o)
Replies to PrinzessinN
Sign in or sign up to reply.
You inspire me! :)
Replies to nicolemartel654
Sign in or sign up to reply.